

Pull out the bag with the battery in it. Place everything around the white mat and put the bag back in your box.
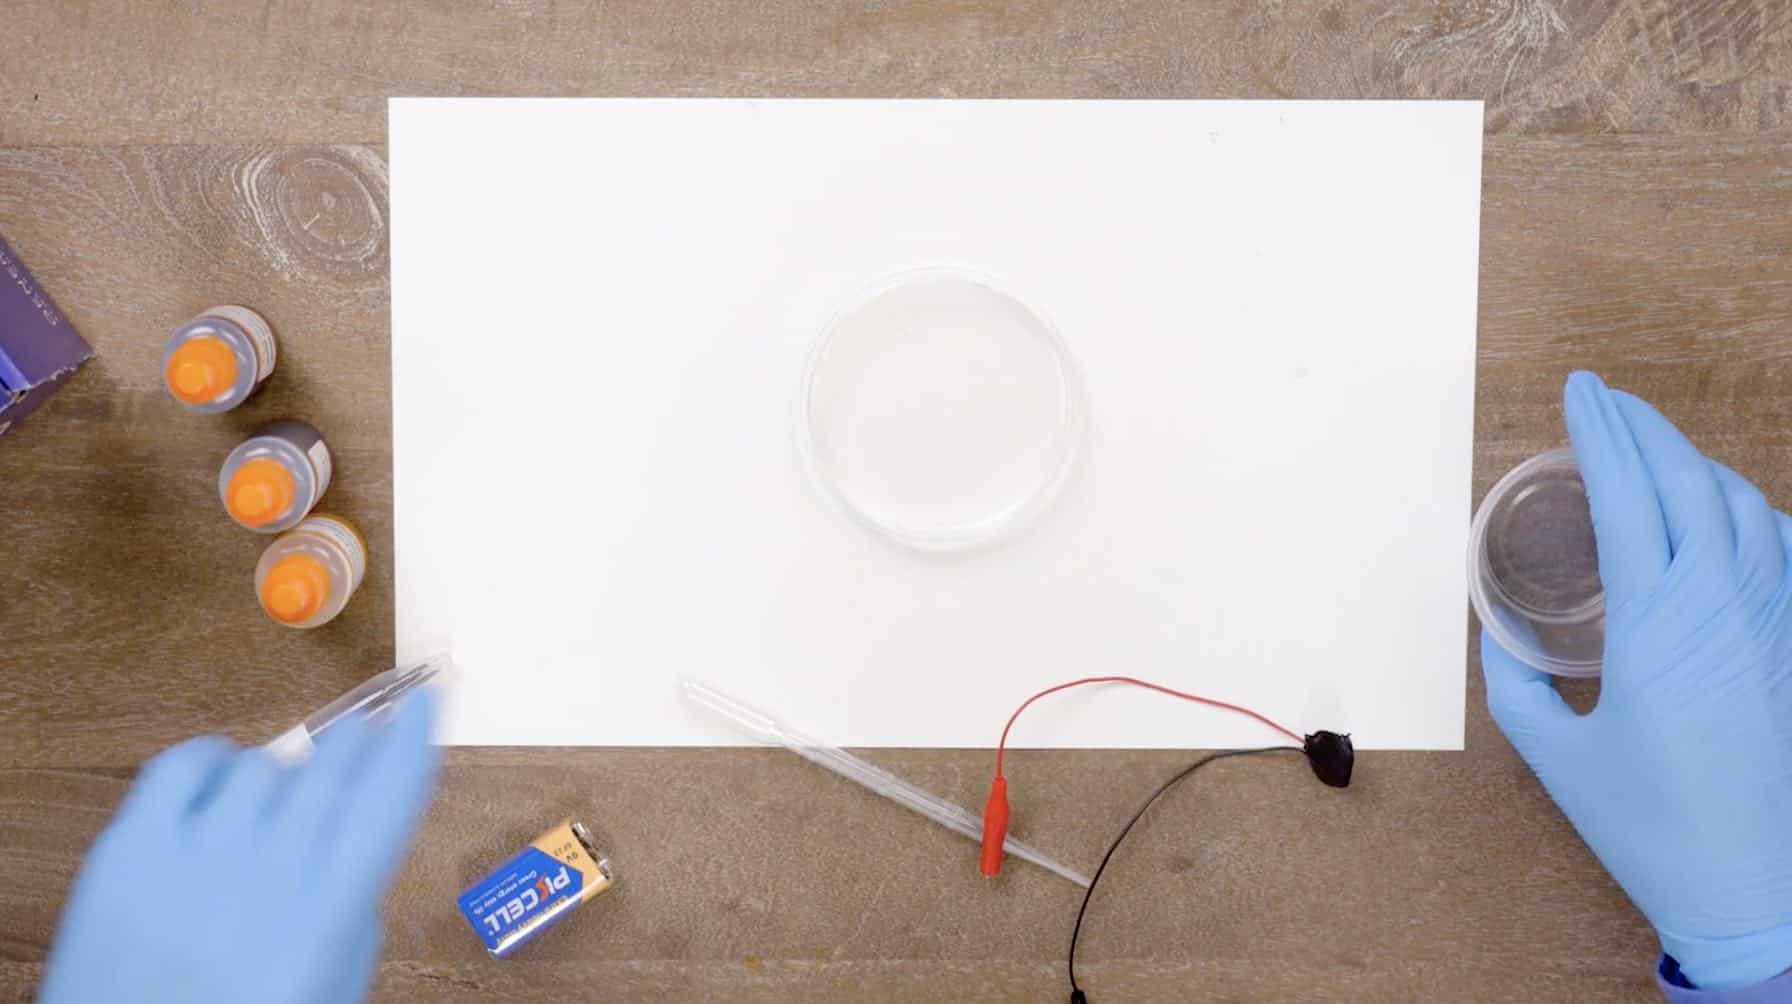
Take the round petri dish and place it in the middle of the mat.

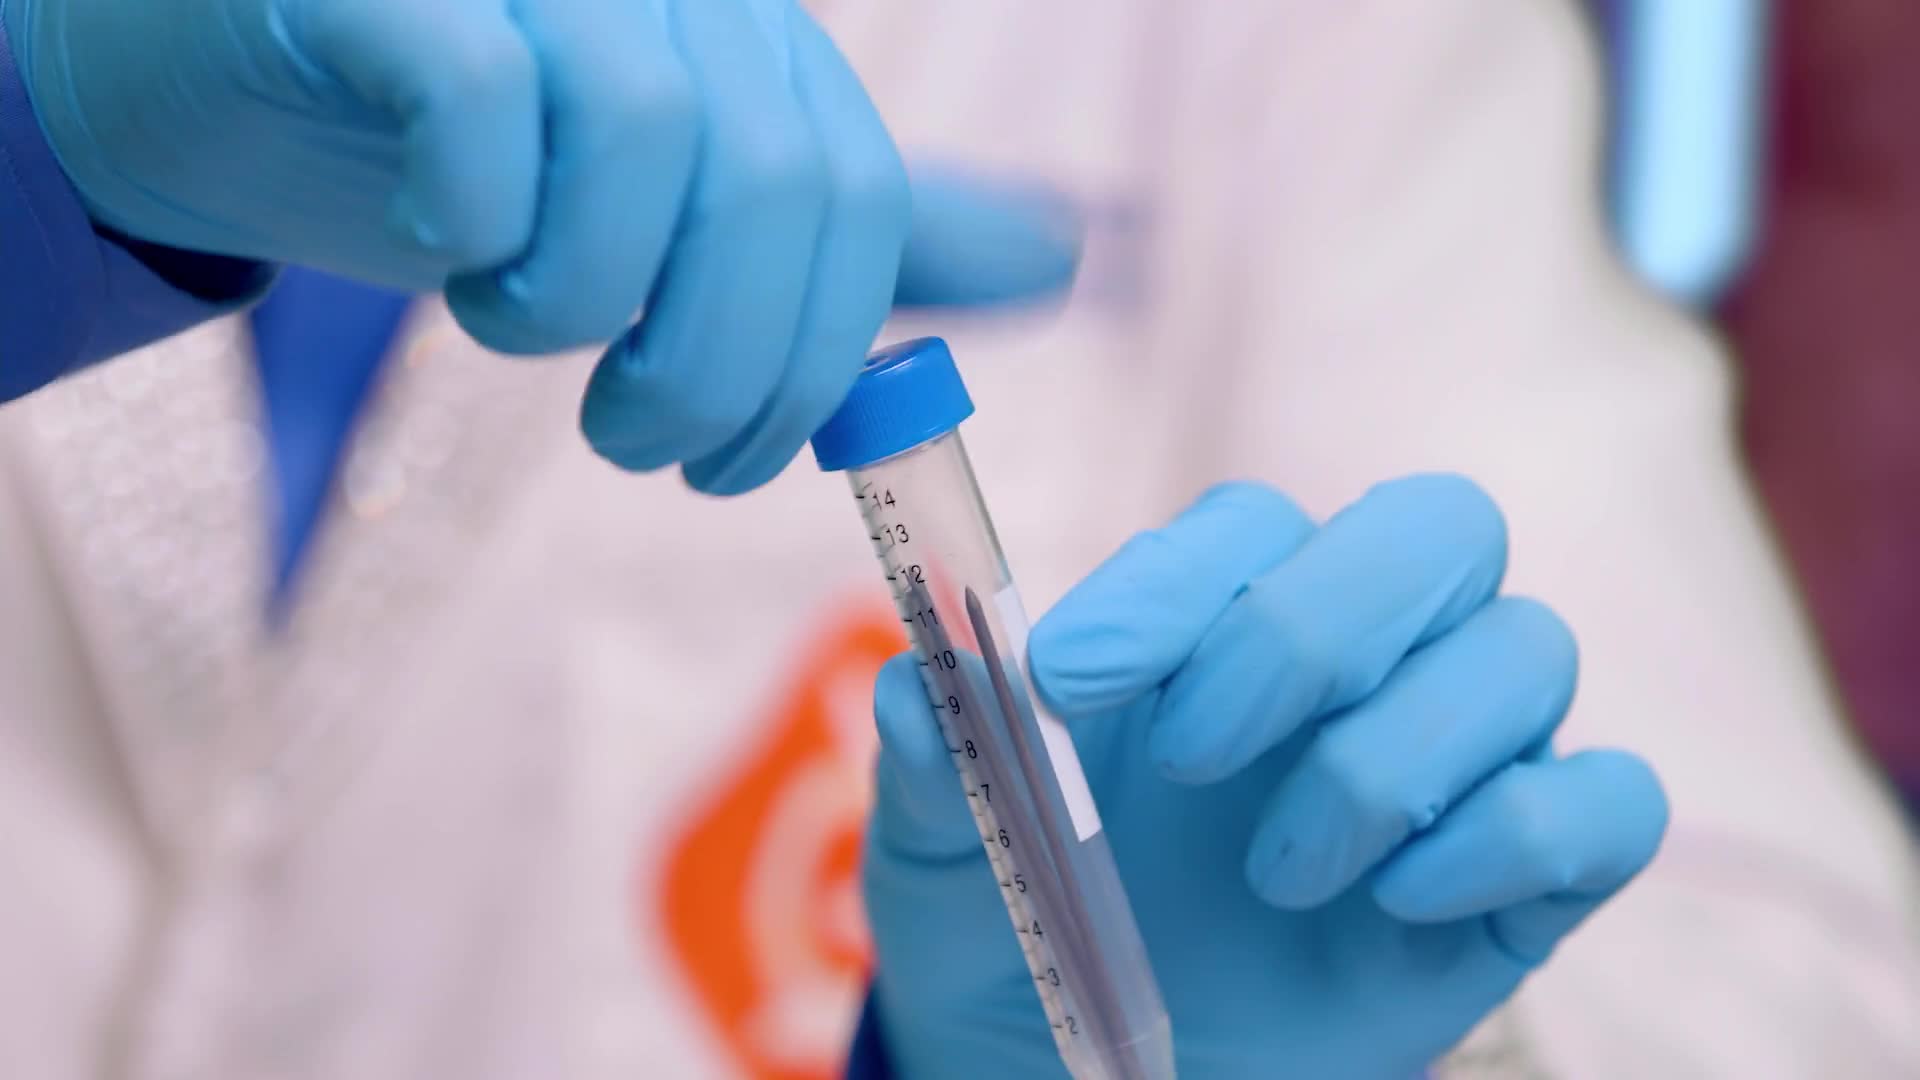
Grab the bottle that says Universal Indicator. To open, simply push down on the top and turn.
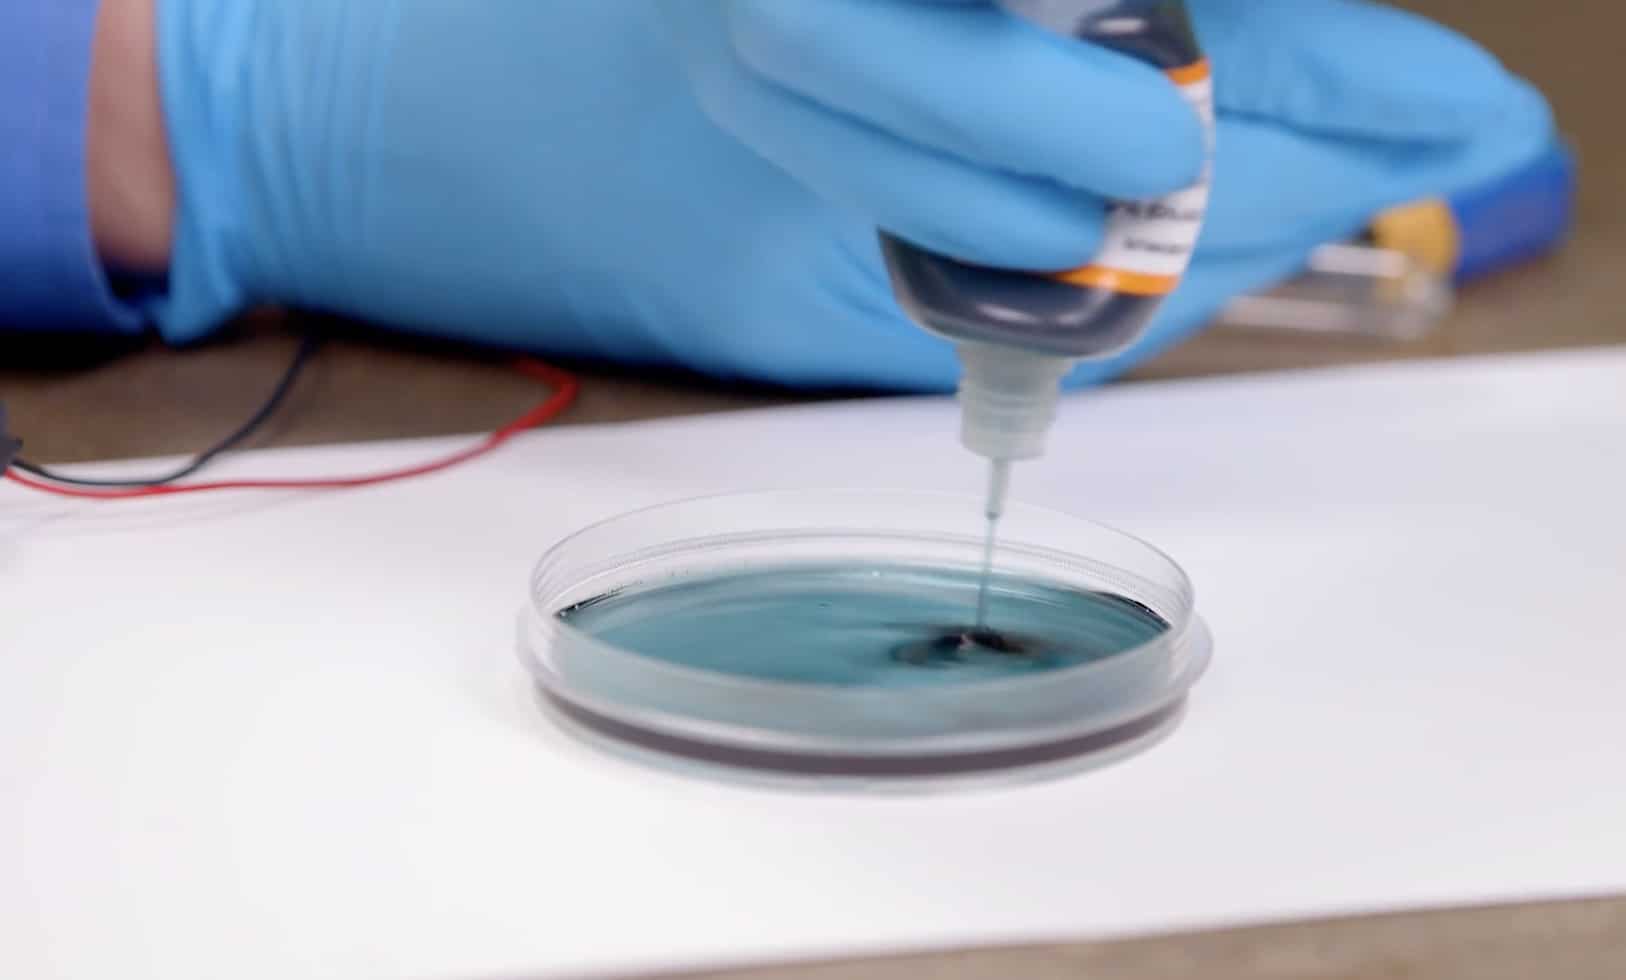
Squeeze some of the liquid into the petri dish, but not all of it. Leave about a quarter of the liquid in the bottle.
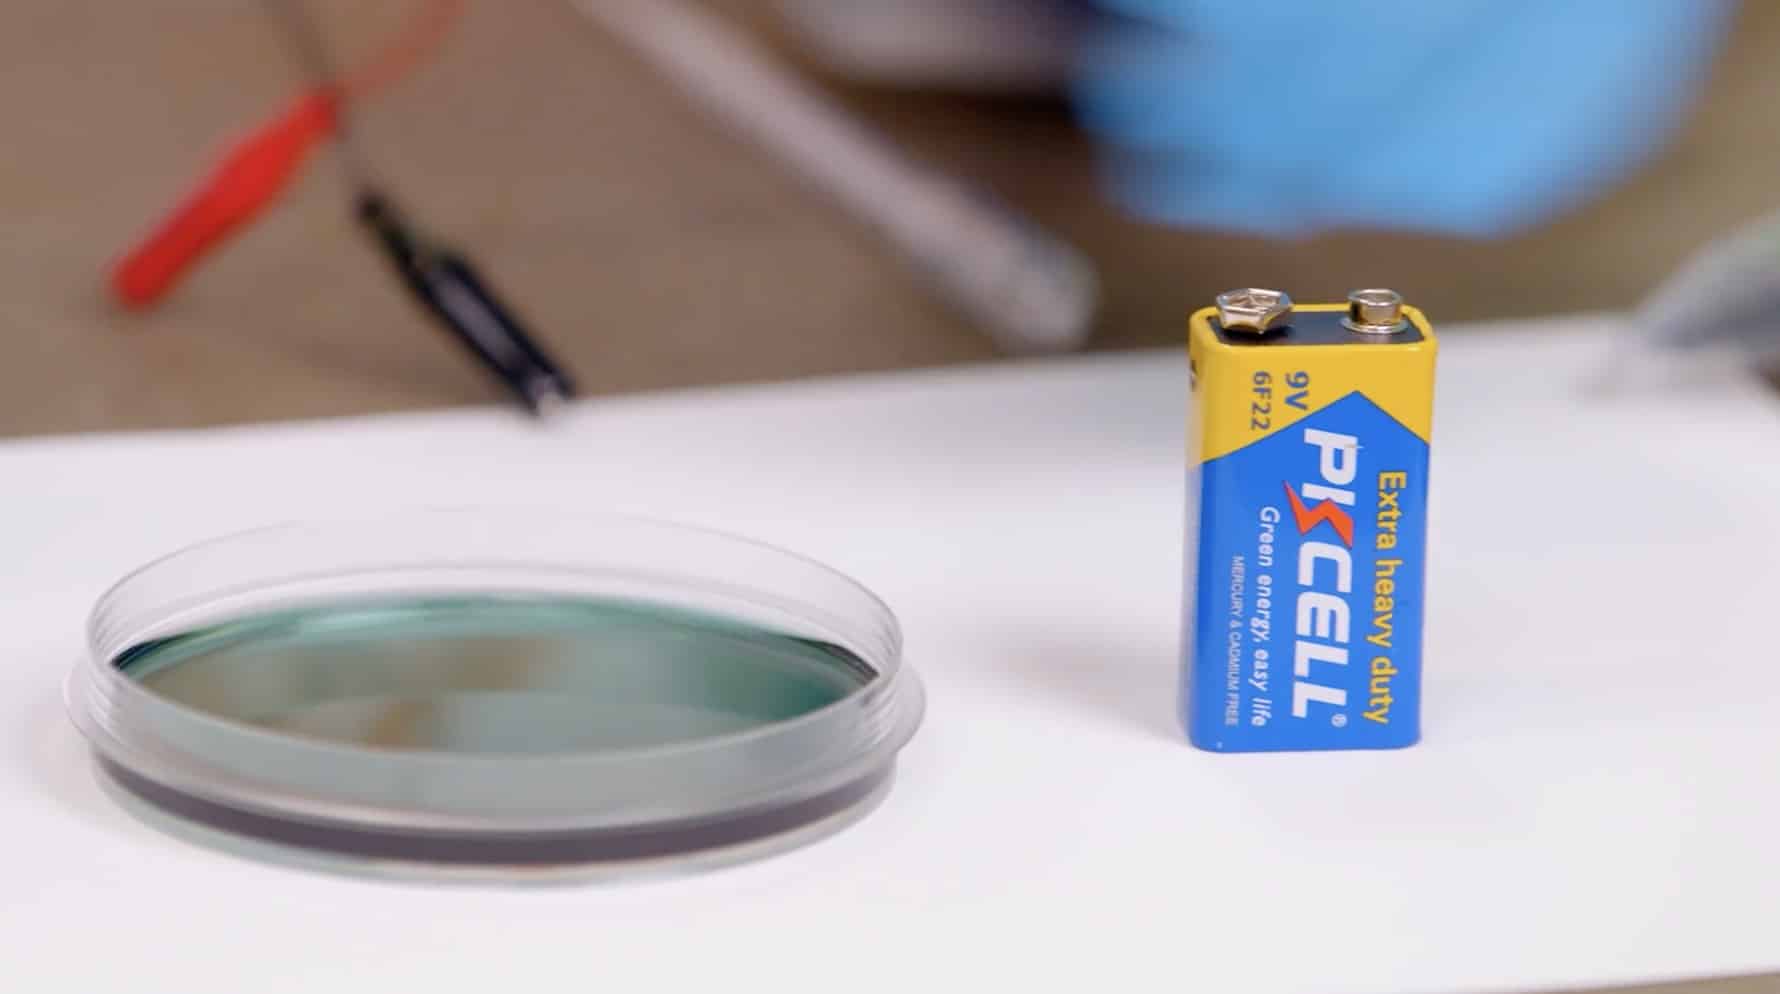
Grab the battery, unwrap it, and throw the plastic wrapper away in the trash.
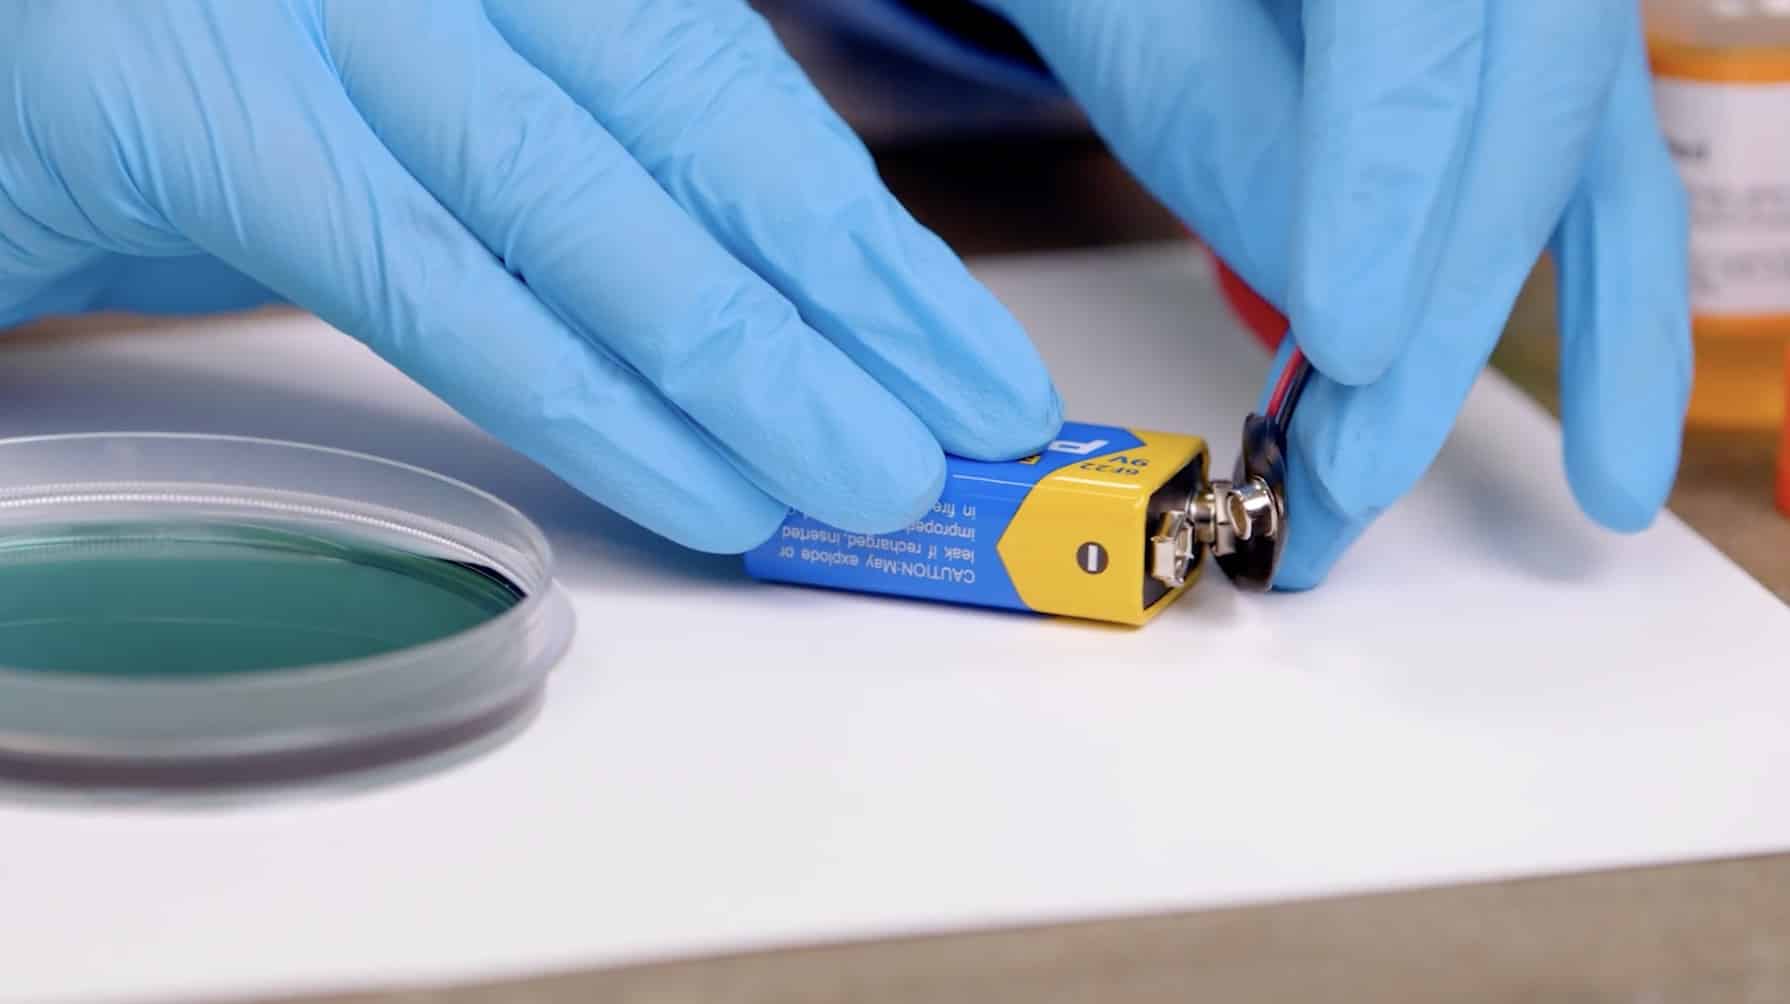
Attach the wire and the battery by matching the big connectors to the smaller ones.
Grab the tube of sticks of lead. Uncap the tube and place the lead sticks onto your mat.
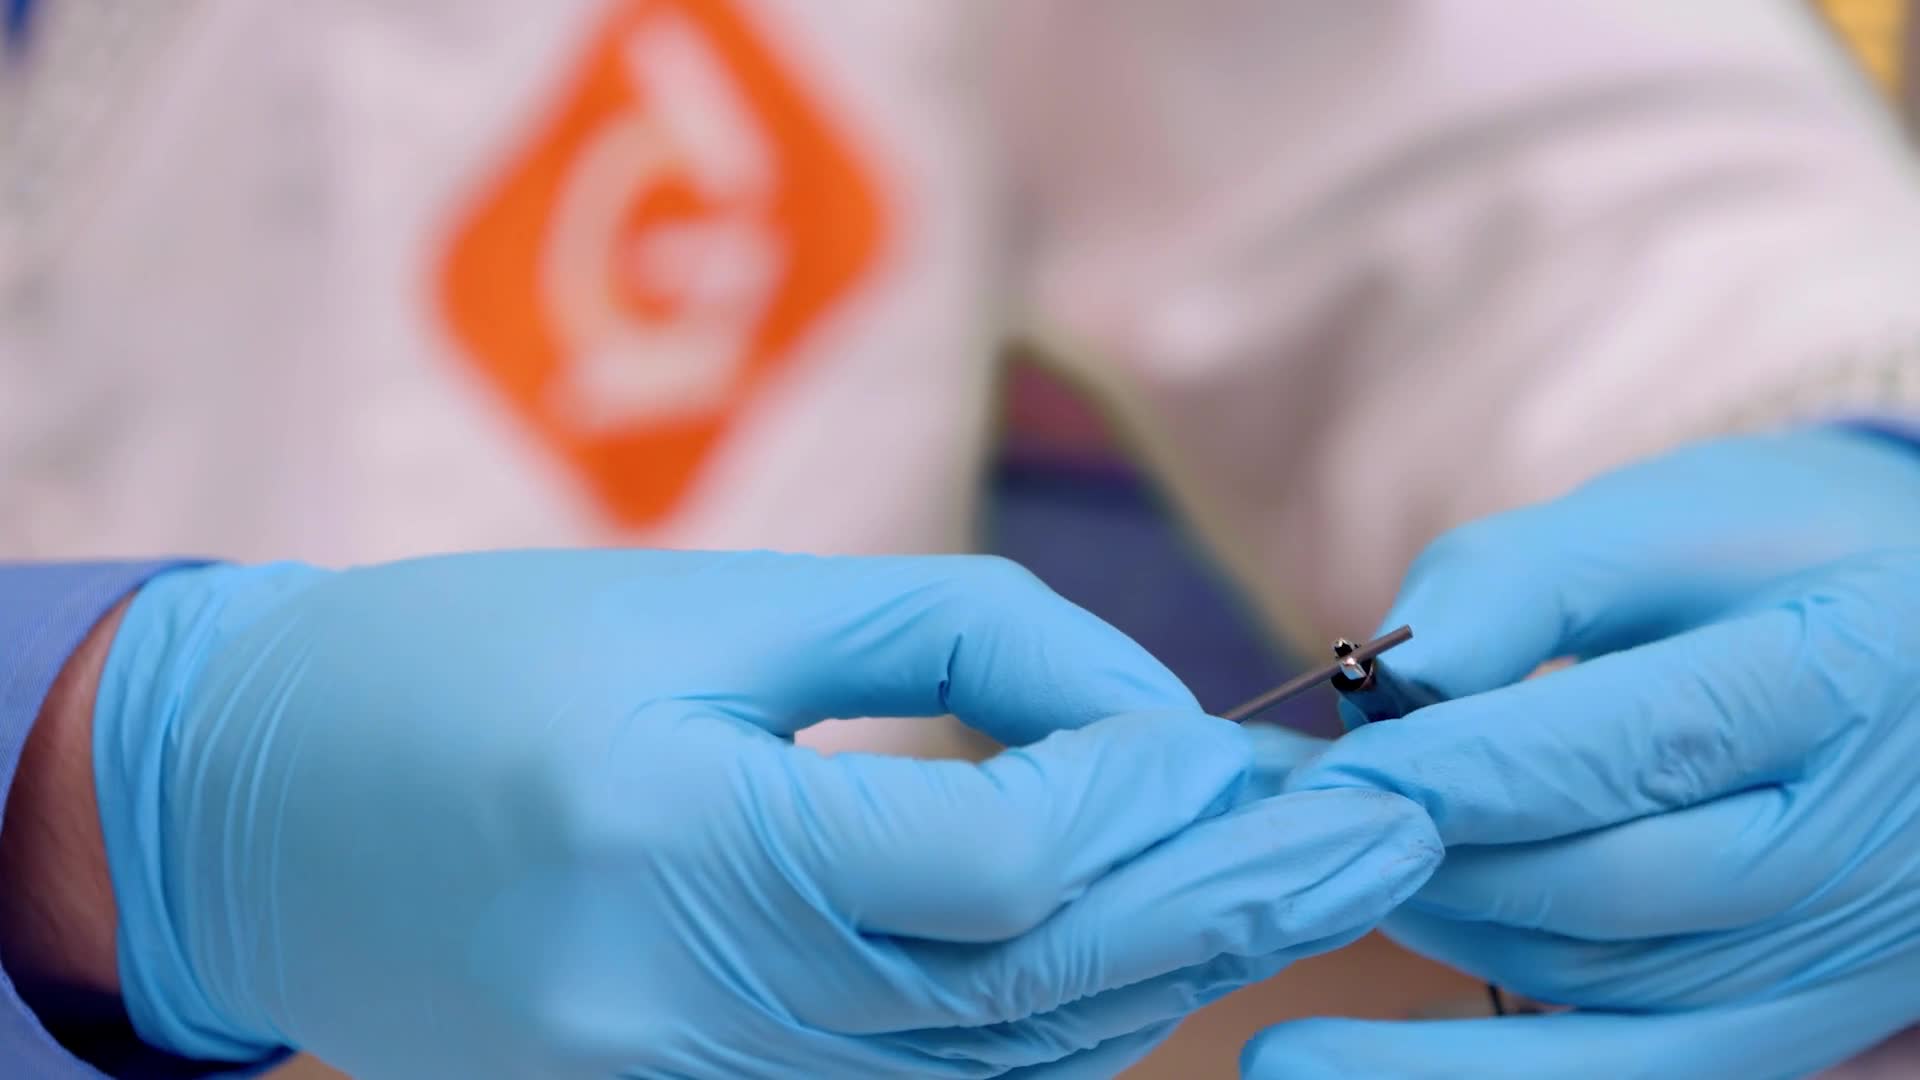
Attach the connecter to the flat end of the stick of lead, below the edge.
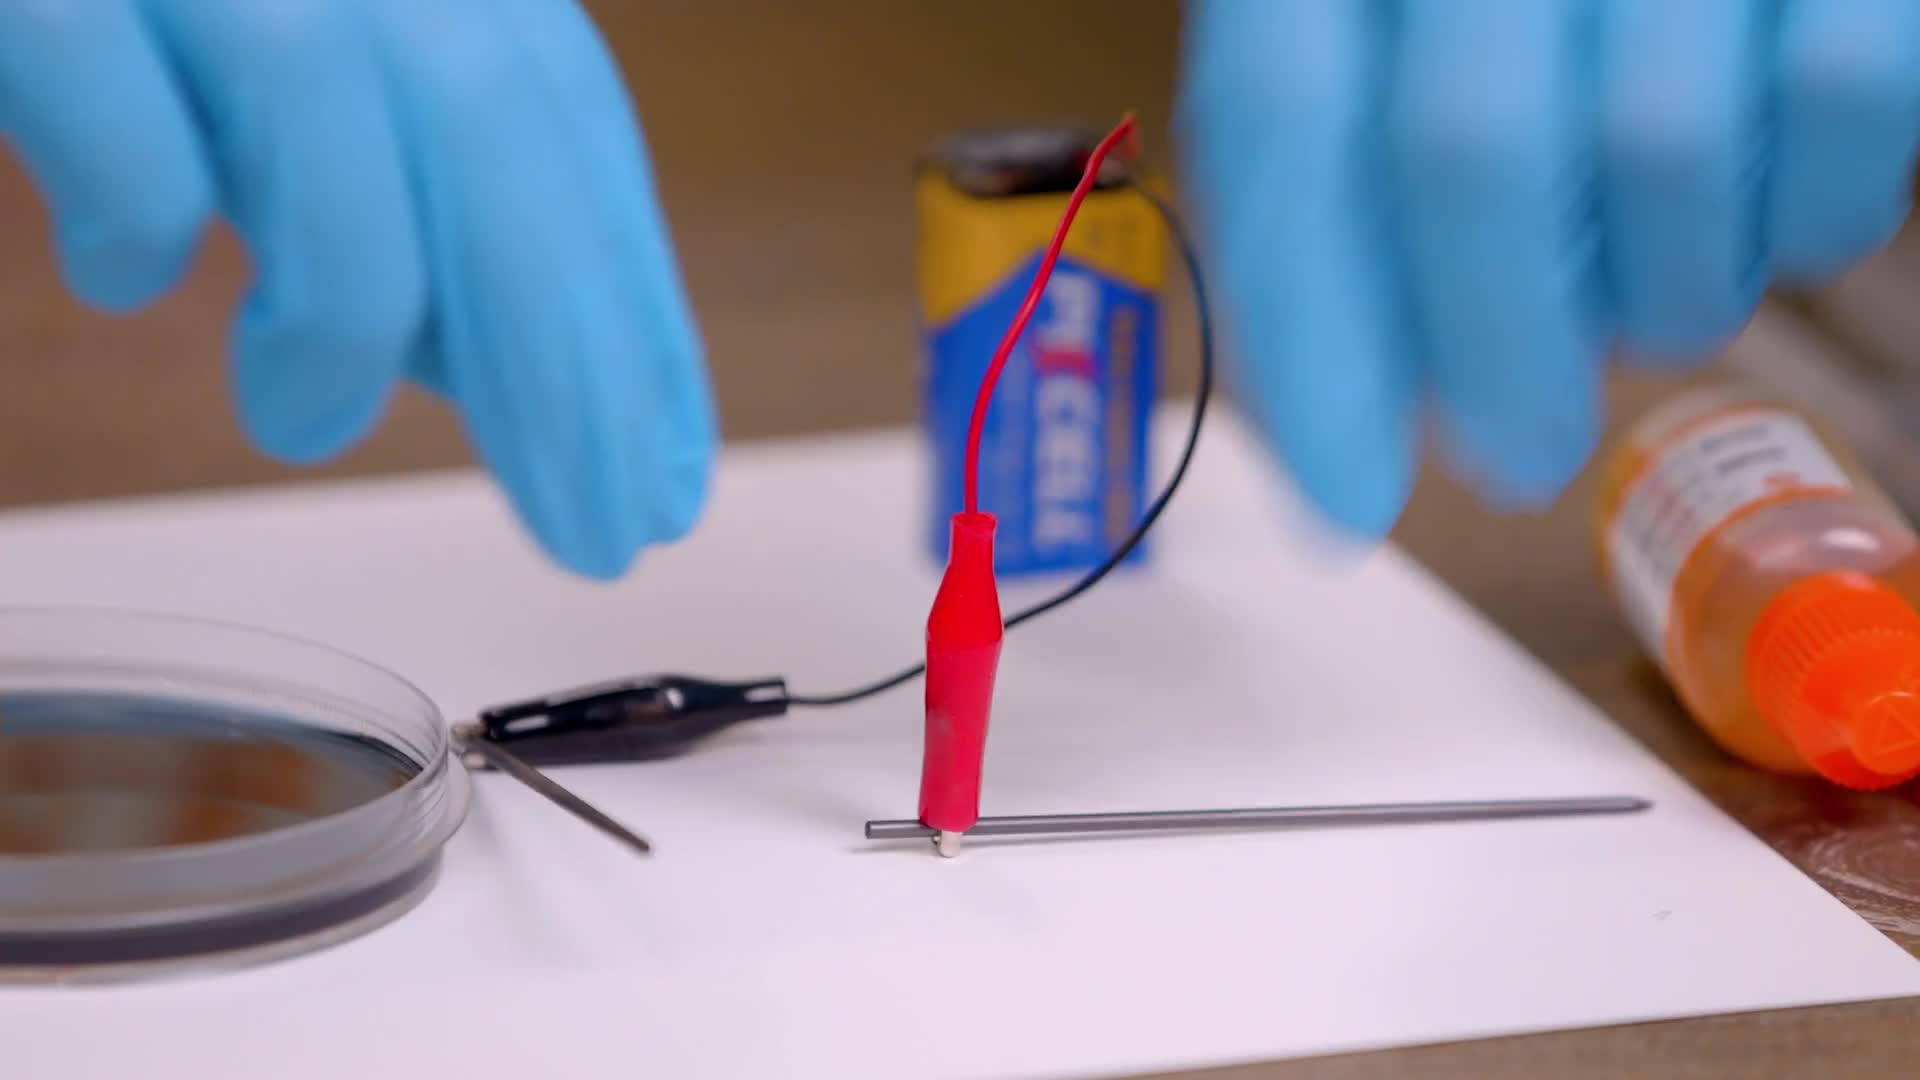
Attach the other connector to another stick of lead. You have extras just in case one breaks.
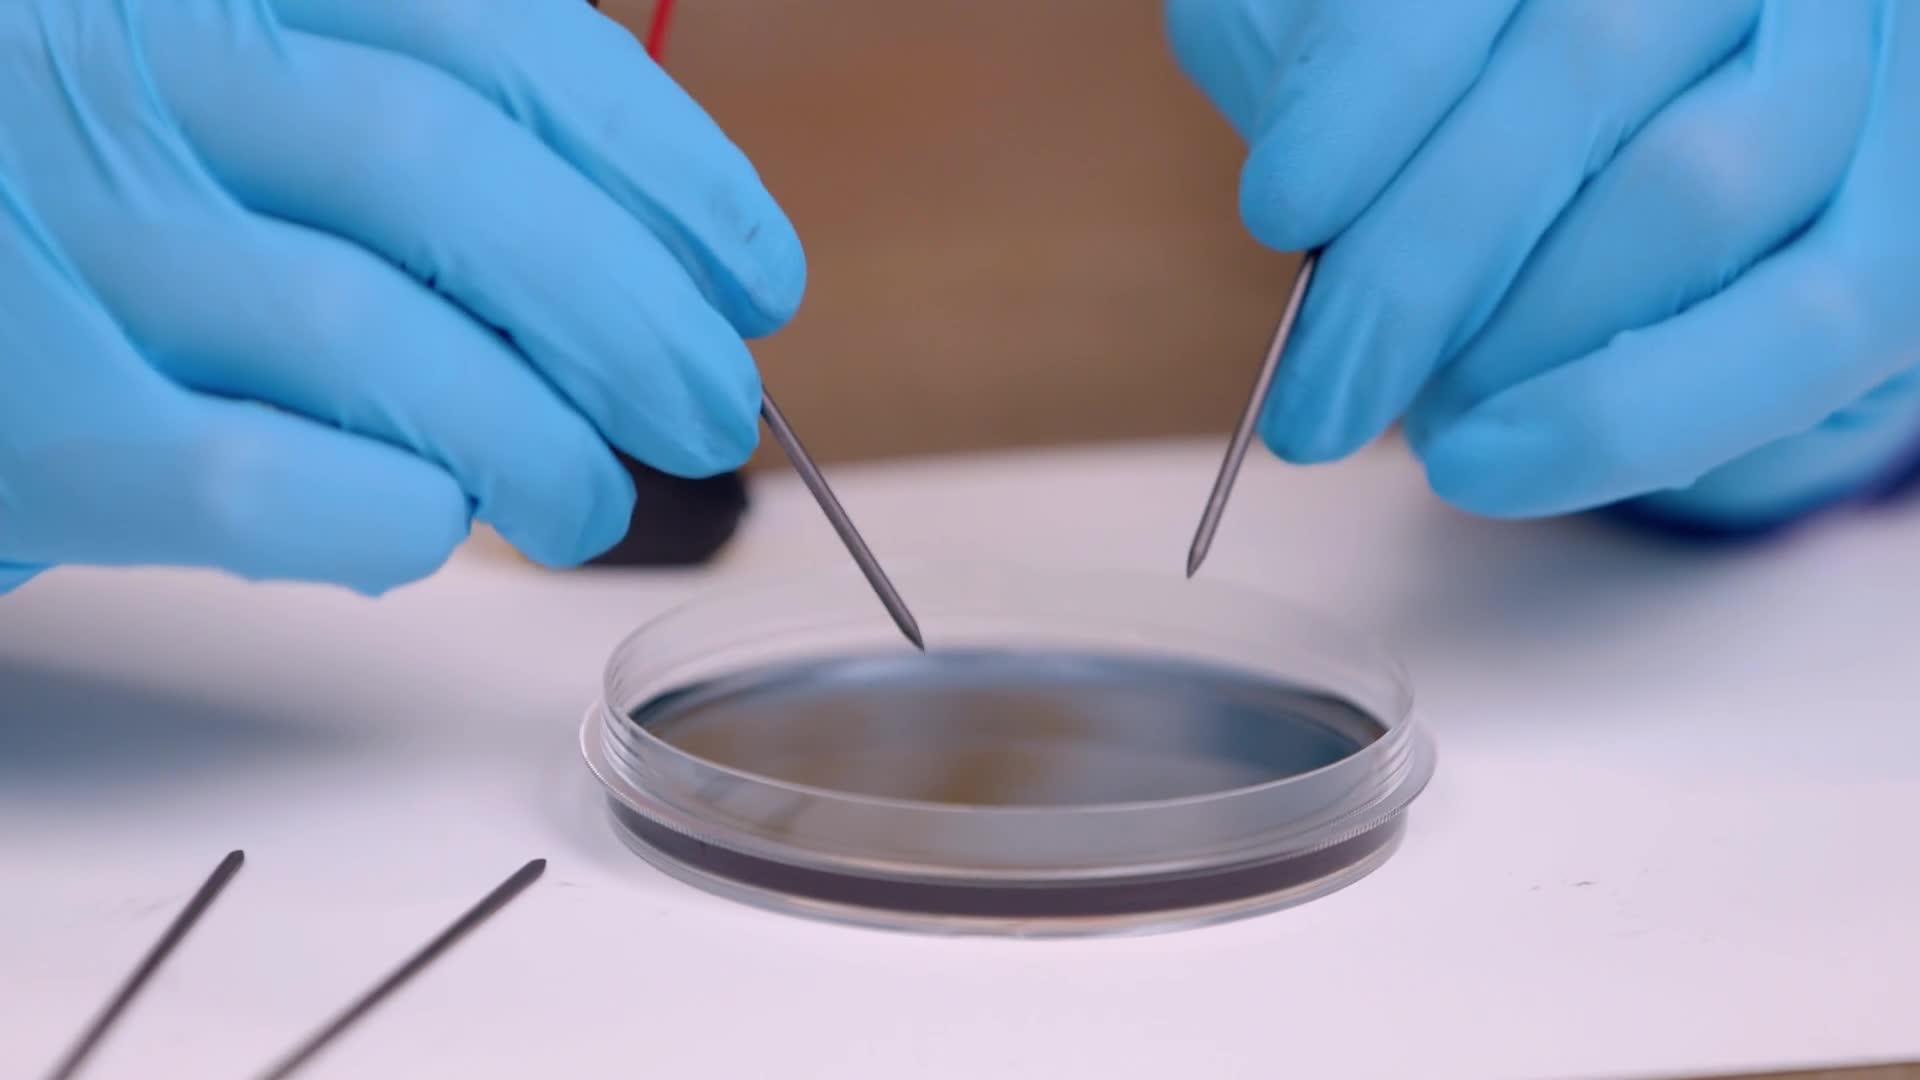
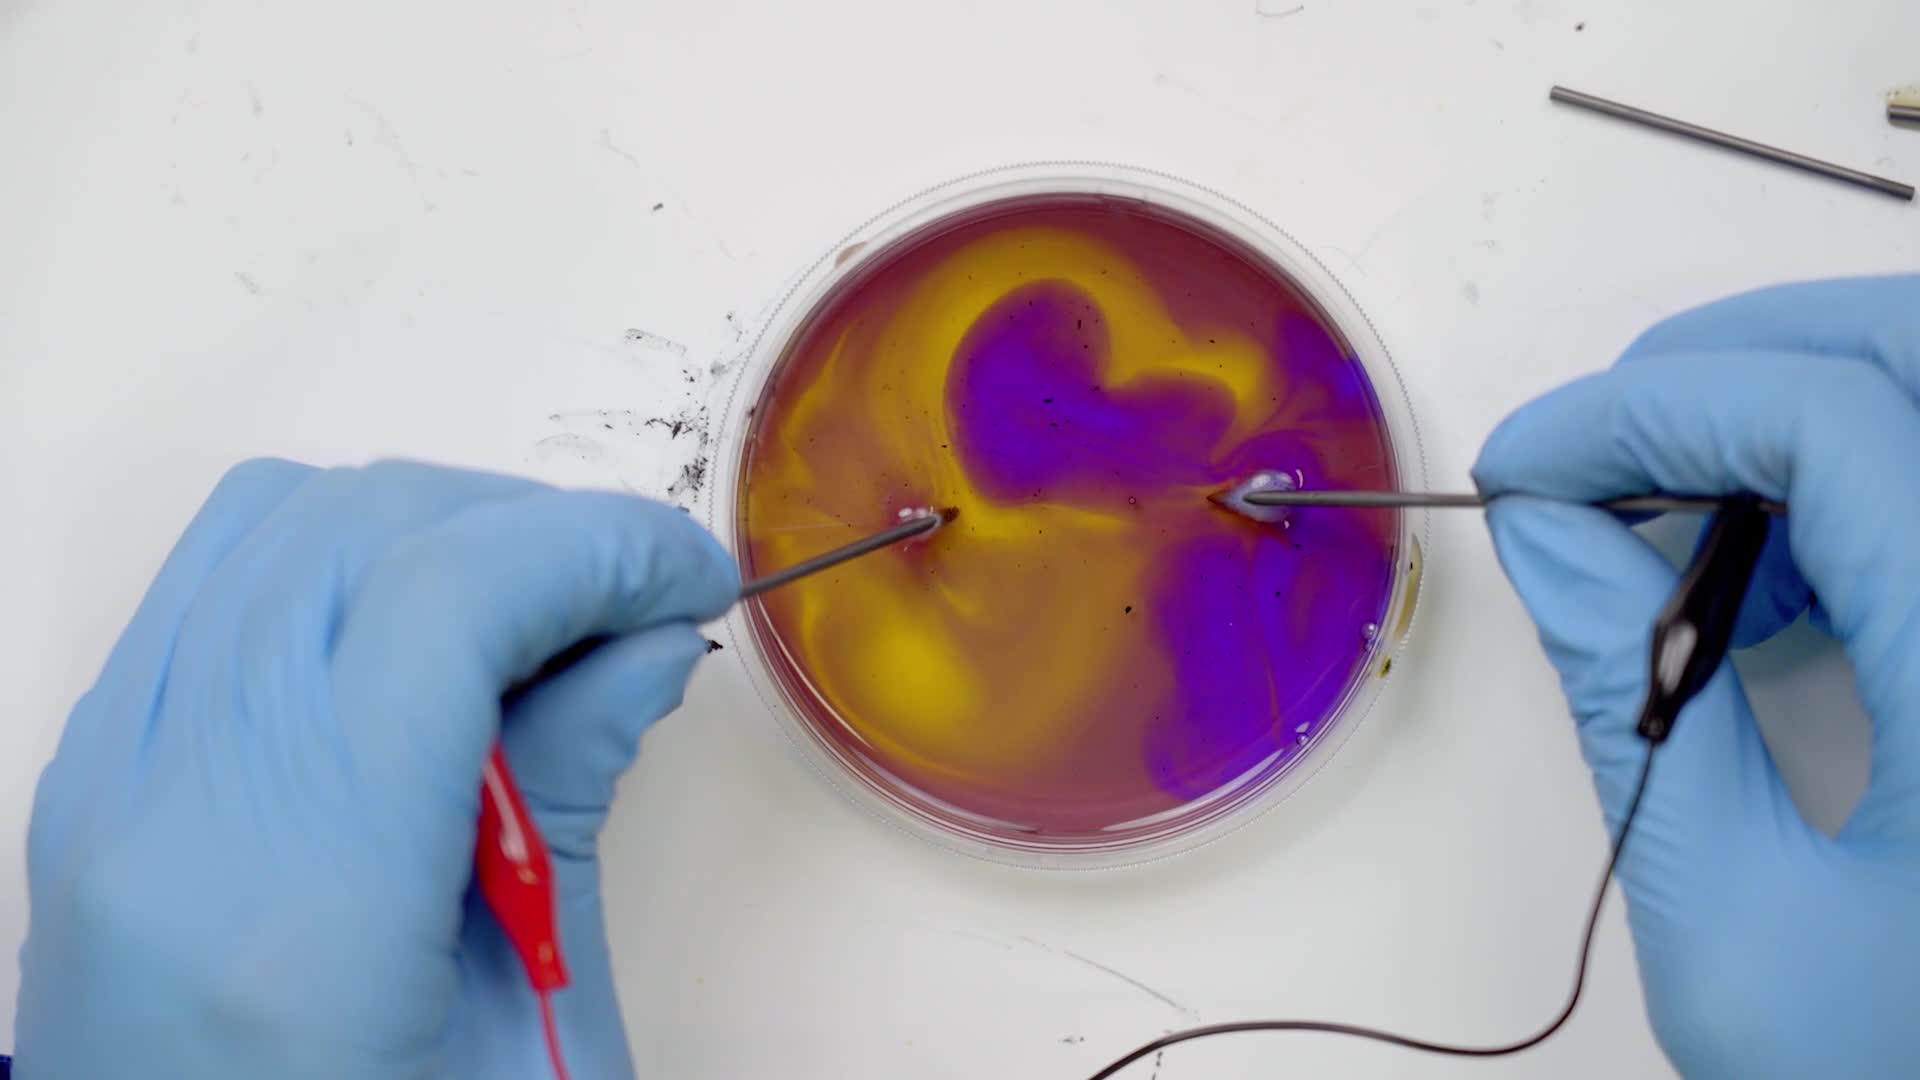
Grab both sticks of lead, and hold them just like you do a pencil.

Place the tips of the lead sticks into the petri dish and hold them there for 15 seconds while the reaction starts to happen.
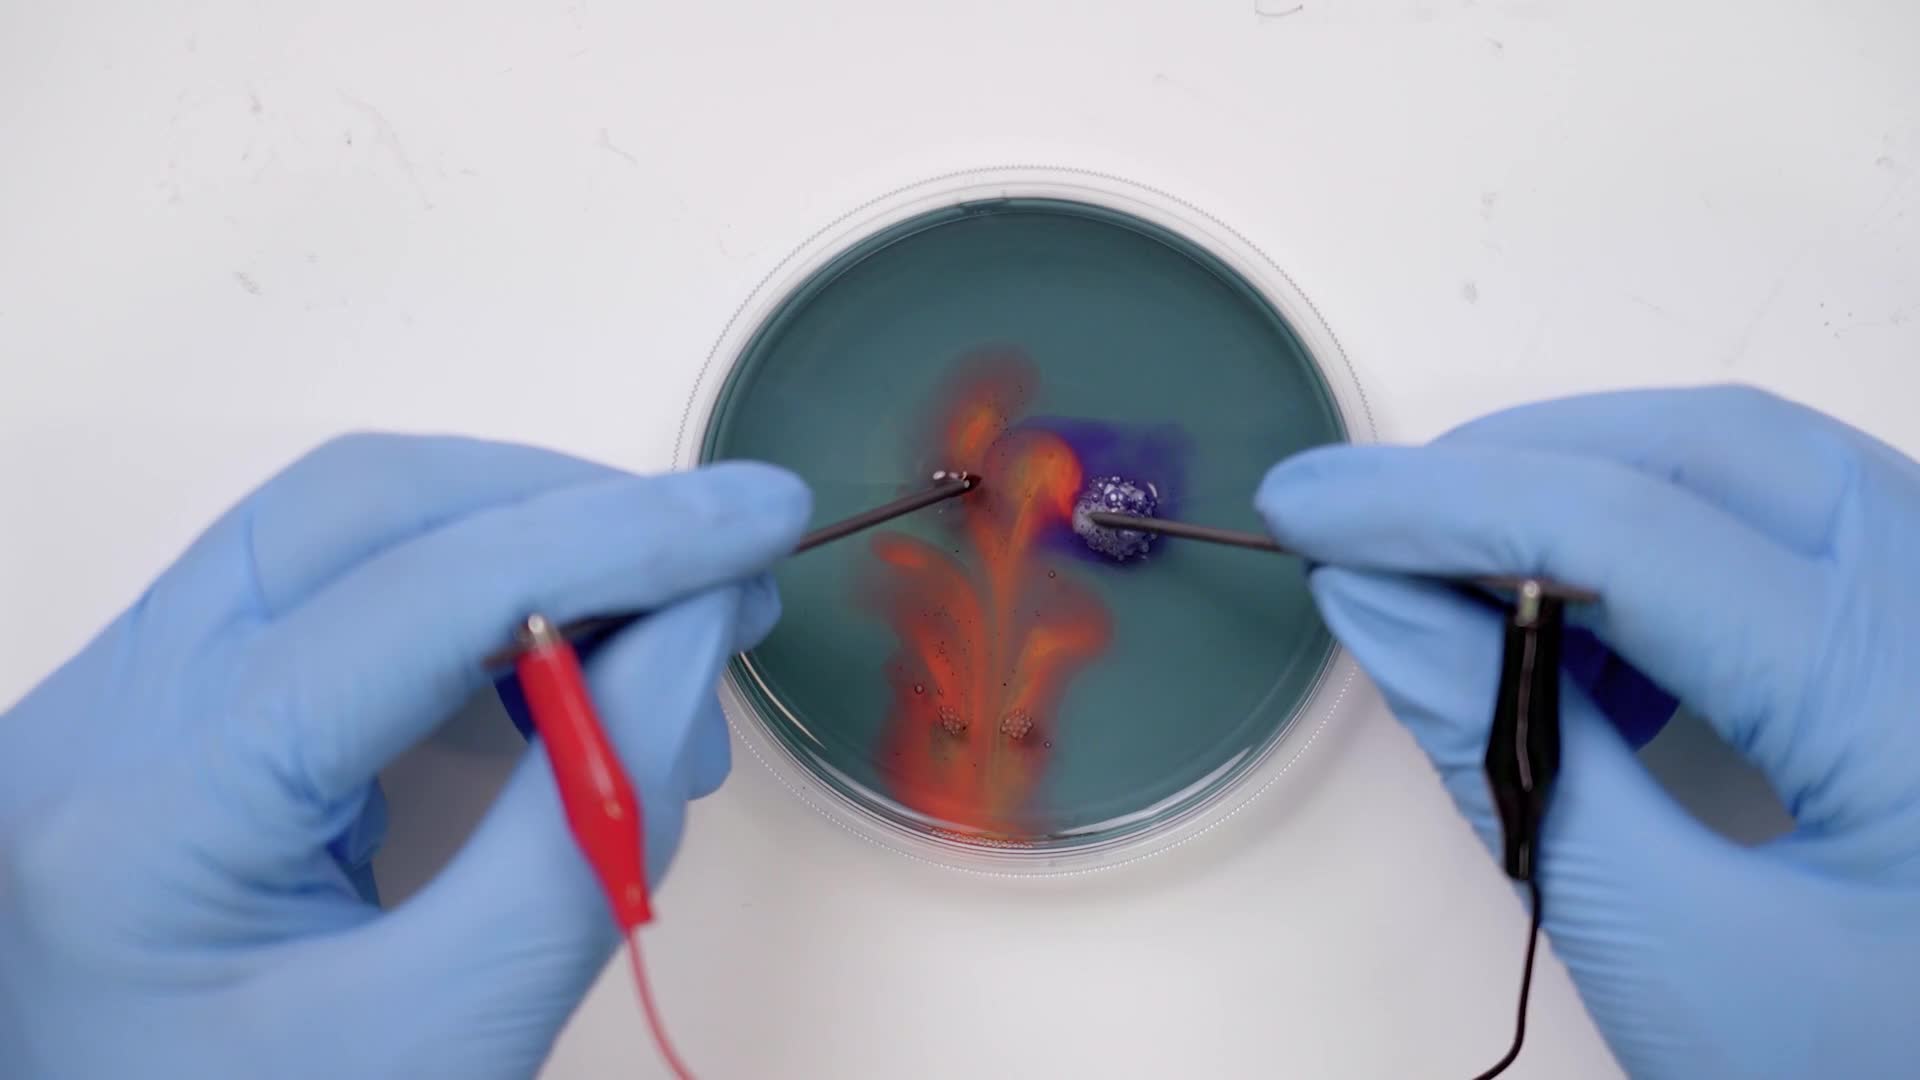
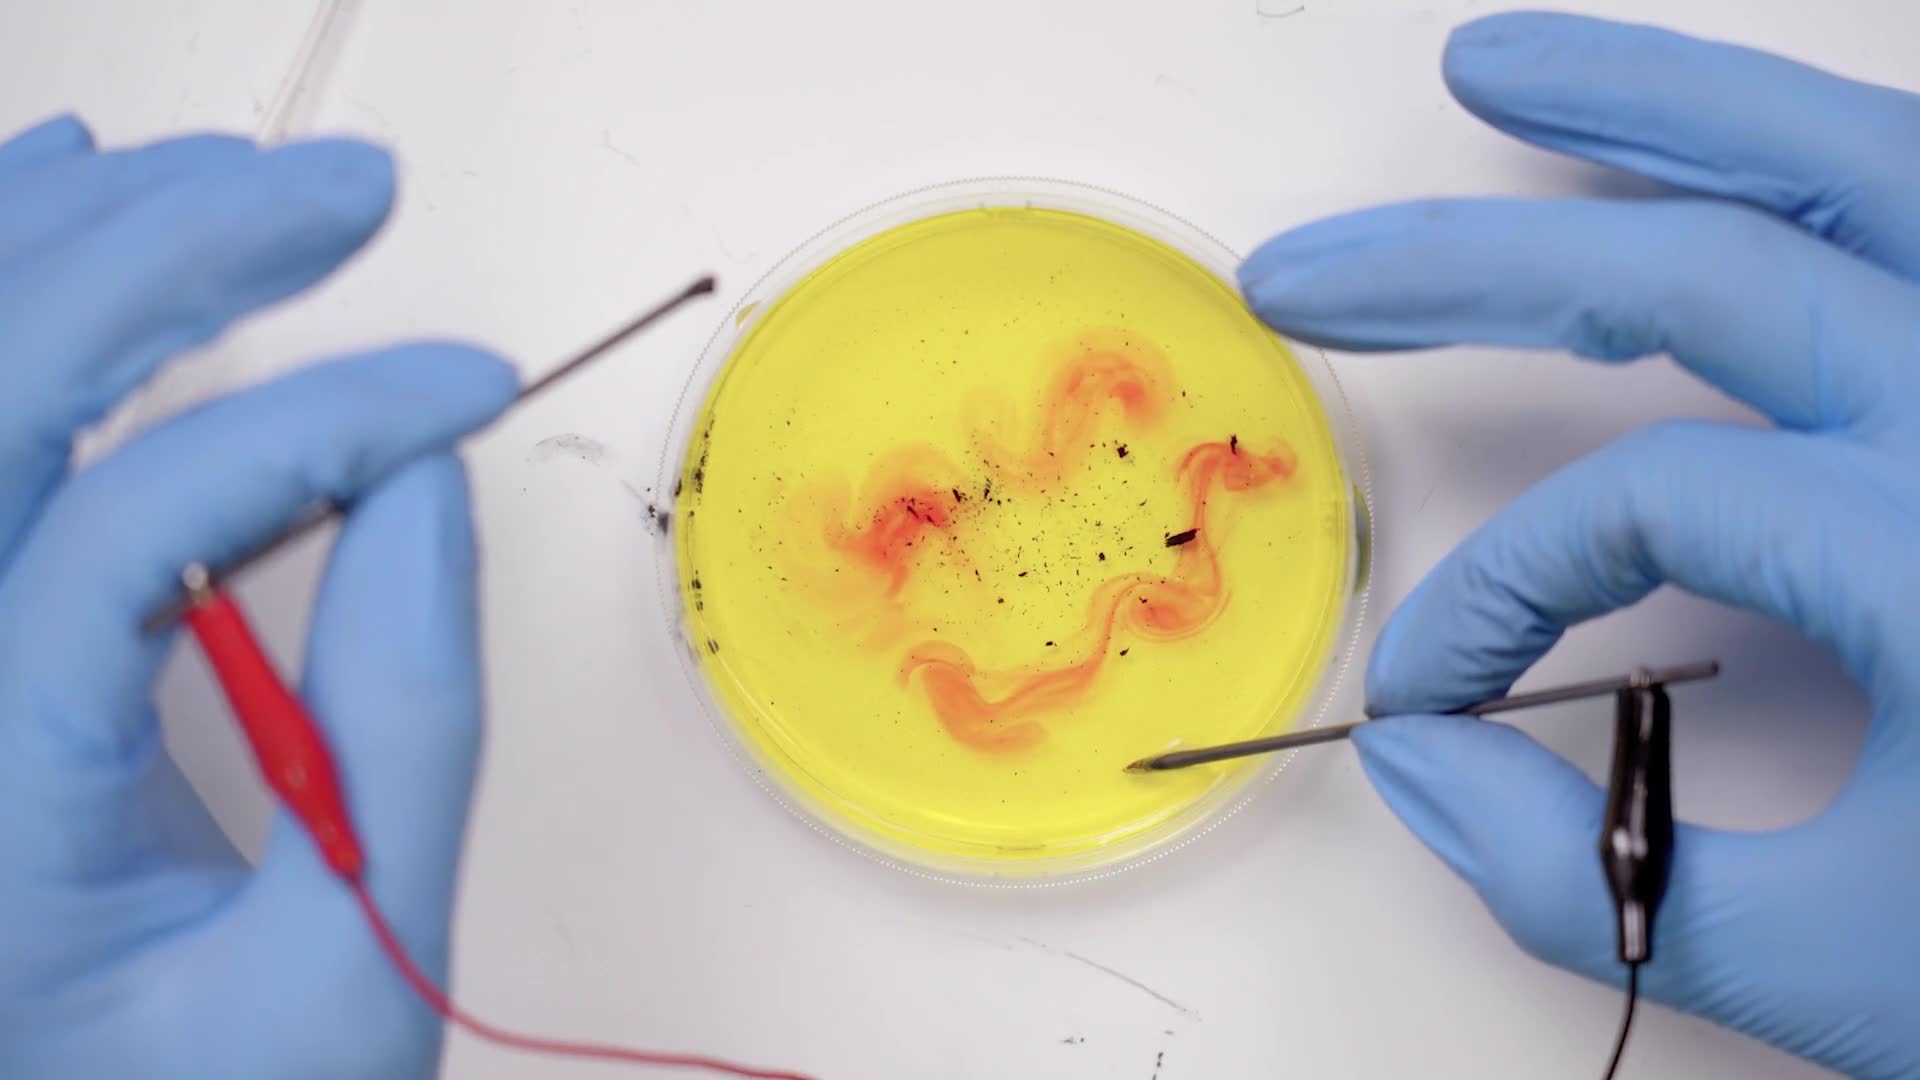
Move the sticks up and down in a light, flicking motion. The colors start to expand.
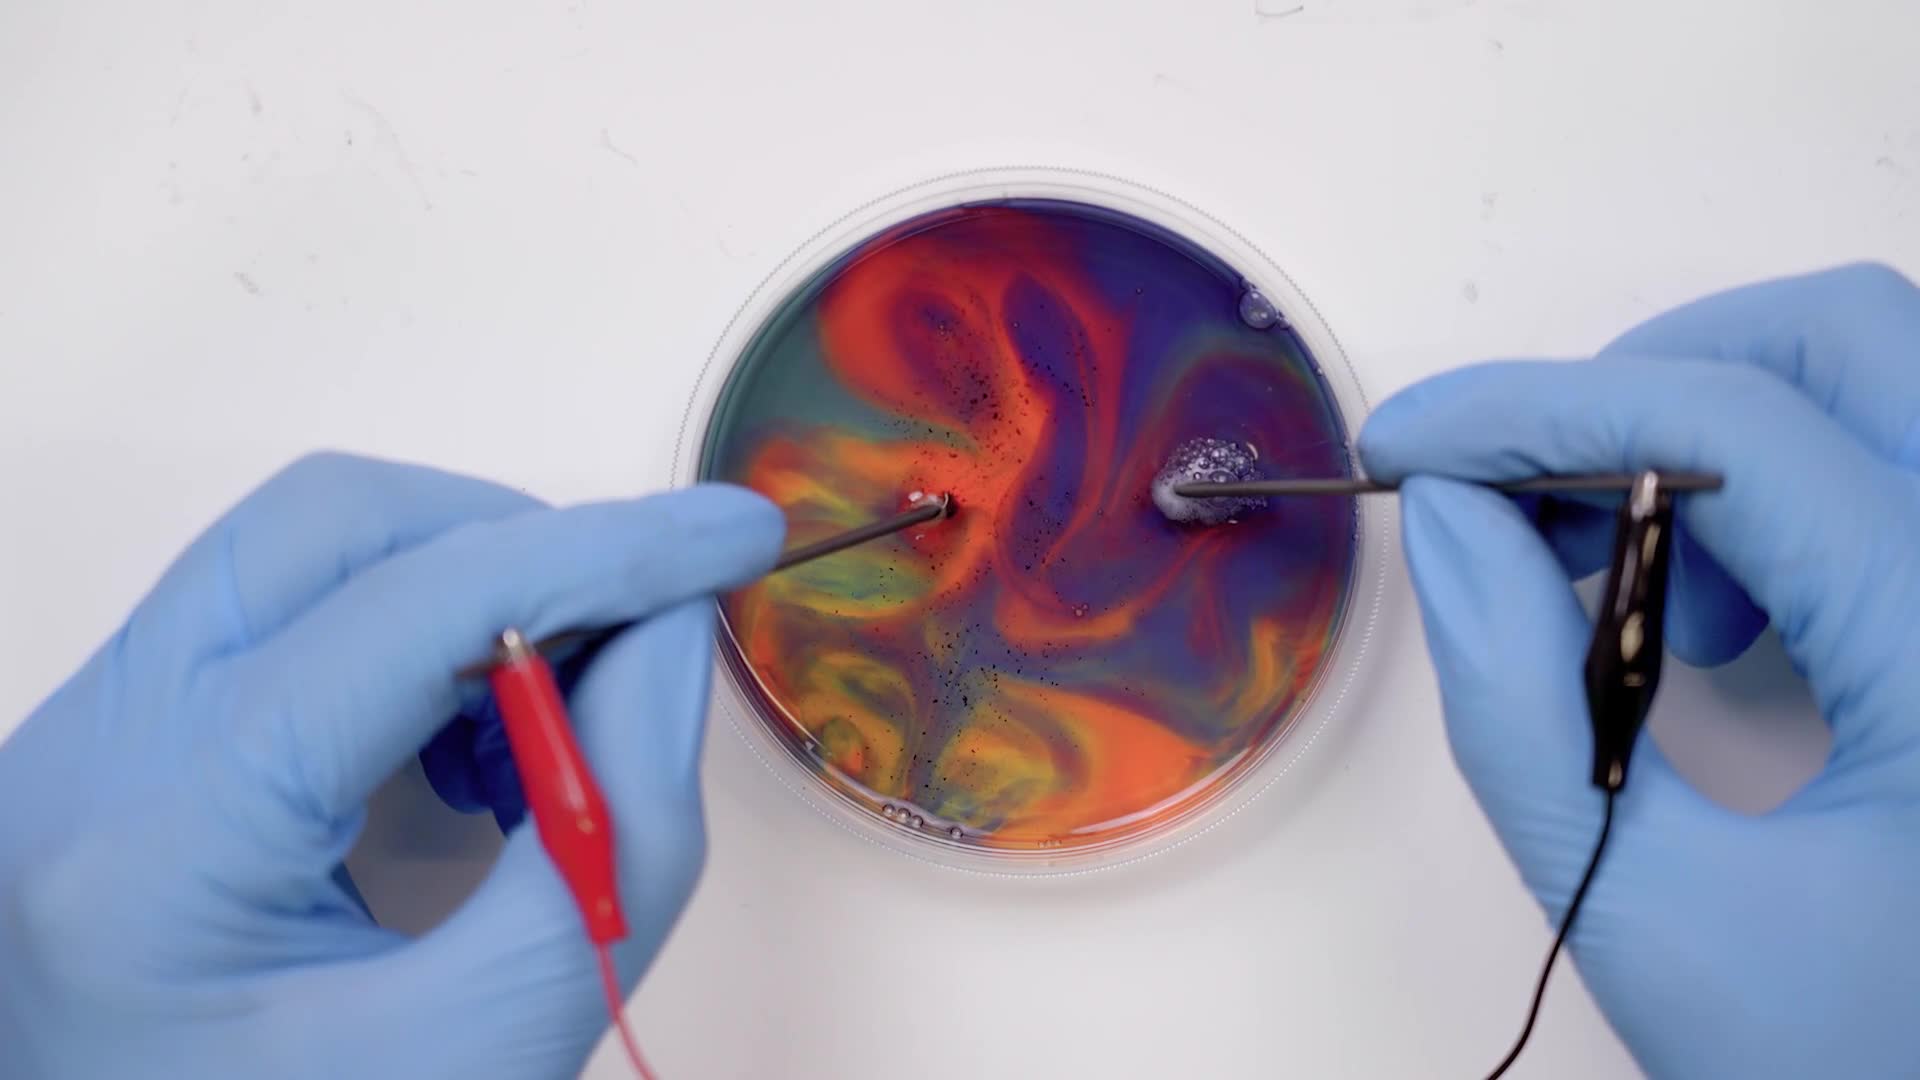
Try moving the sticks around in different directions, like circles. Experiment with all kinds of motions.
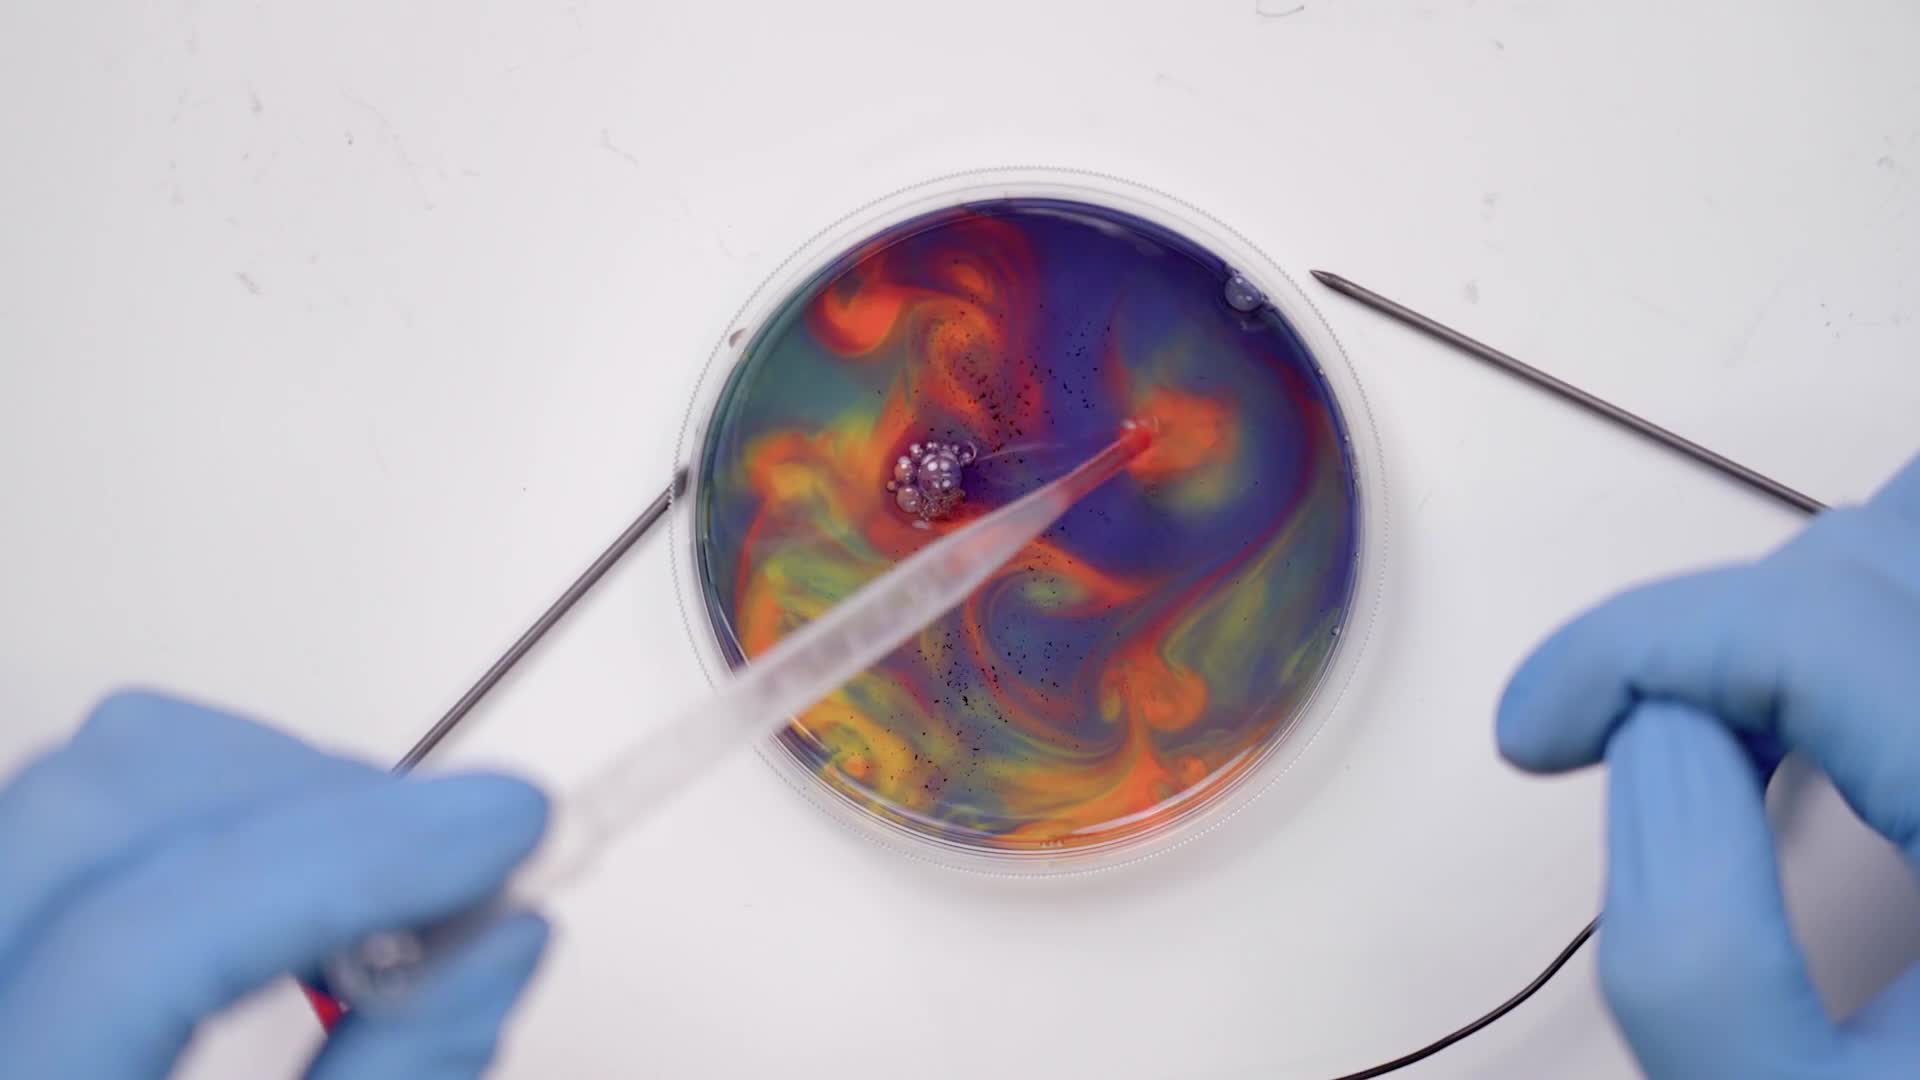
Use the pipette to suck up one color and squeeze it back out into another color to mix them. The pipette can also be used to swirl the colors.
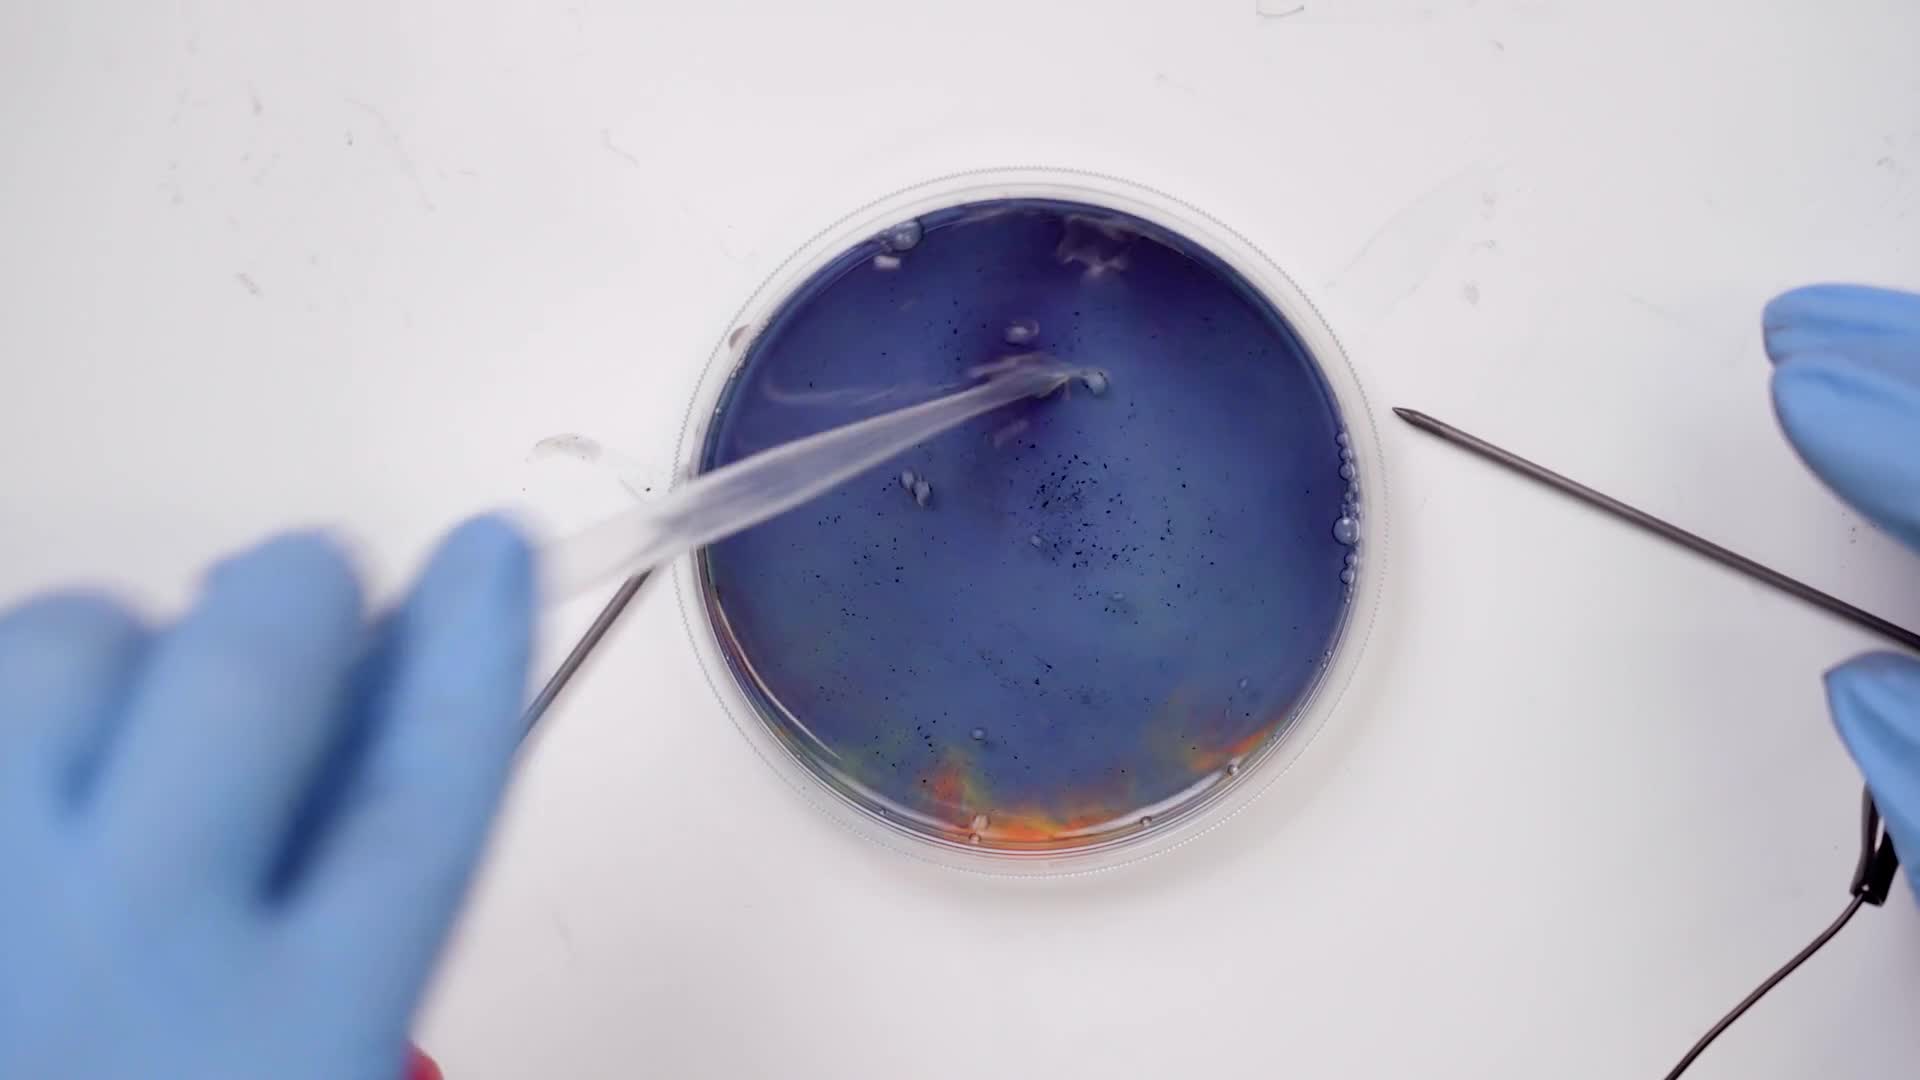
Change the colors back to the original blue color by swirling the pipette around until all the rainbow colors have disappeared.
Place the empty petri dish back in the center of the mat.
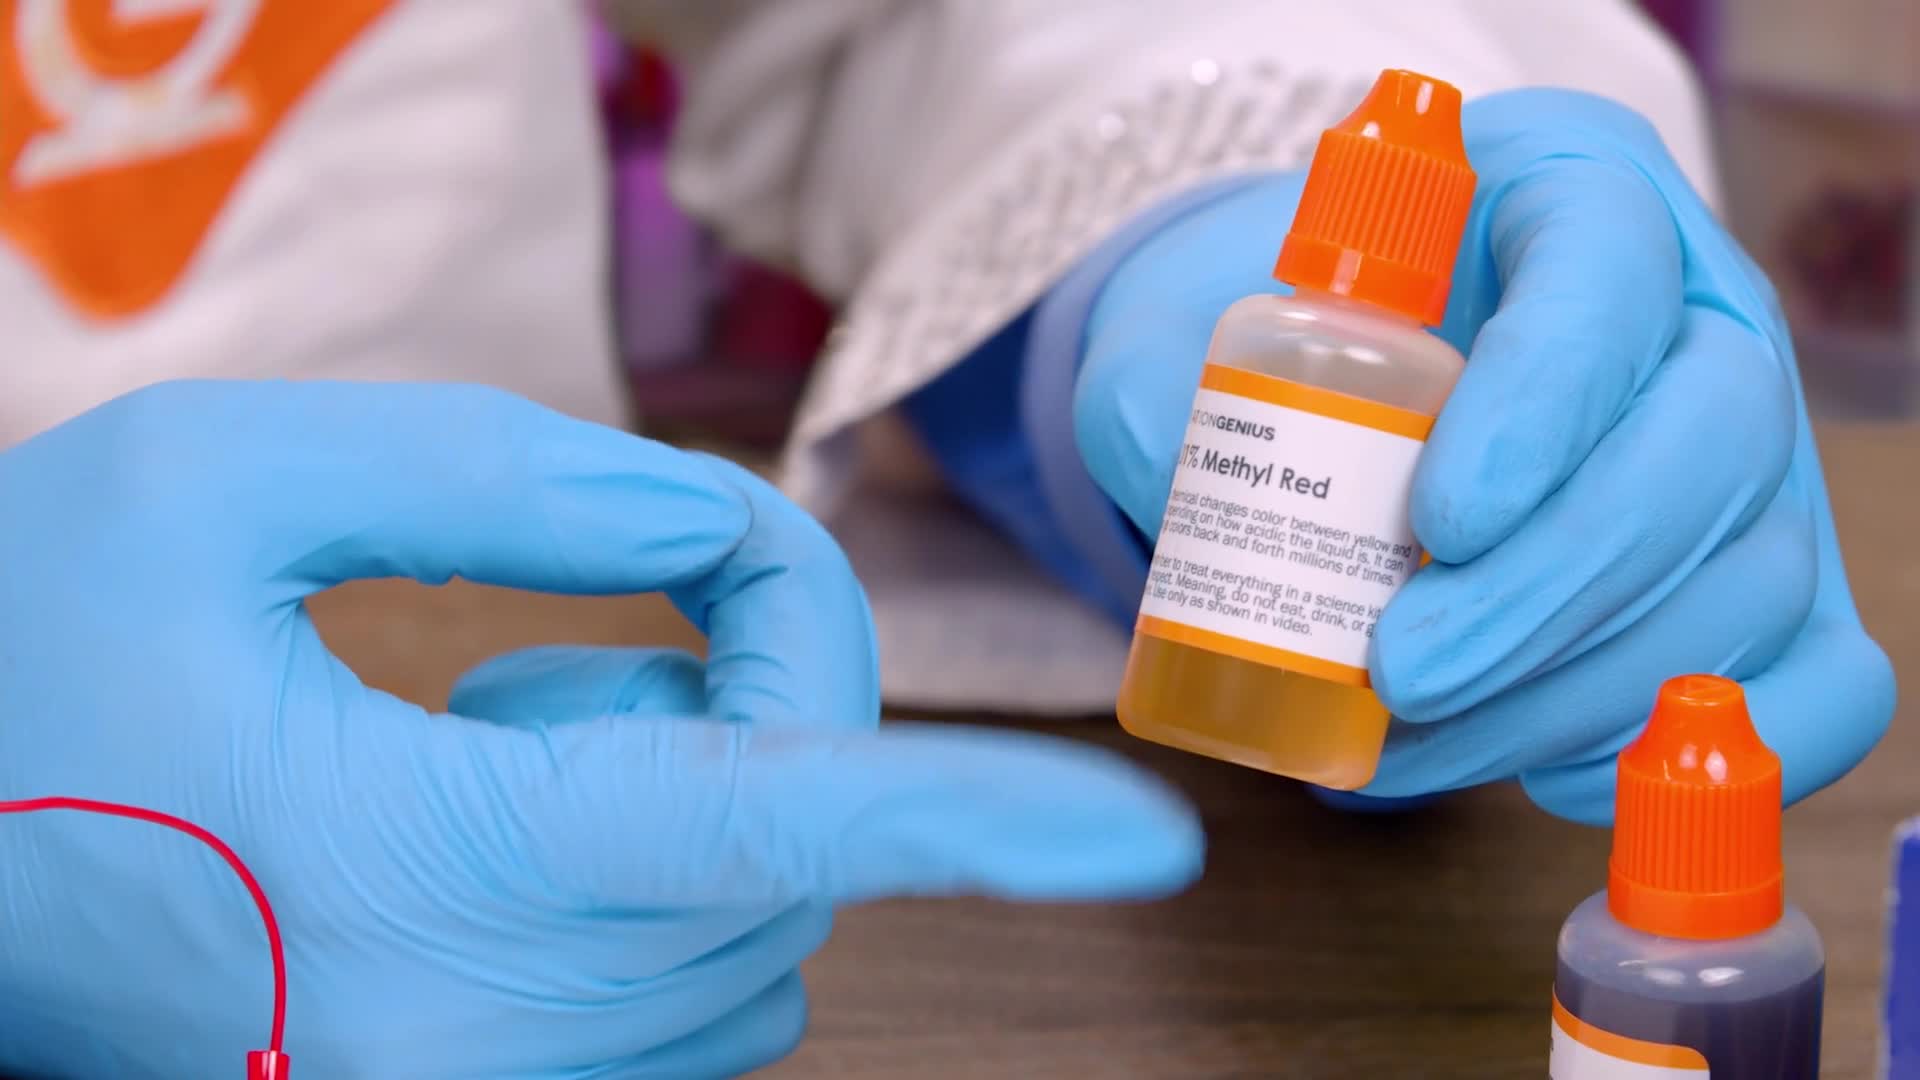
Grab the bottle that says Methyl Red.

Squeeze the liquid from the bottle into the petri dish. Remember to keep a little bit in the bottle for later.
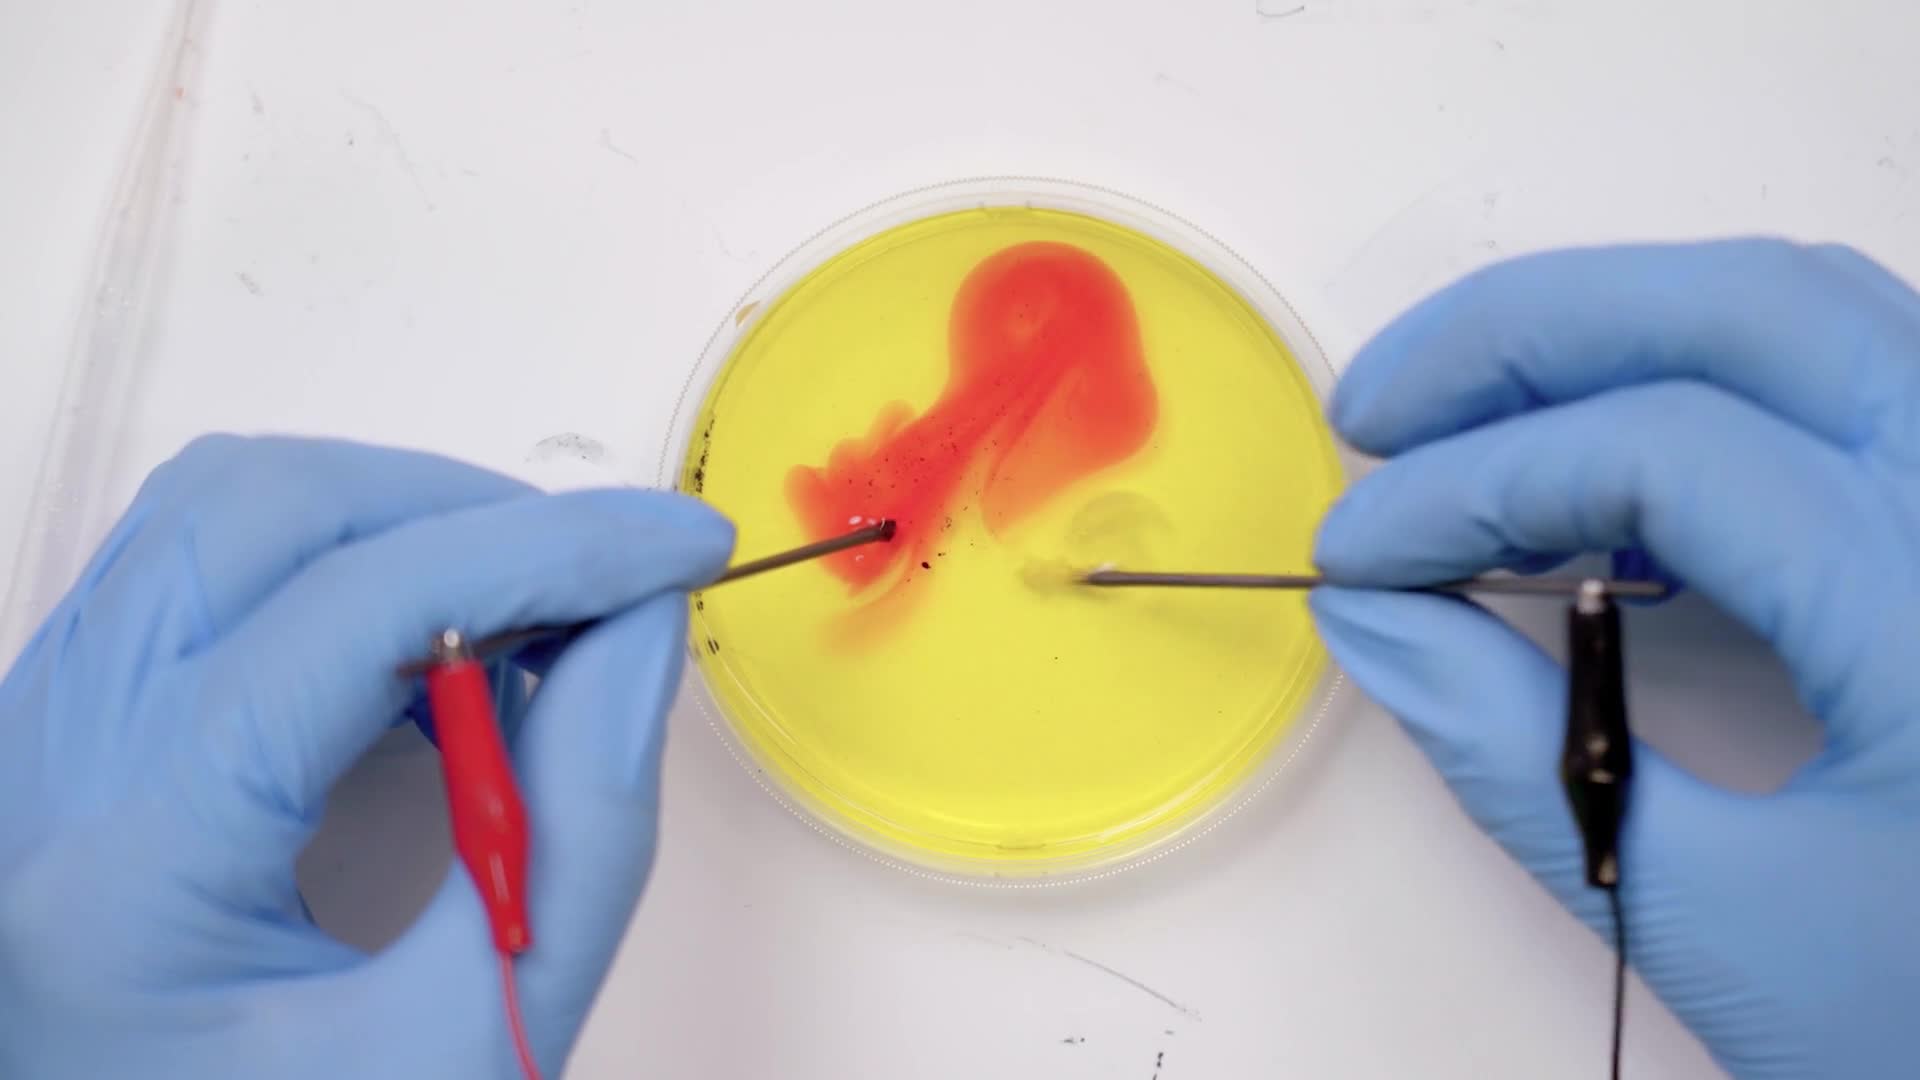
Place your lead sticks into the liquid and wait about 15 seconds before you start moving them around.
Try drawing something with the colors. If you go slowly, you can try to draw a smiley face.
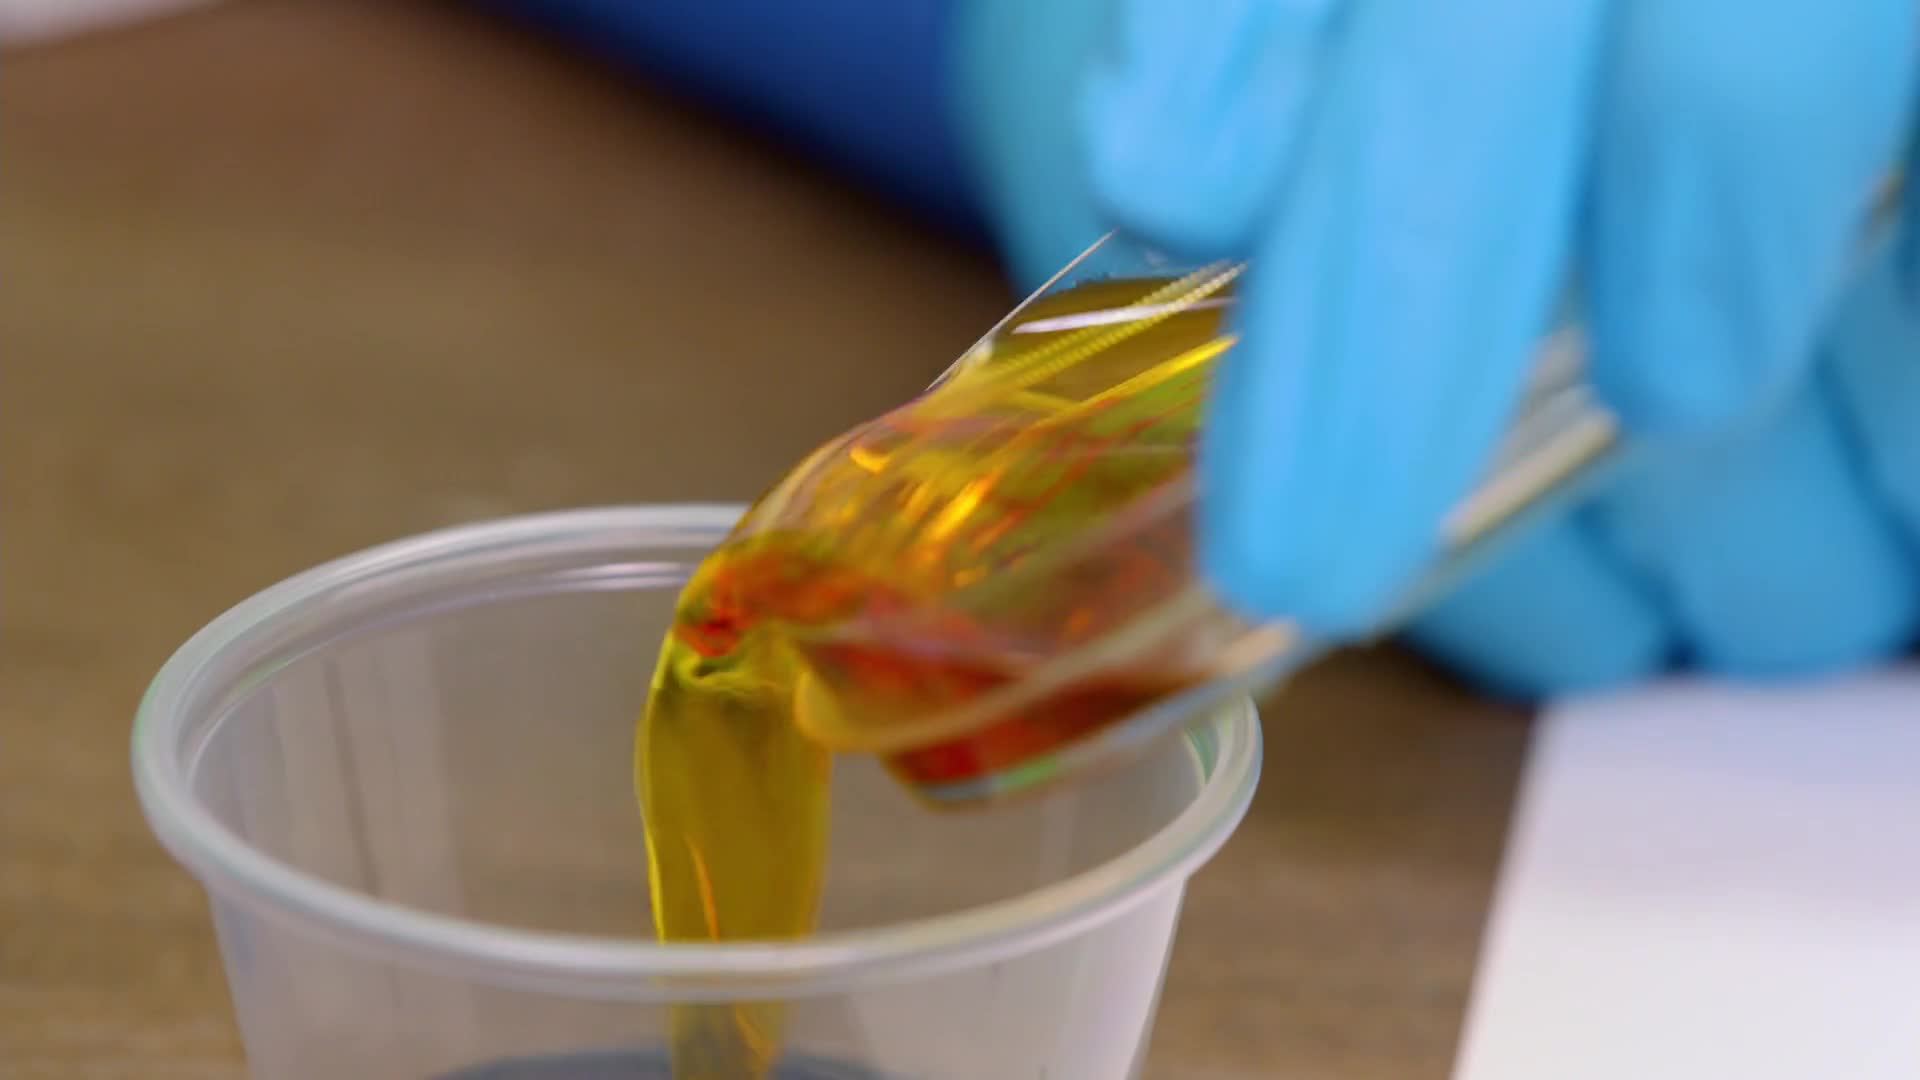
When you’re done, gently empty the liquid into the plastic cup and setup again to try the final color.
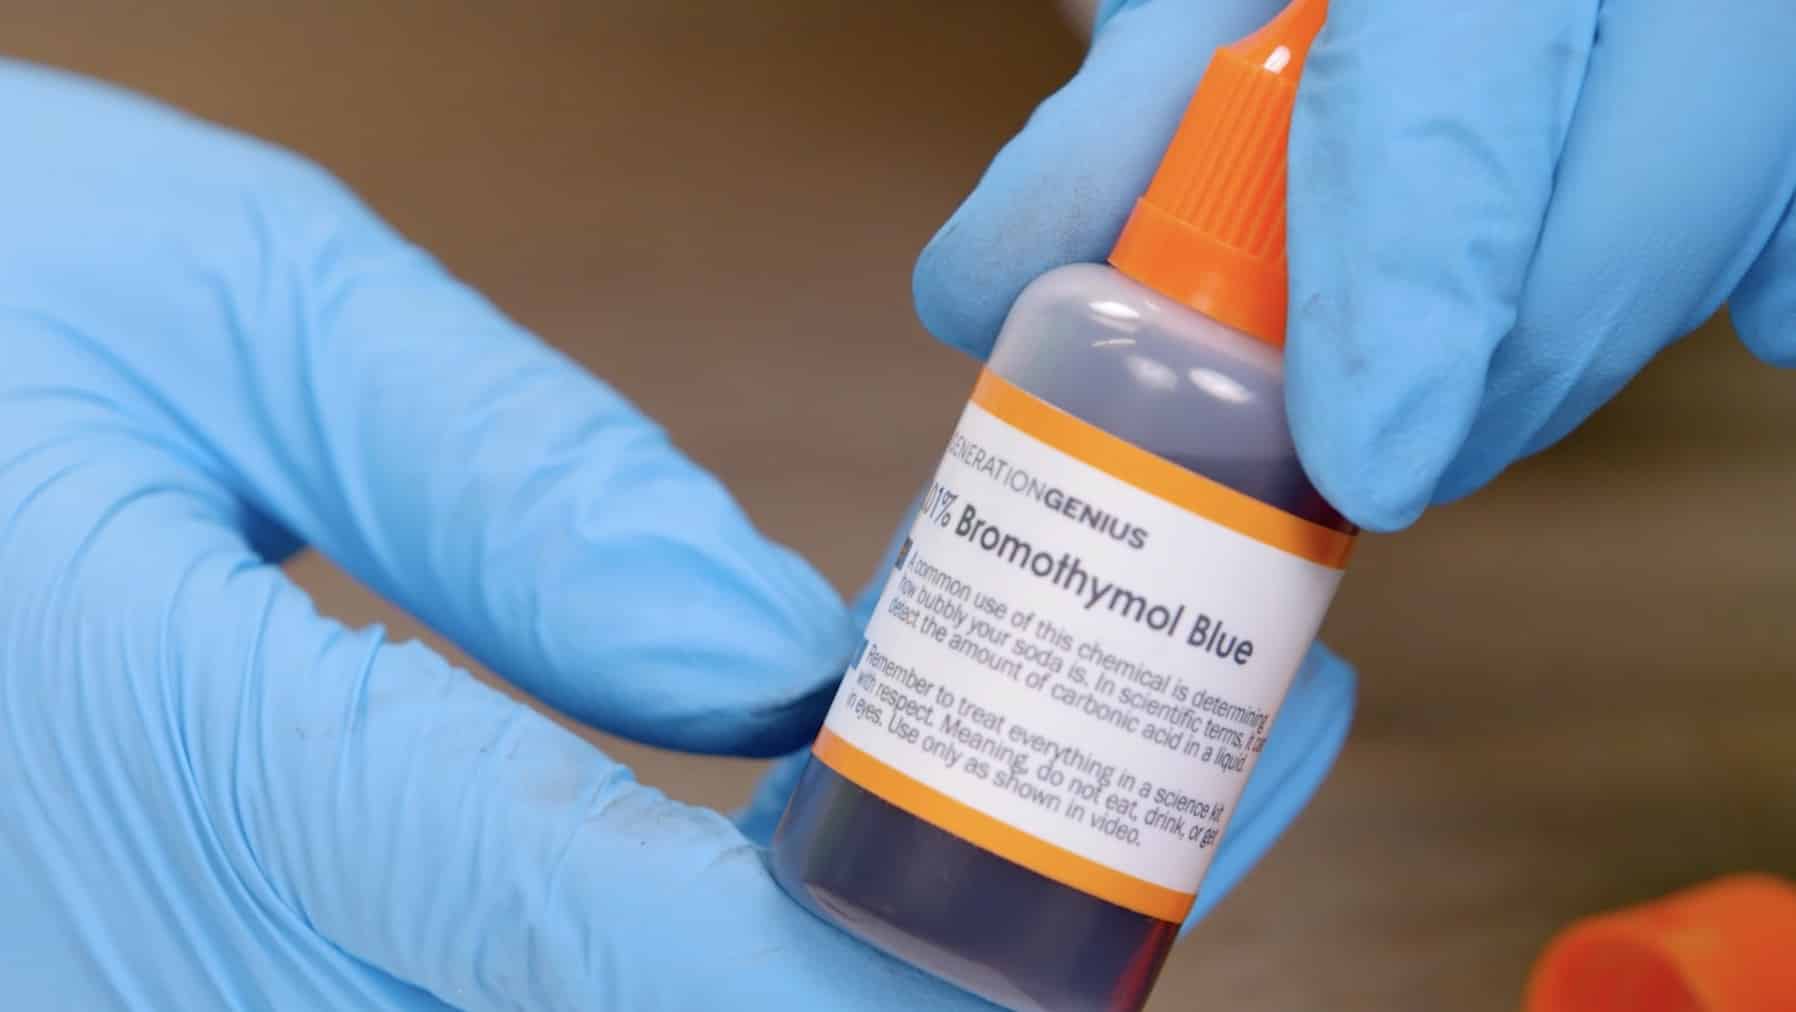
Grab the bottle that says Bromothymol Blue.
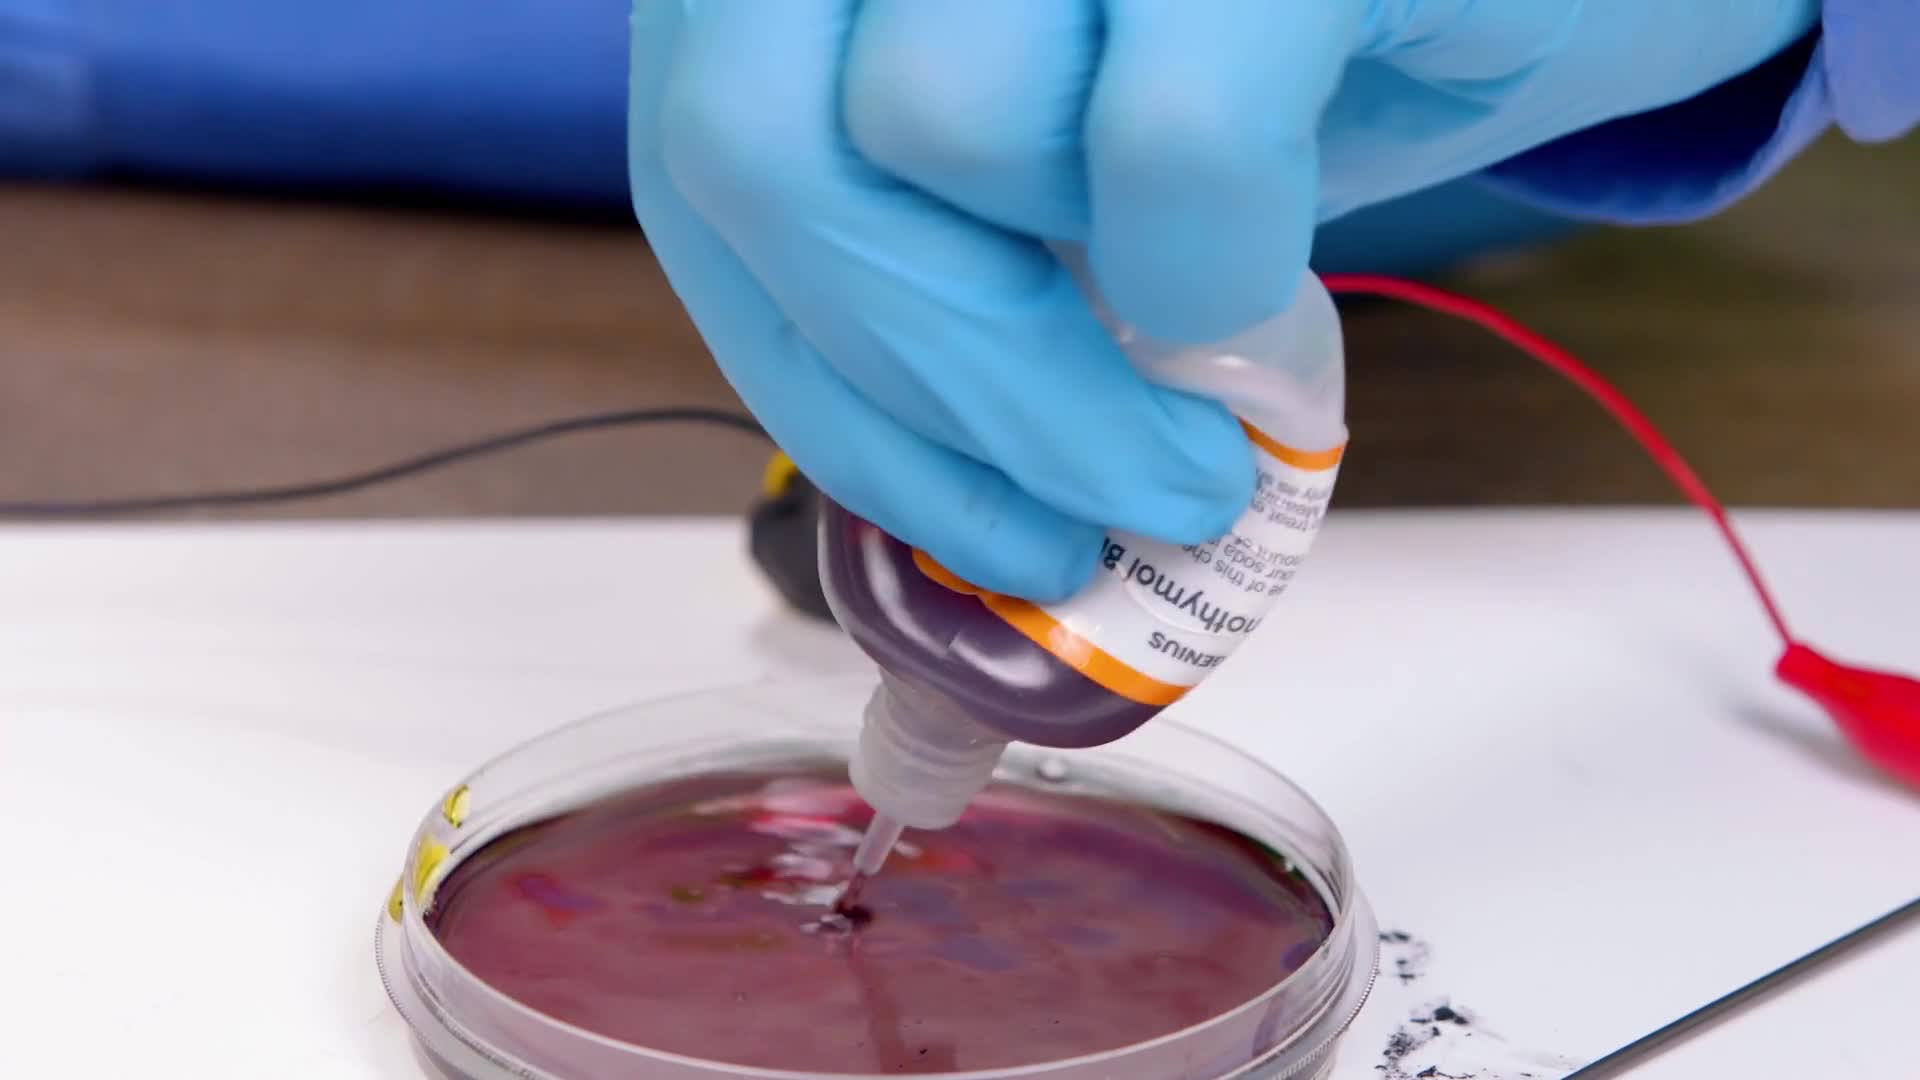
Squeeze some of the liquid into your petri dish and save a little bit for later. Your color may look a little different than mine, but that’s okay!
Place your lead sticks into the liquid for about 15 seconds before you start to move them around.

When you’re done, pour the liquid into your cup. Everything in the bag can be recycled and the liquid can go down your household drain.


Skip, I will use a 3 day free trial
Enjoy your free 30 days trial


 GENERATION GENIUS