


 GENERATION GENIUS


Science & Math
$/yr
If you are on a school computer or network, ask your tech person to whitelist these URLs:
*.wistia.com, fast.wistia.com, fast.wistia.net, embed-fastly.wistia.com, embed-cloudfront.wistia.com, embedwistia-a.akamaihd.net
Sometimes a simple refresh solves this issue. If you need further help, contact us.
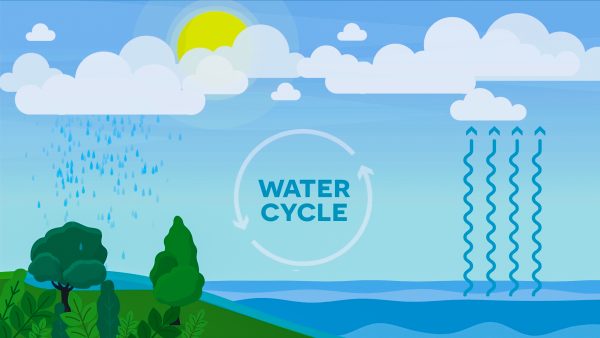
Make a model of the water cycle!
When the liquid water in the large bowl is warmed by the sun, it evaporates into water vapor. The water vapor rises up until it touches the cooler plastic wrap. That causes the water vapor to cool down and condense to form water droplets on the plastic wrap. When the droplets get big enough, they roll down the slanted plastic wrap to the lowest point and fall into the smaller bowl. The grass and dirt do not evaporate, so they are left behind in the large bowl. The process happens slowly, and is constantly cycling on Earth.

In this lesson, we learn that:


Skip, I will use a 3 day free trial
Enjoy your free 30 days trial

