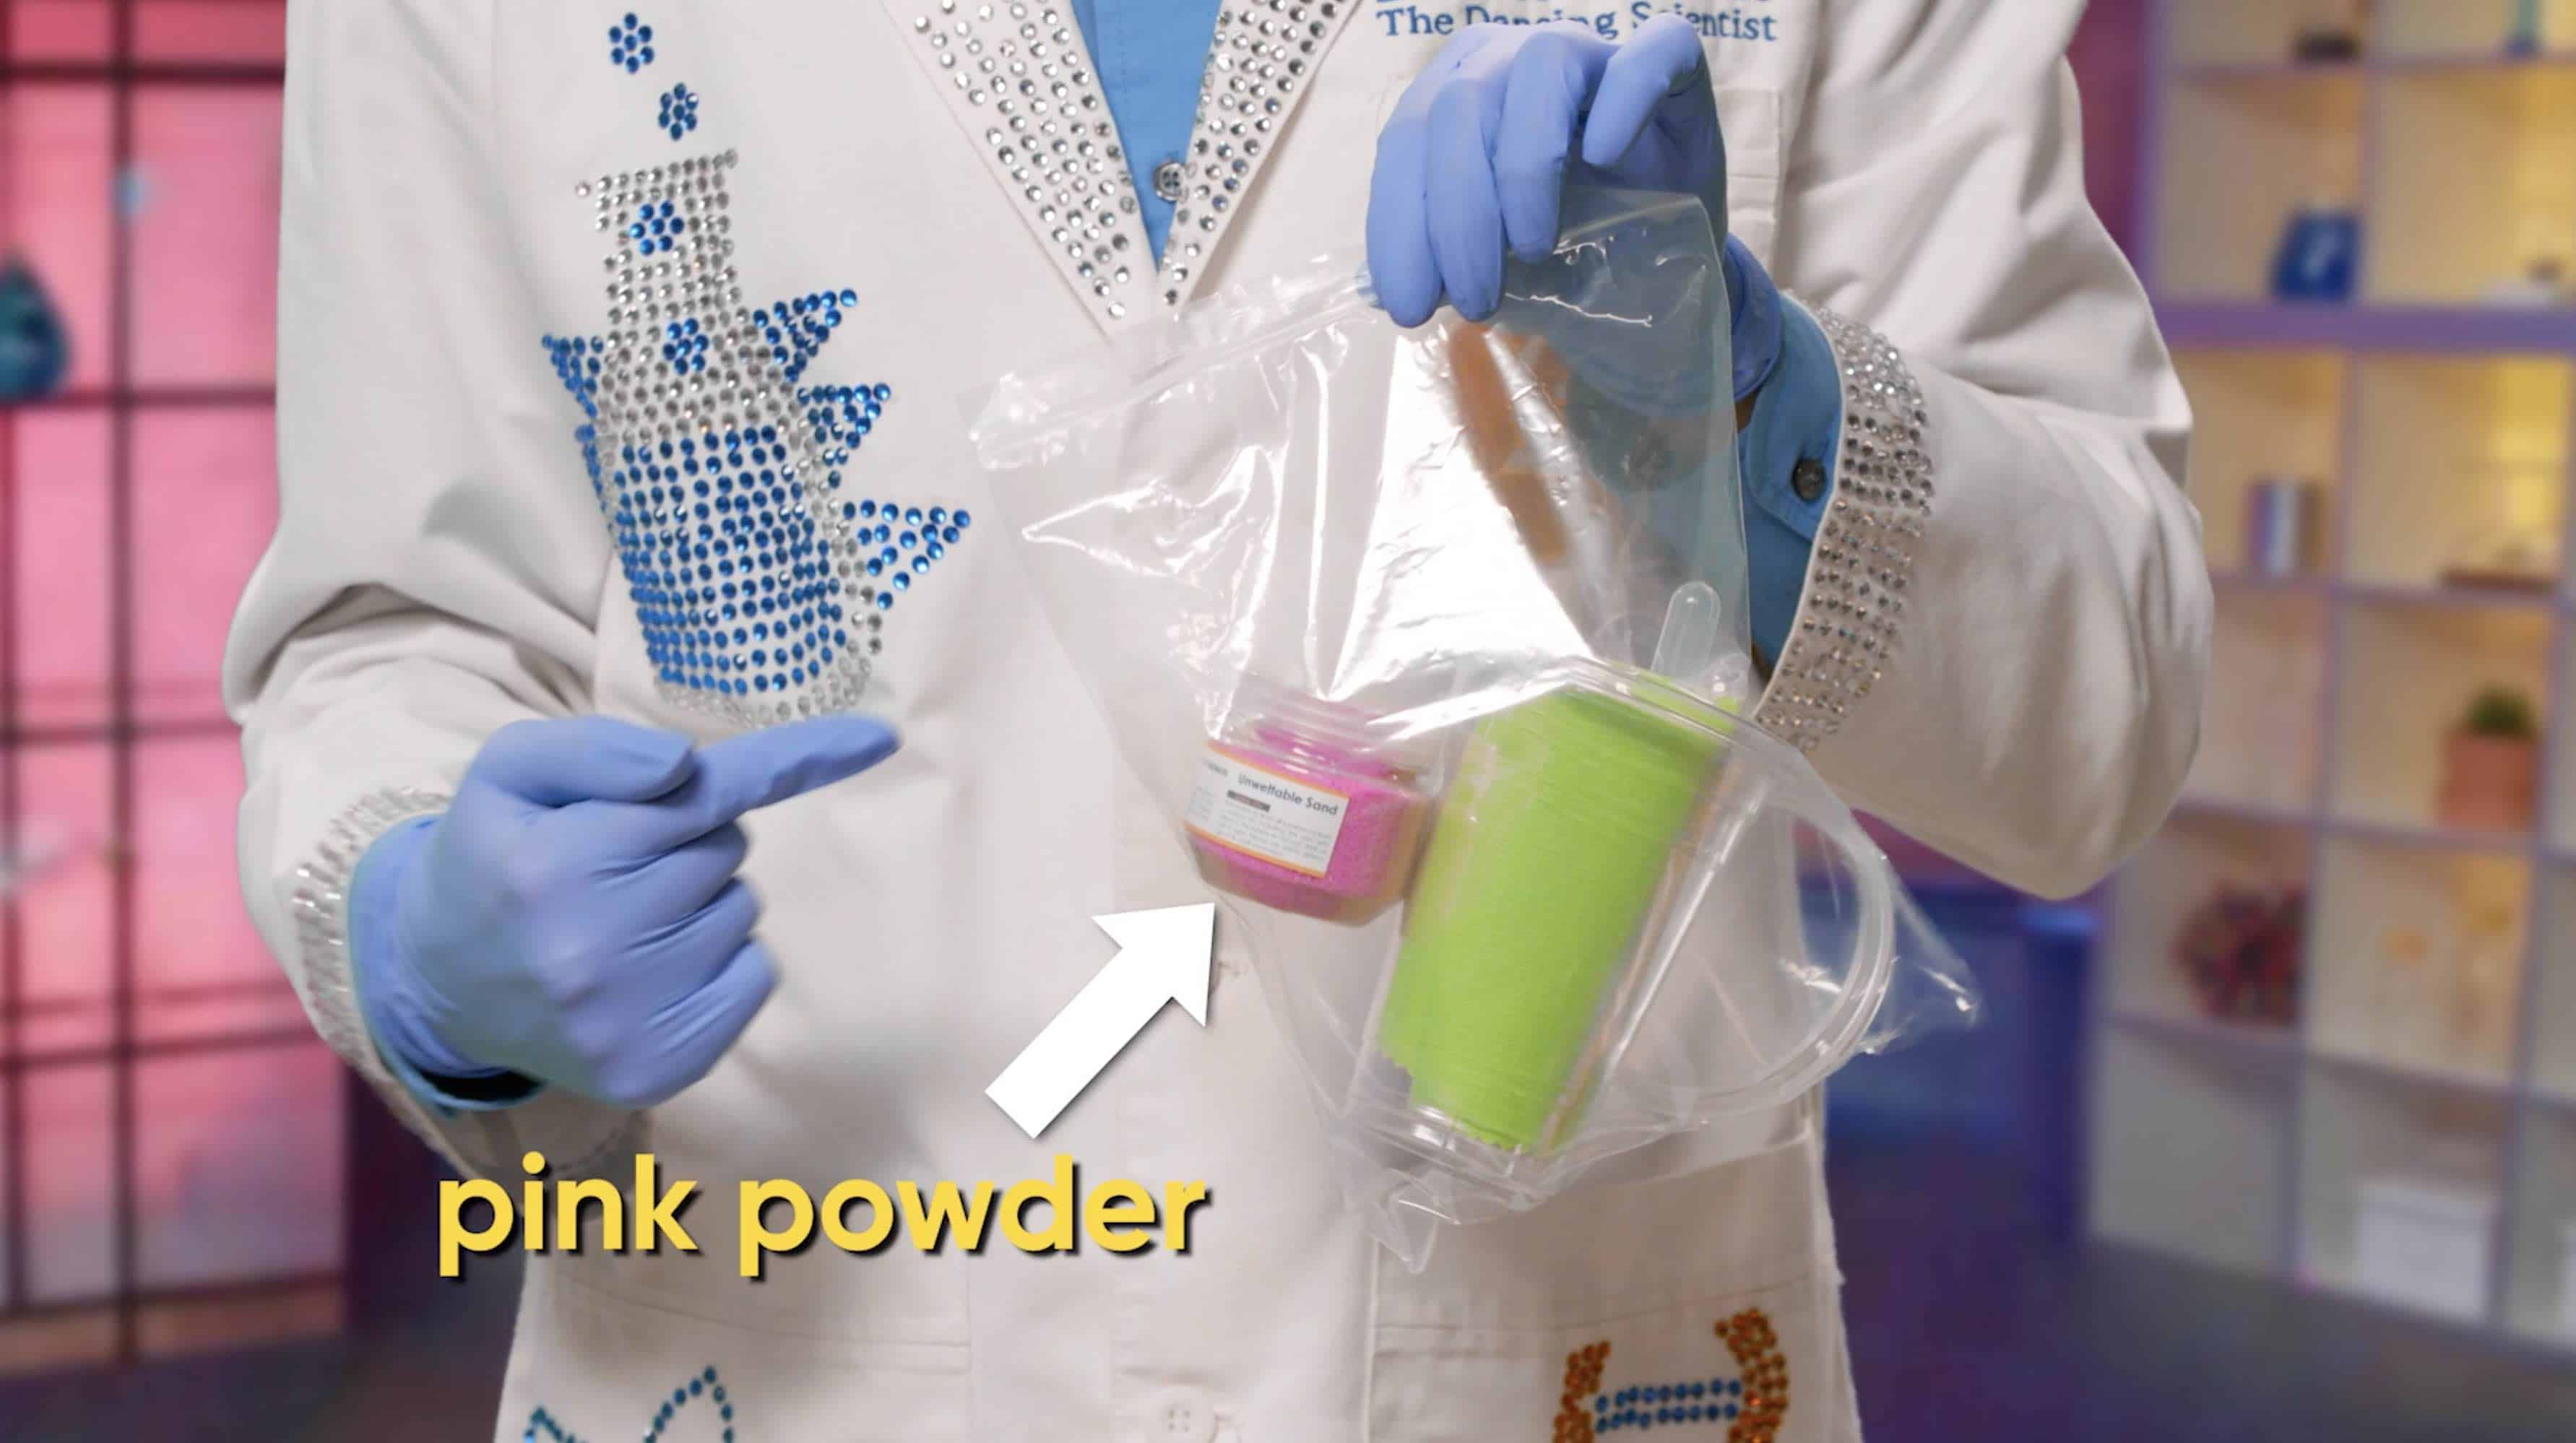
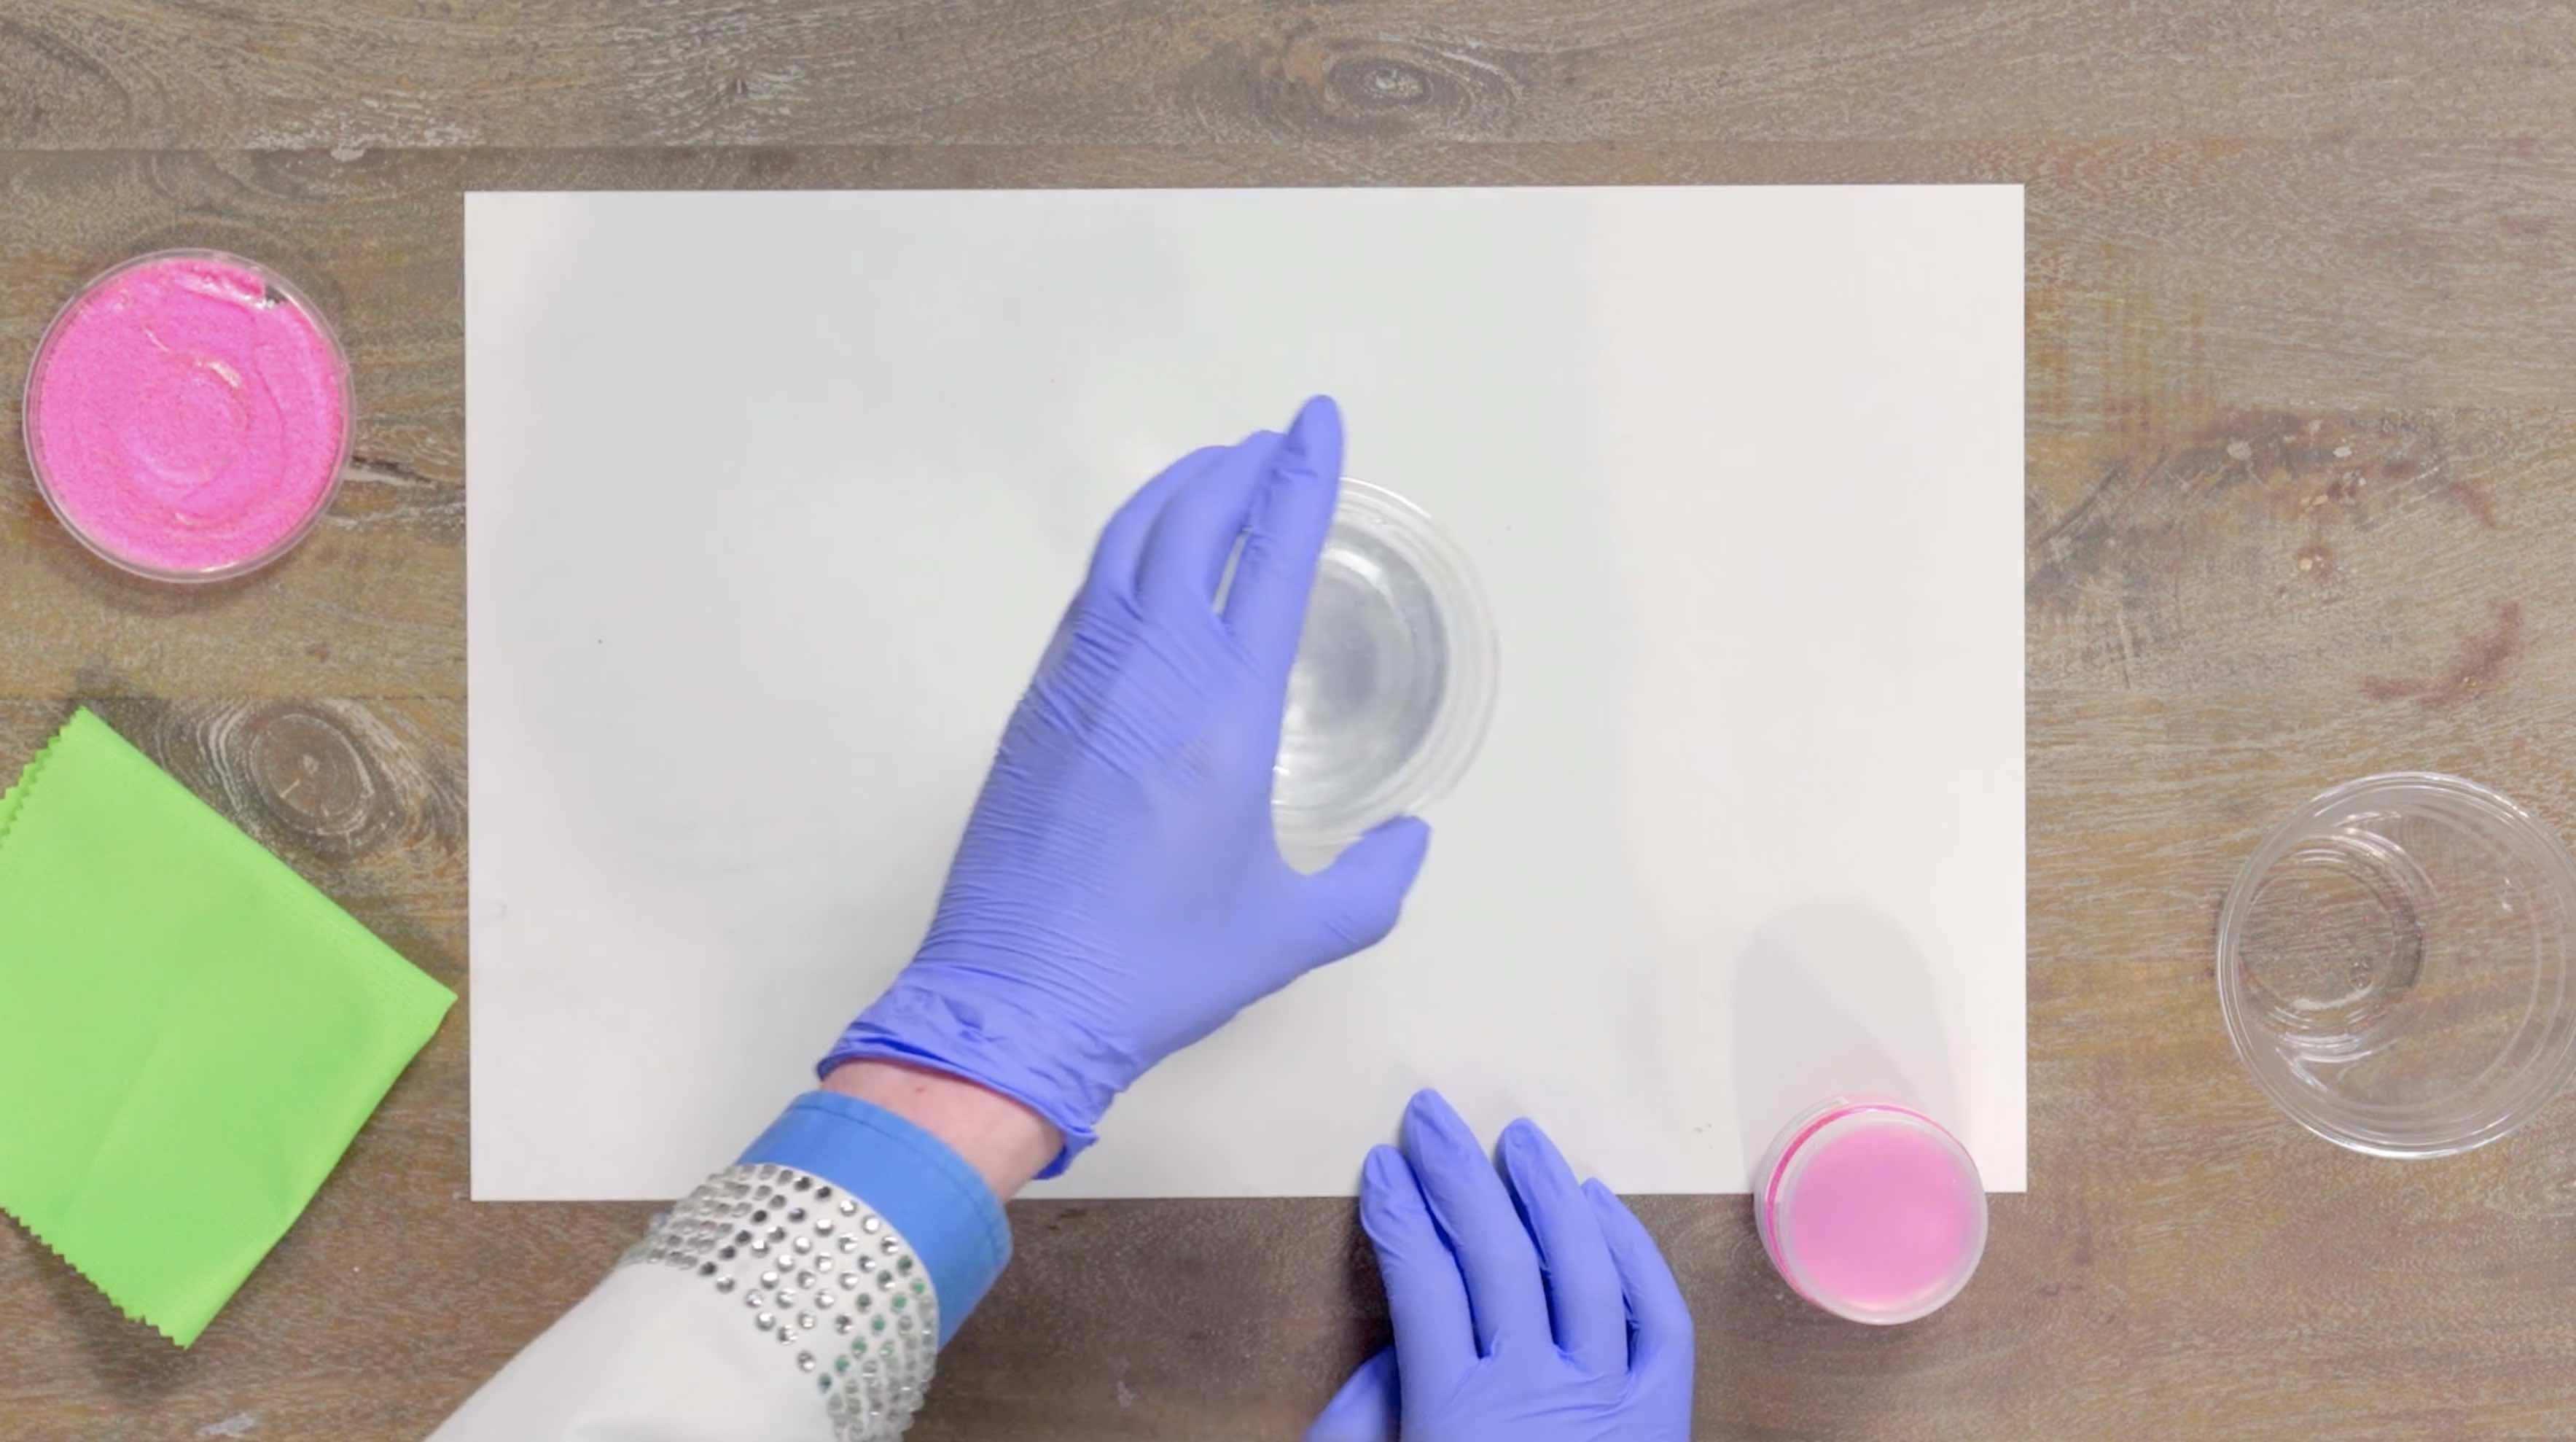
Reach into your kit & pull out the bag with the pink powder in it. Place everything around the white mat, and put the bag back in your box.

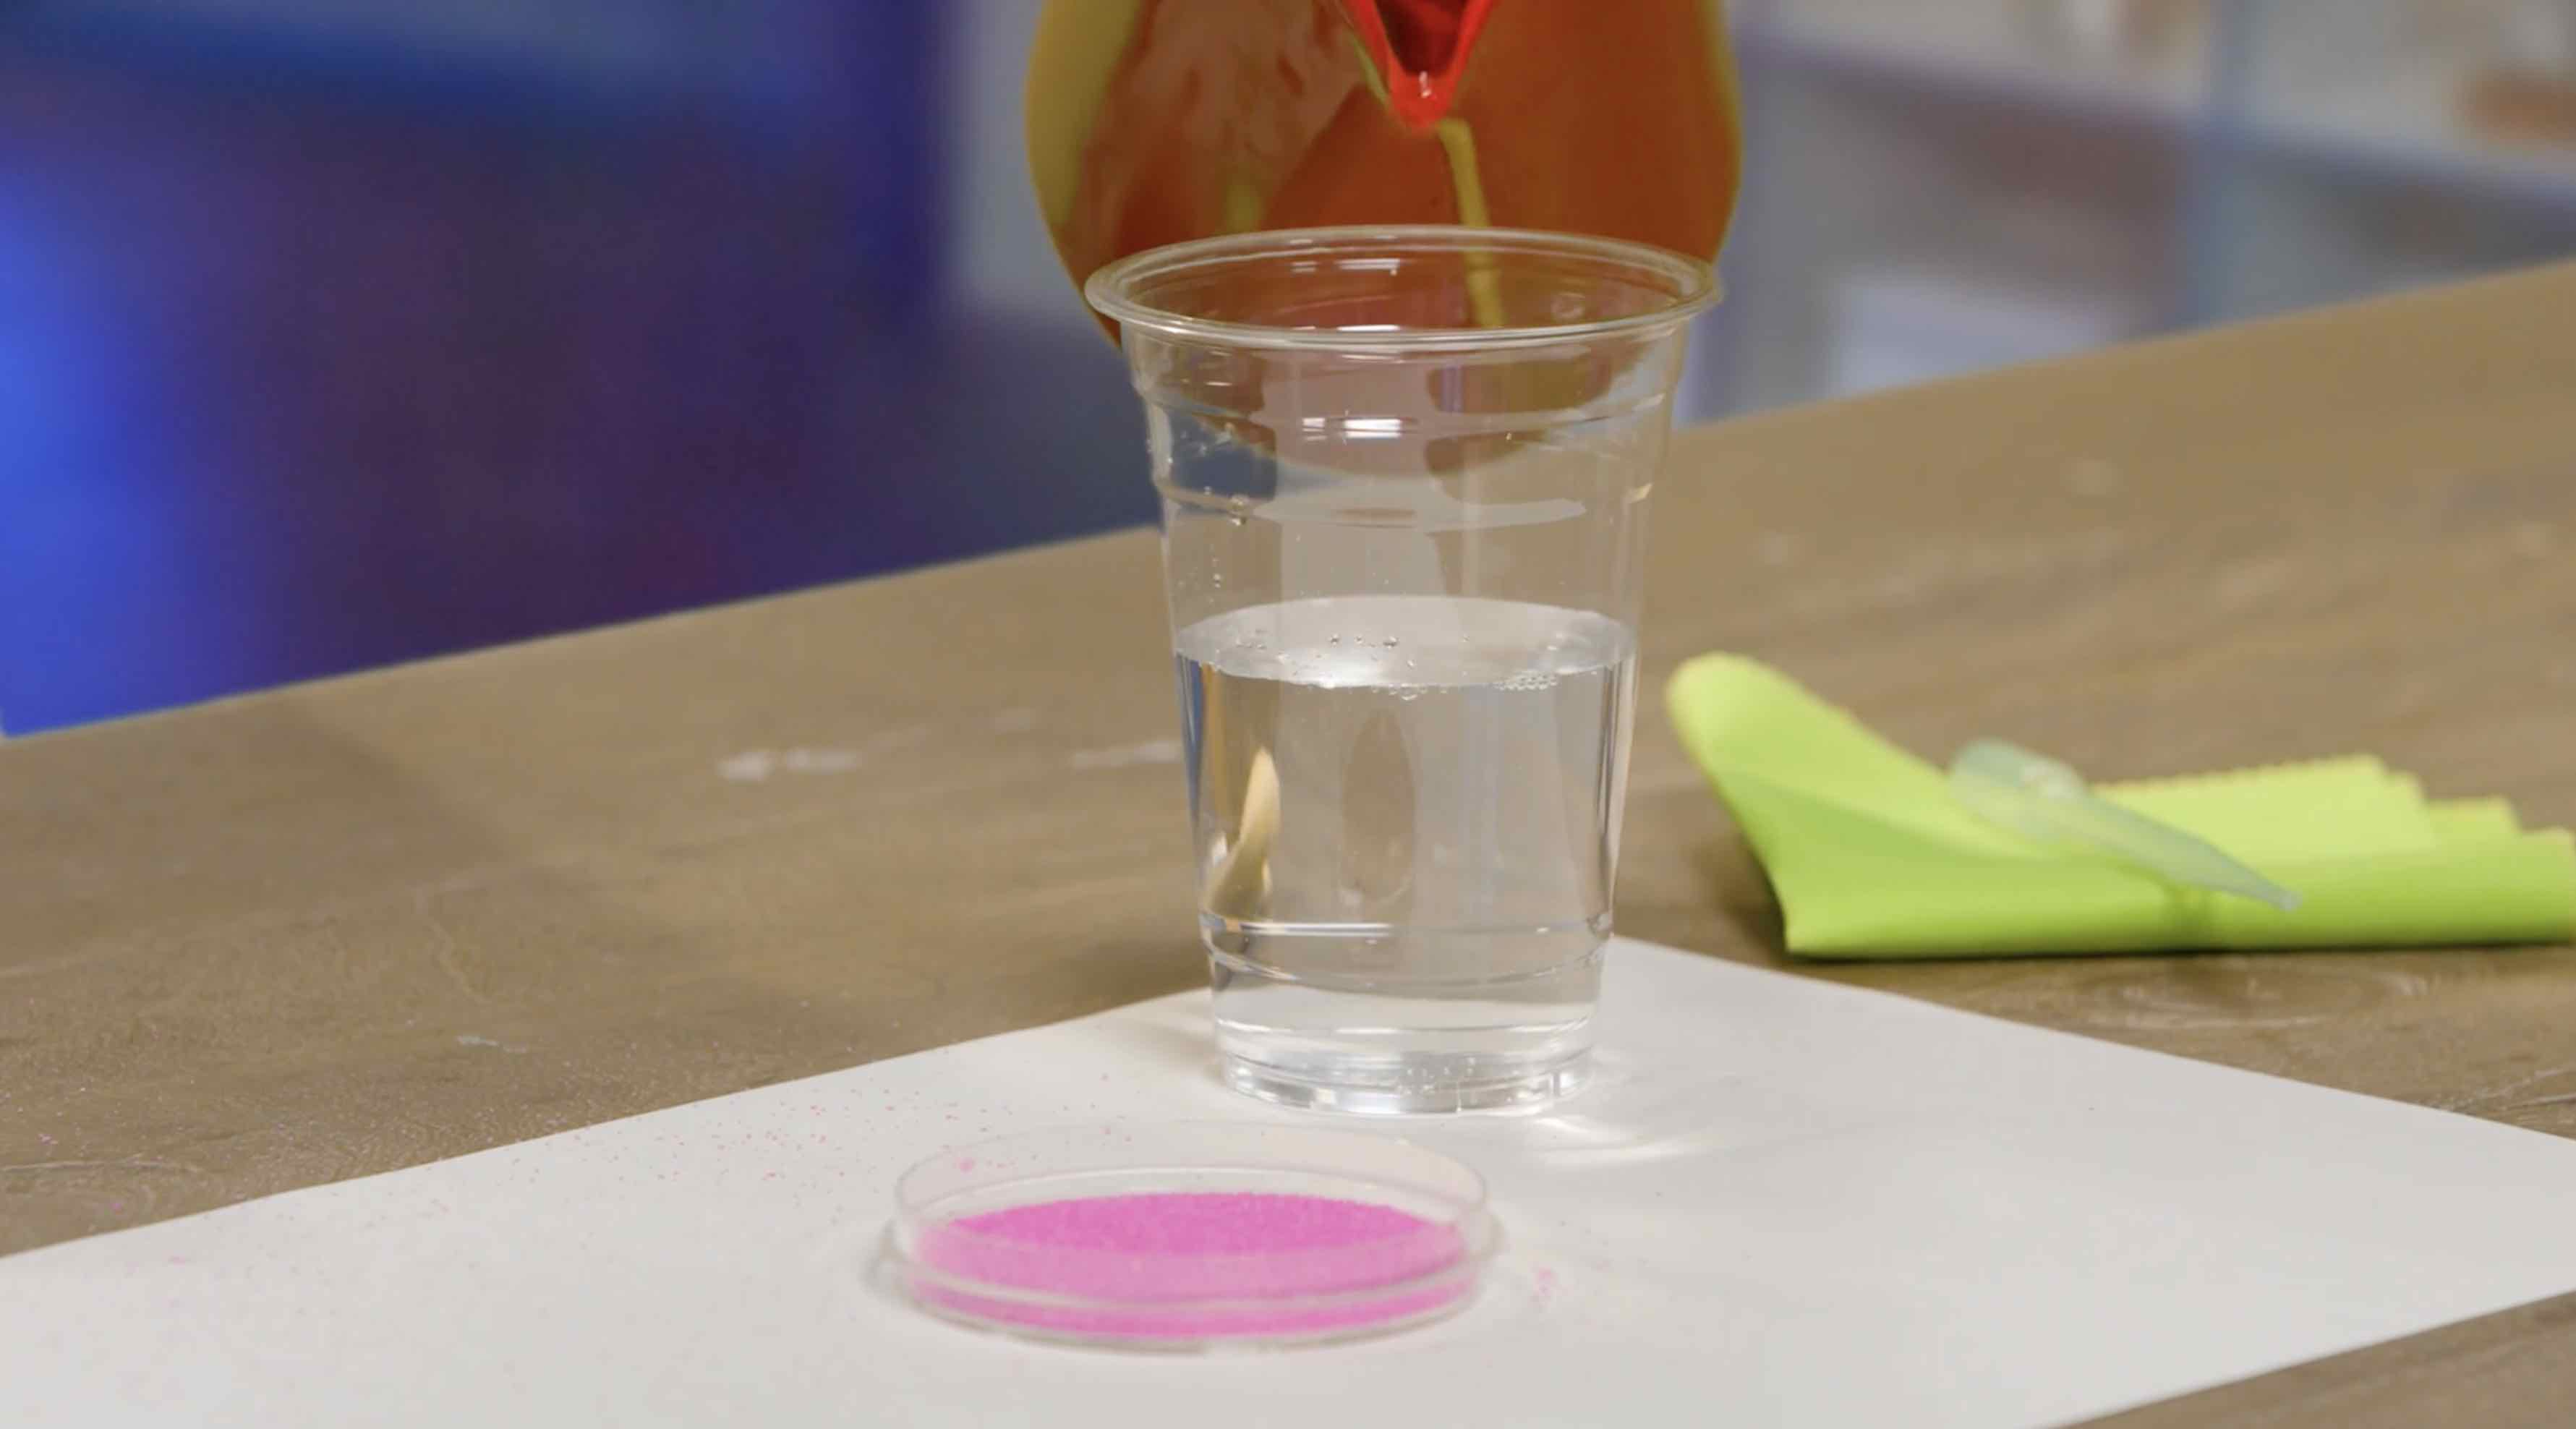
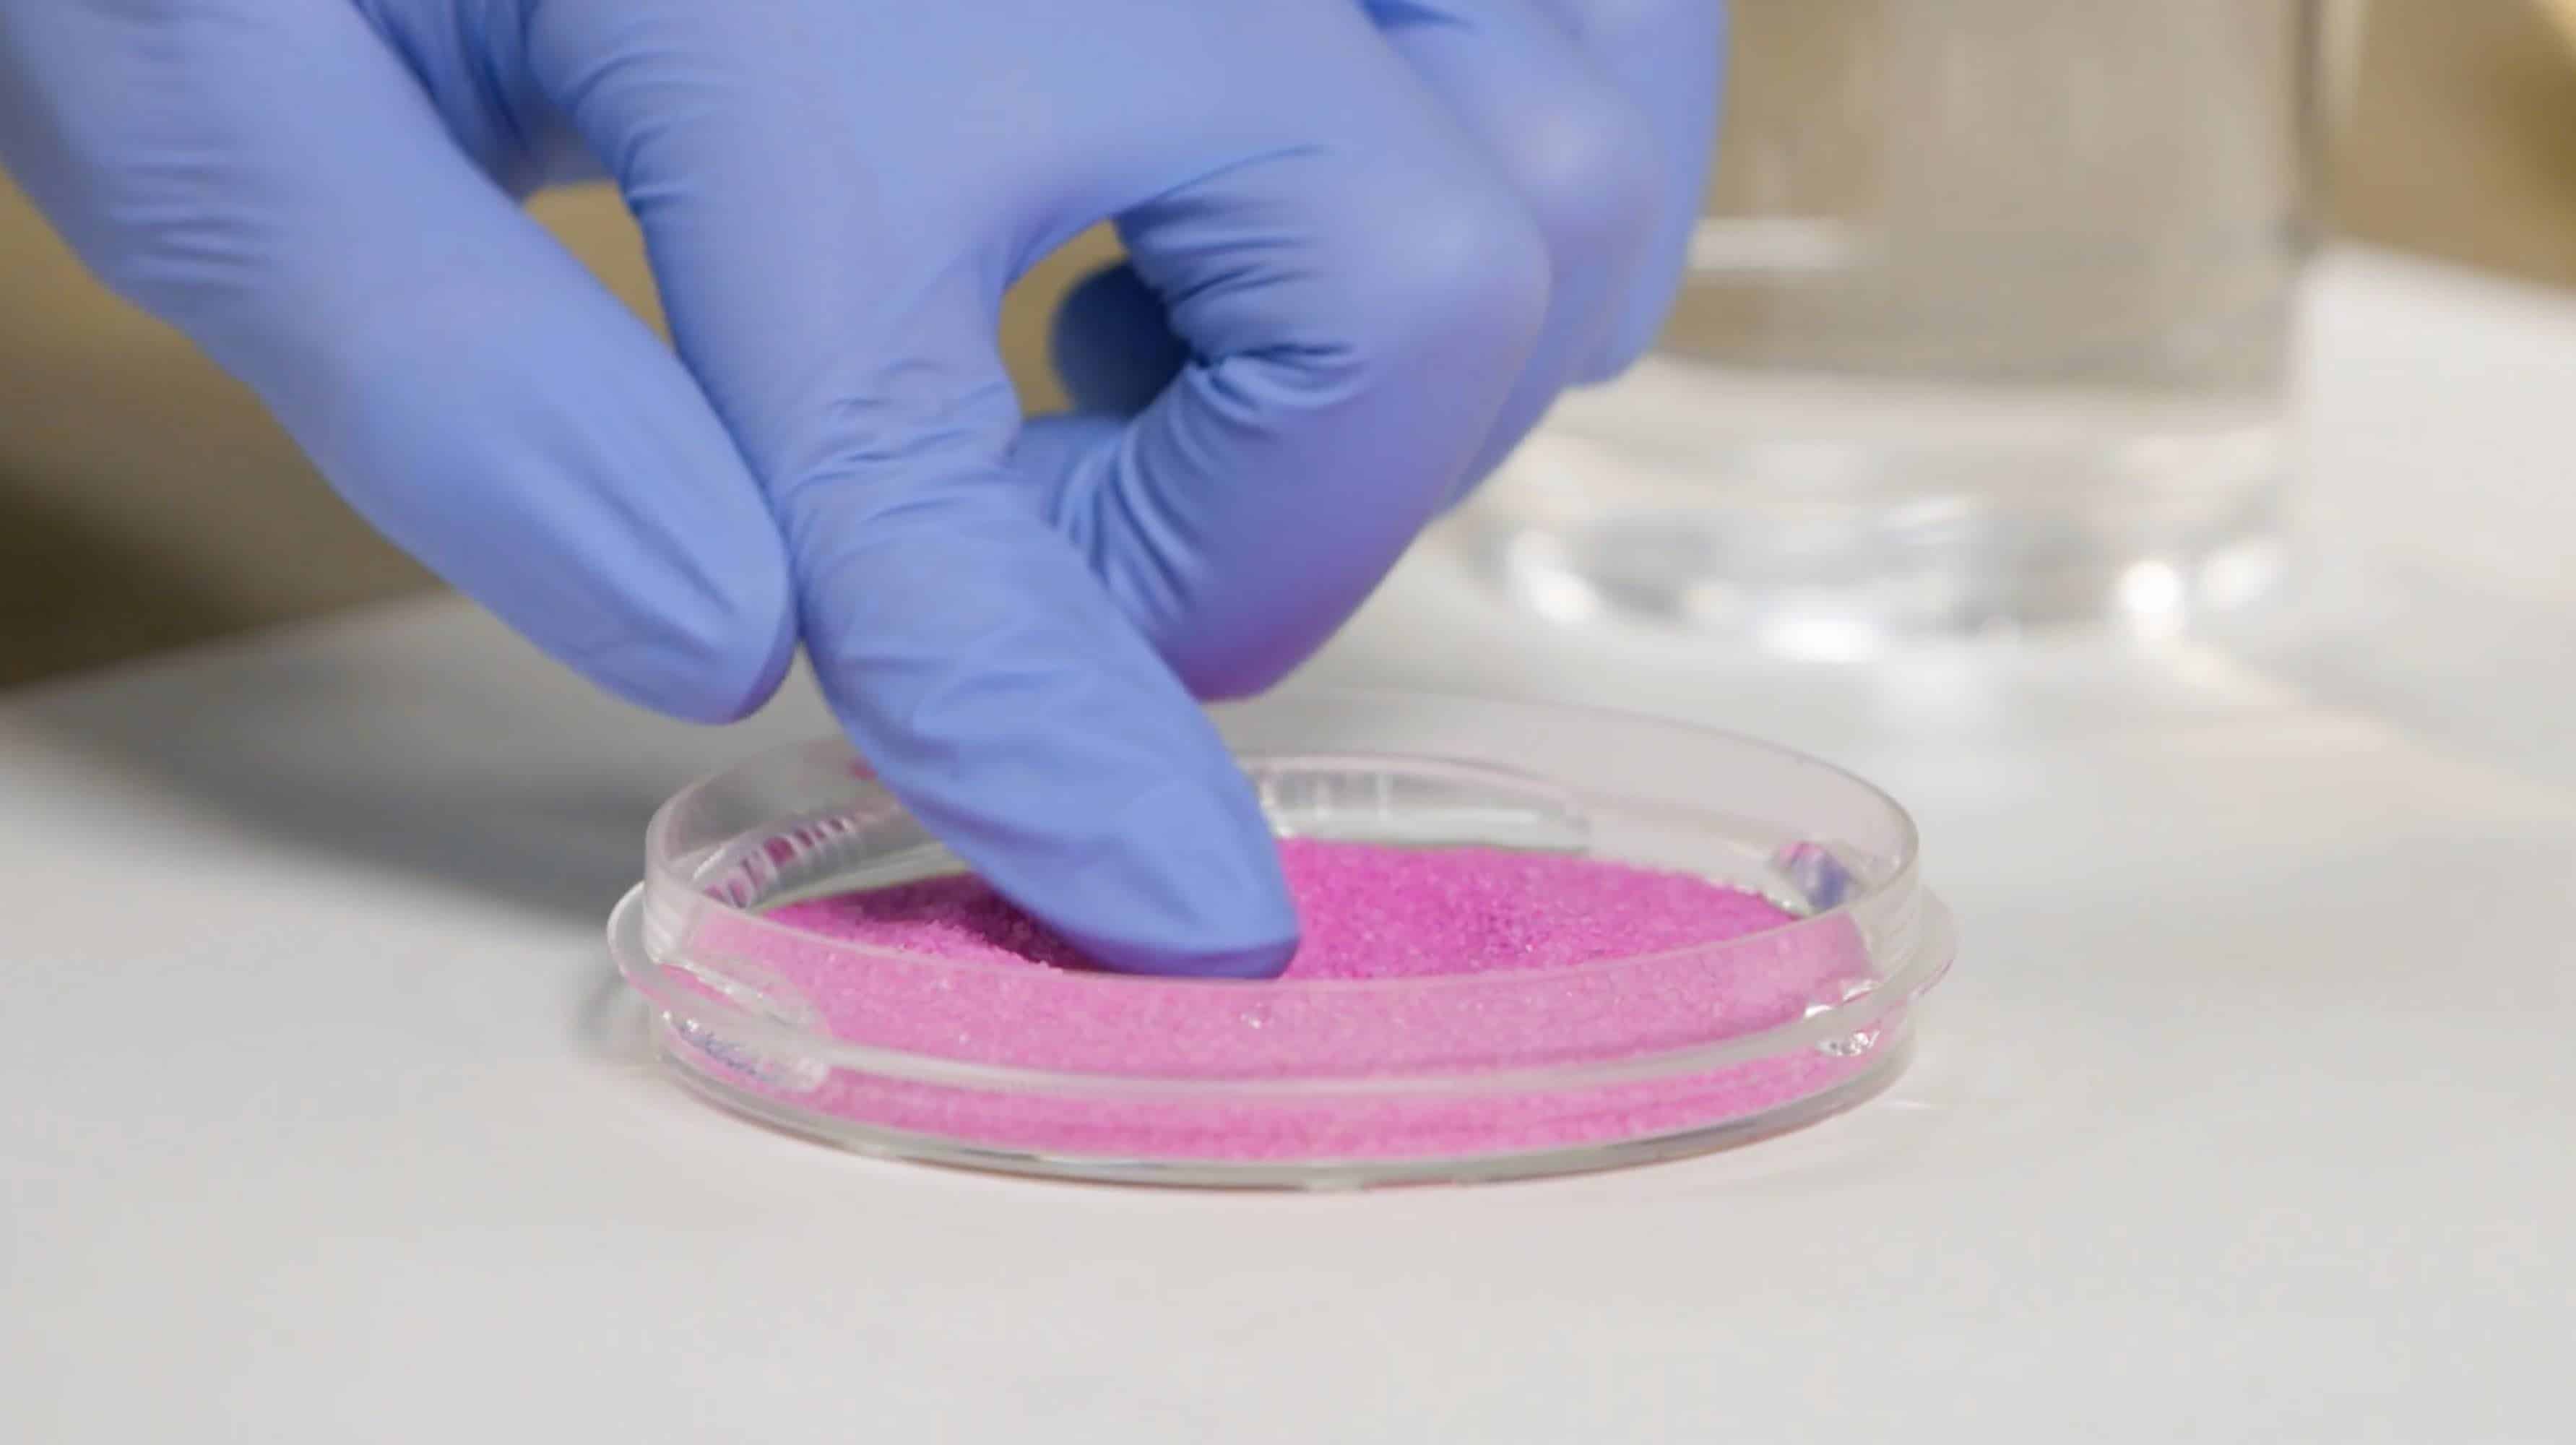
Take the petri dish and place it in the middle of the mat.

Open the top of the pink unwettable sand and pour in enough to cover the bottom of the petri dish.
Take one of the plastic cups and fill it half way up with water.
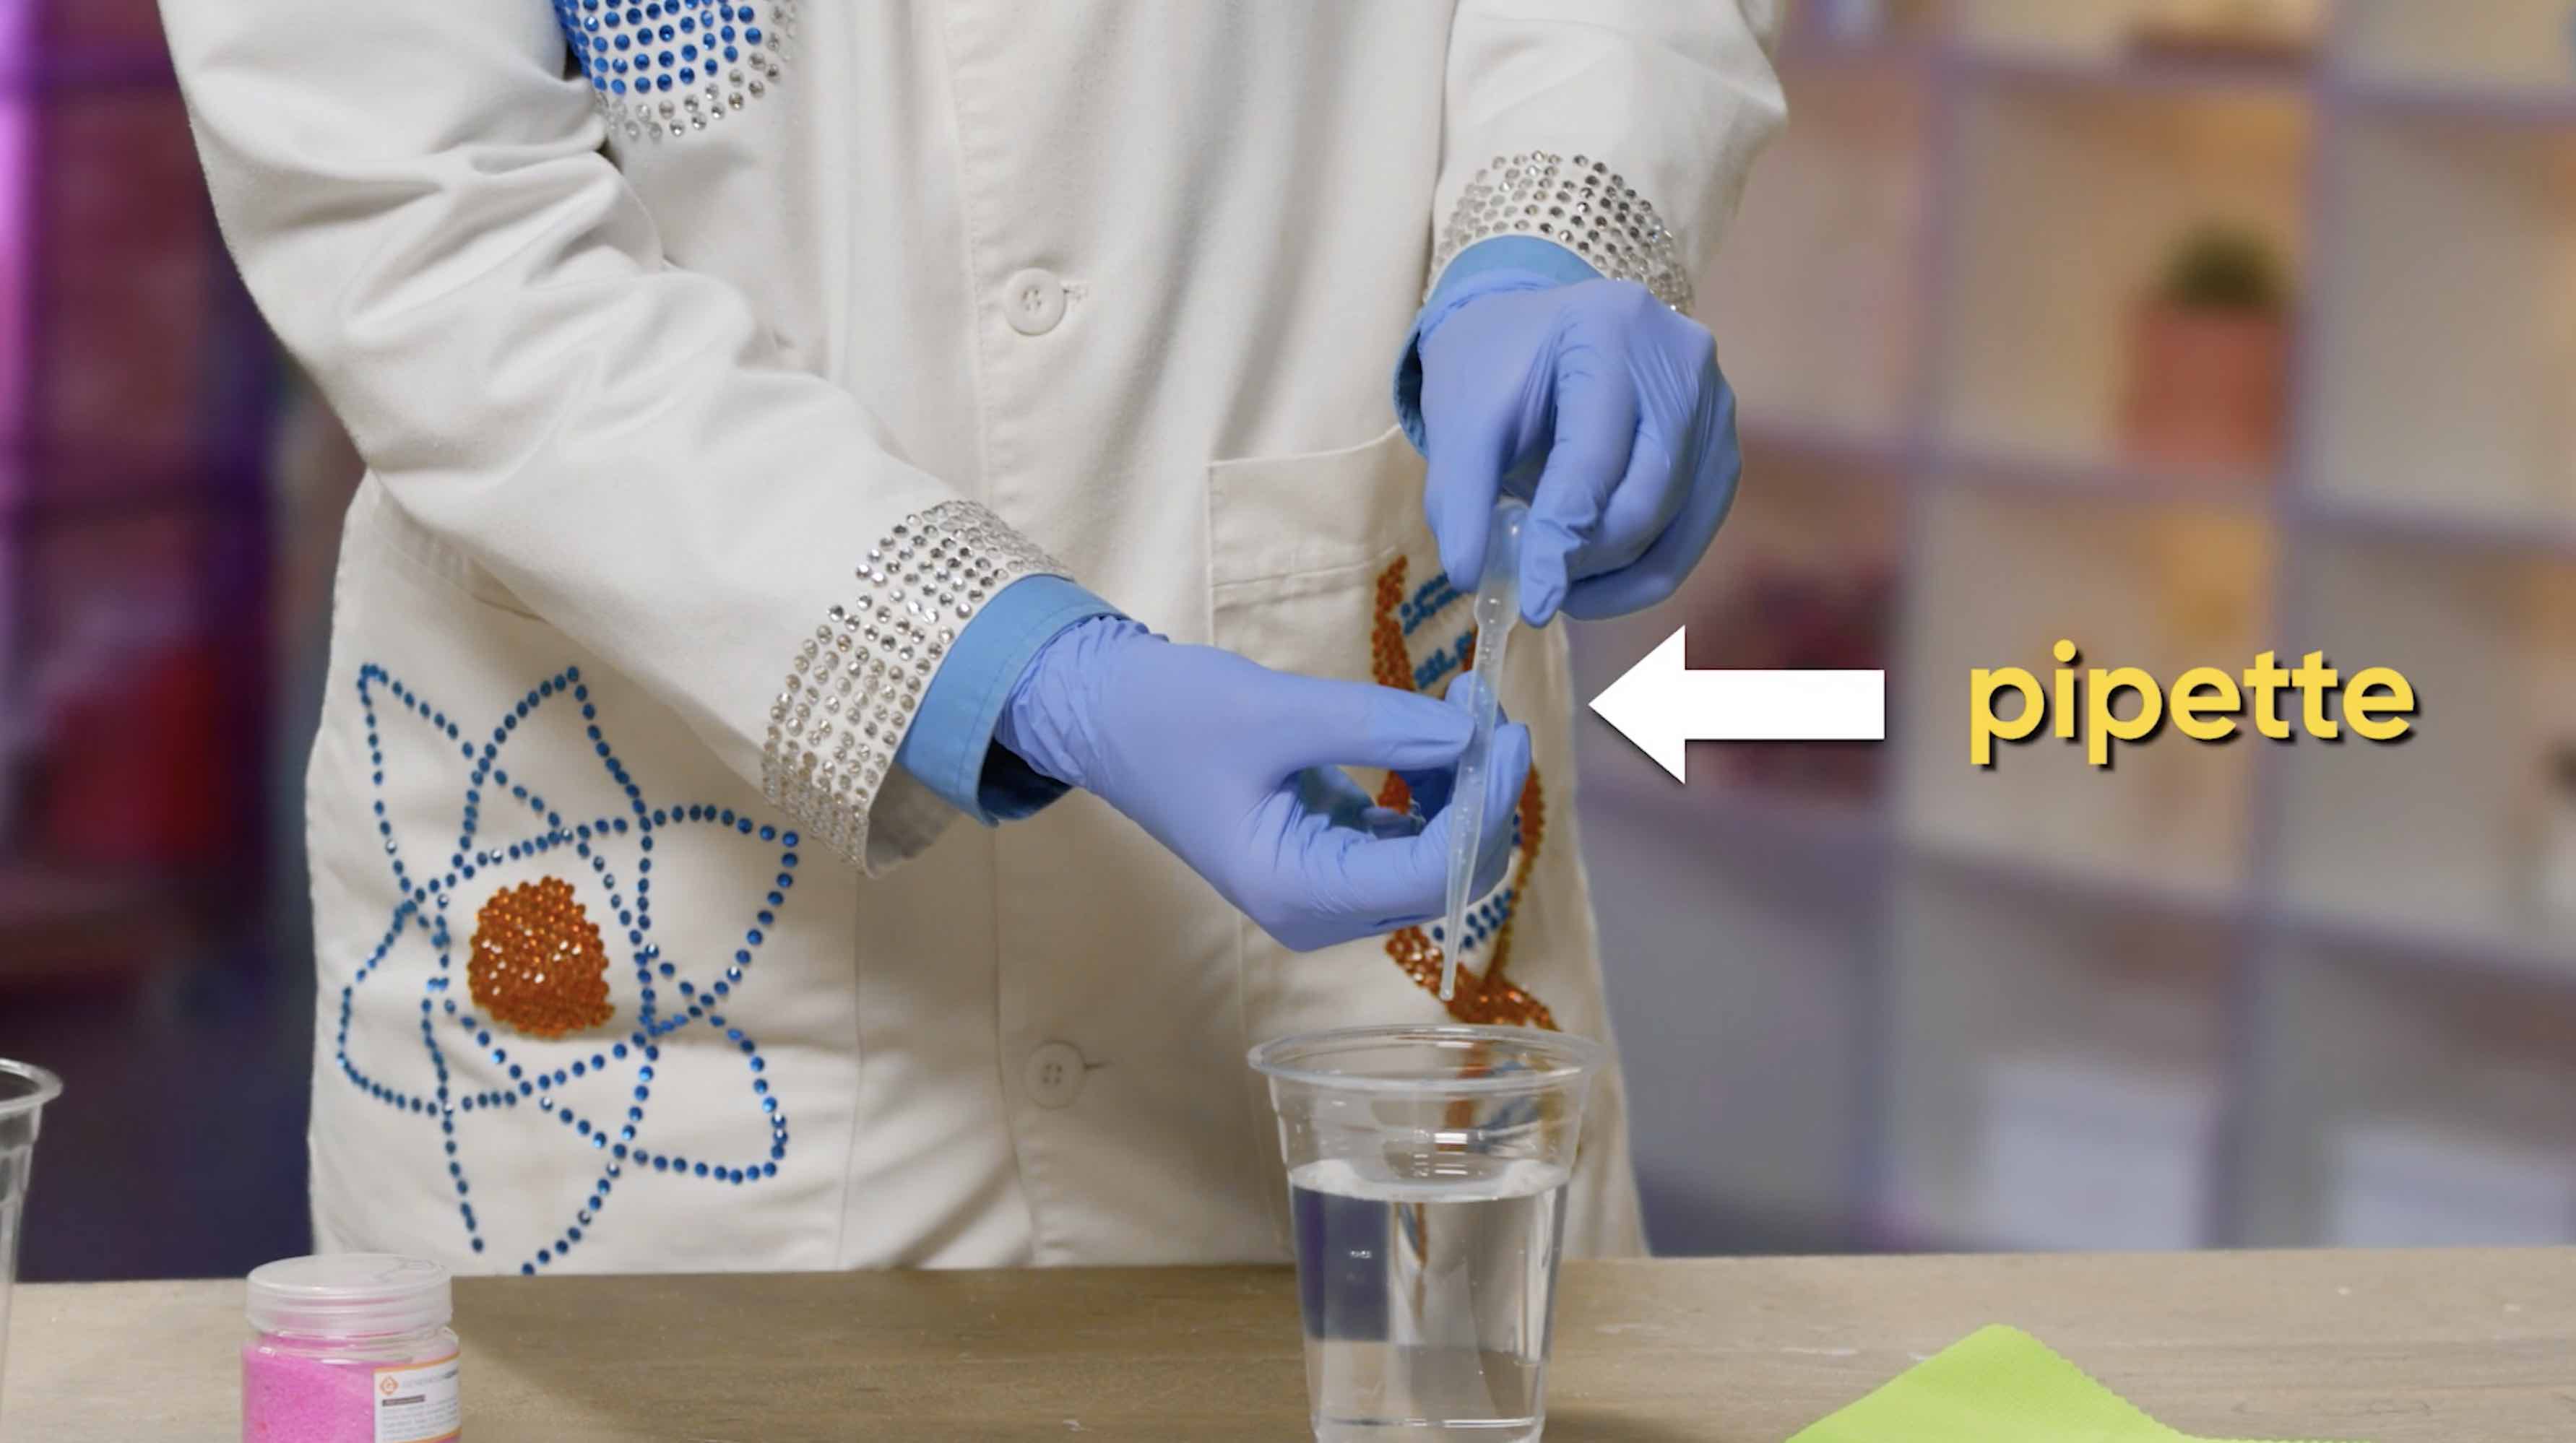
Grab your pipette, squeeze the top bulb, place the tip into the water, and release the bulb to suck up some water into the pipette.
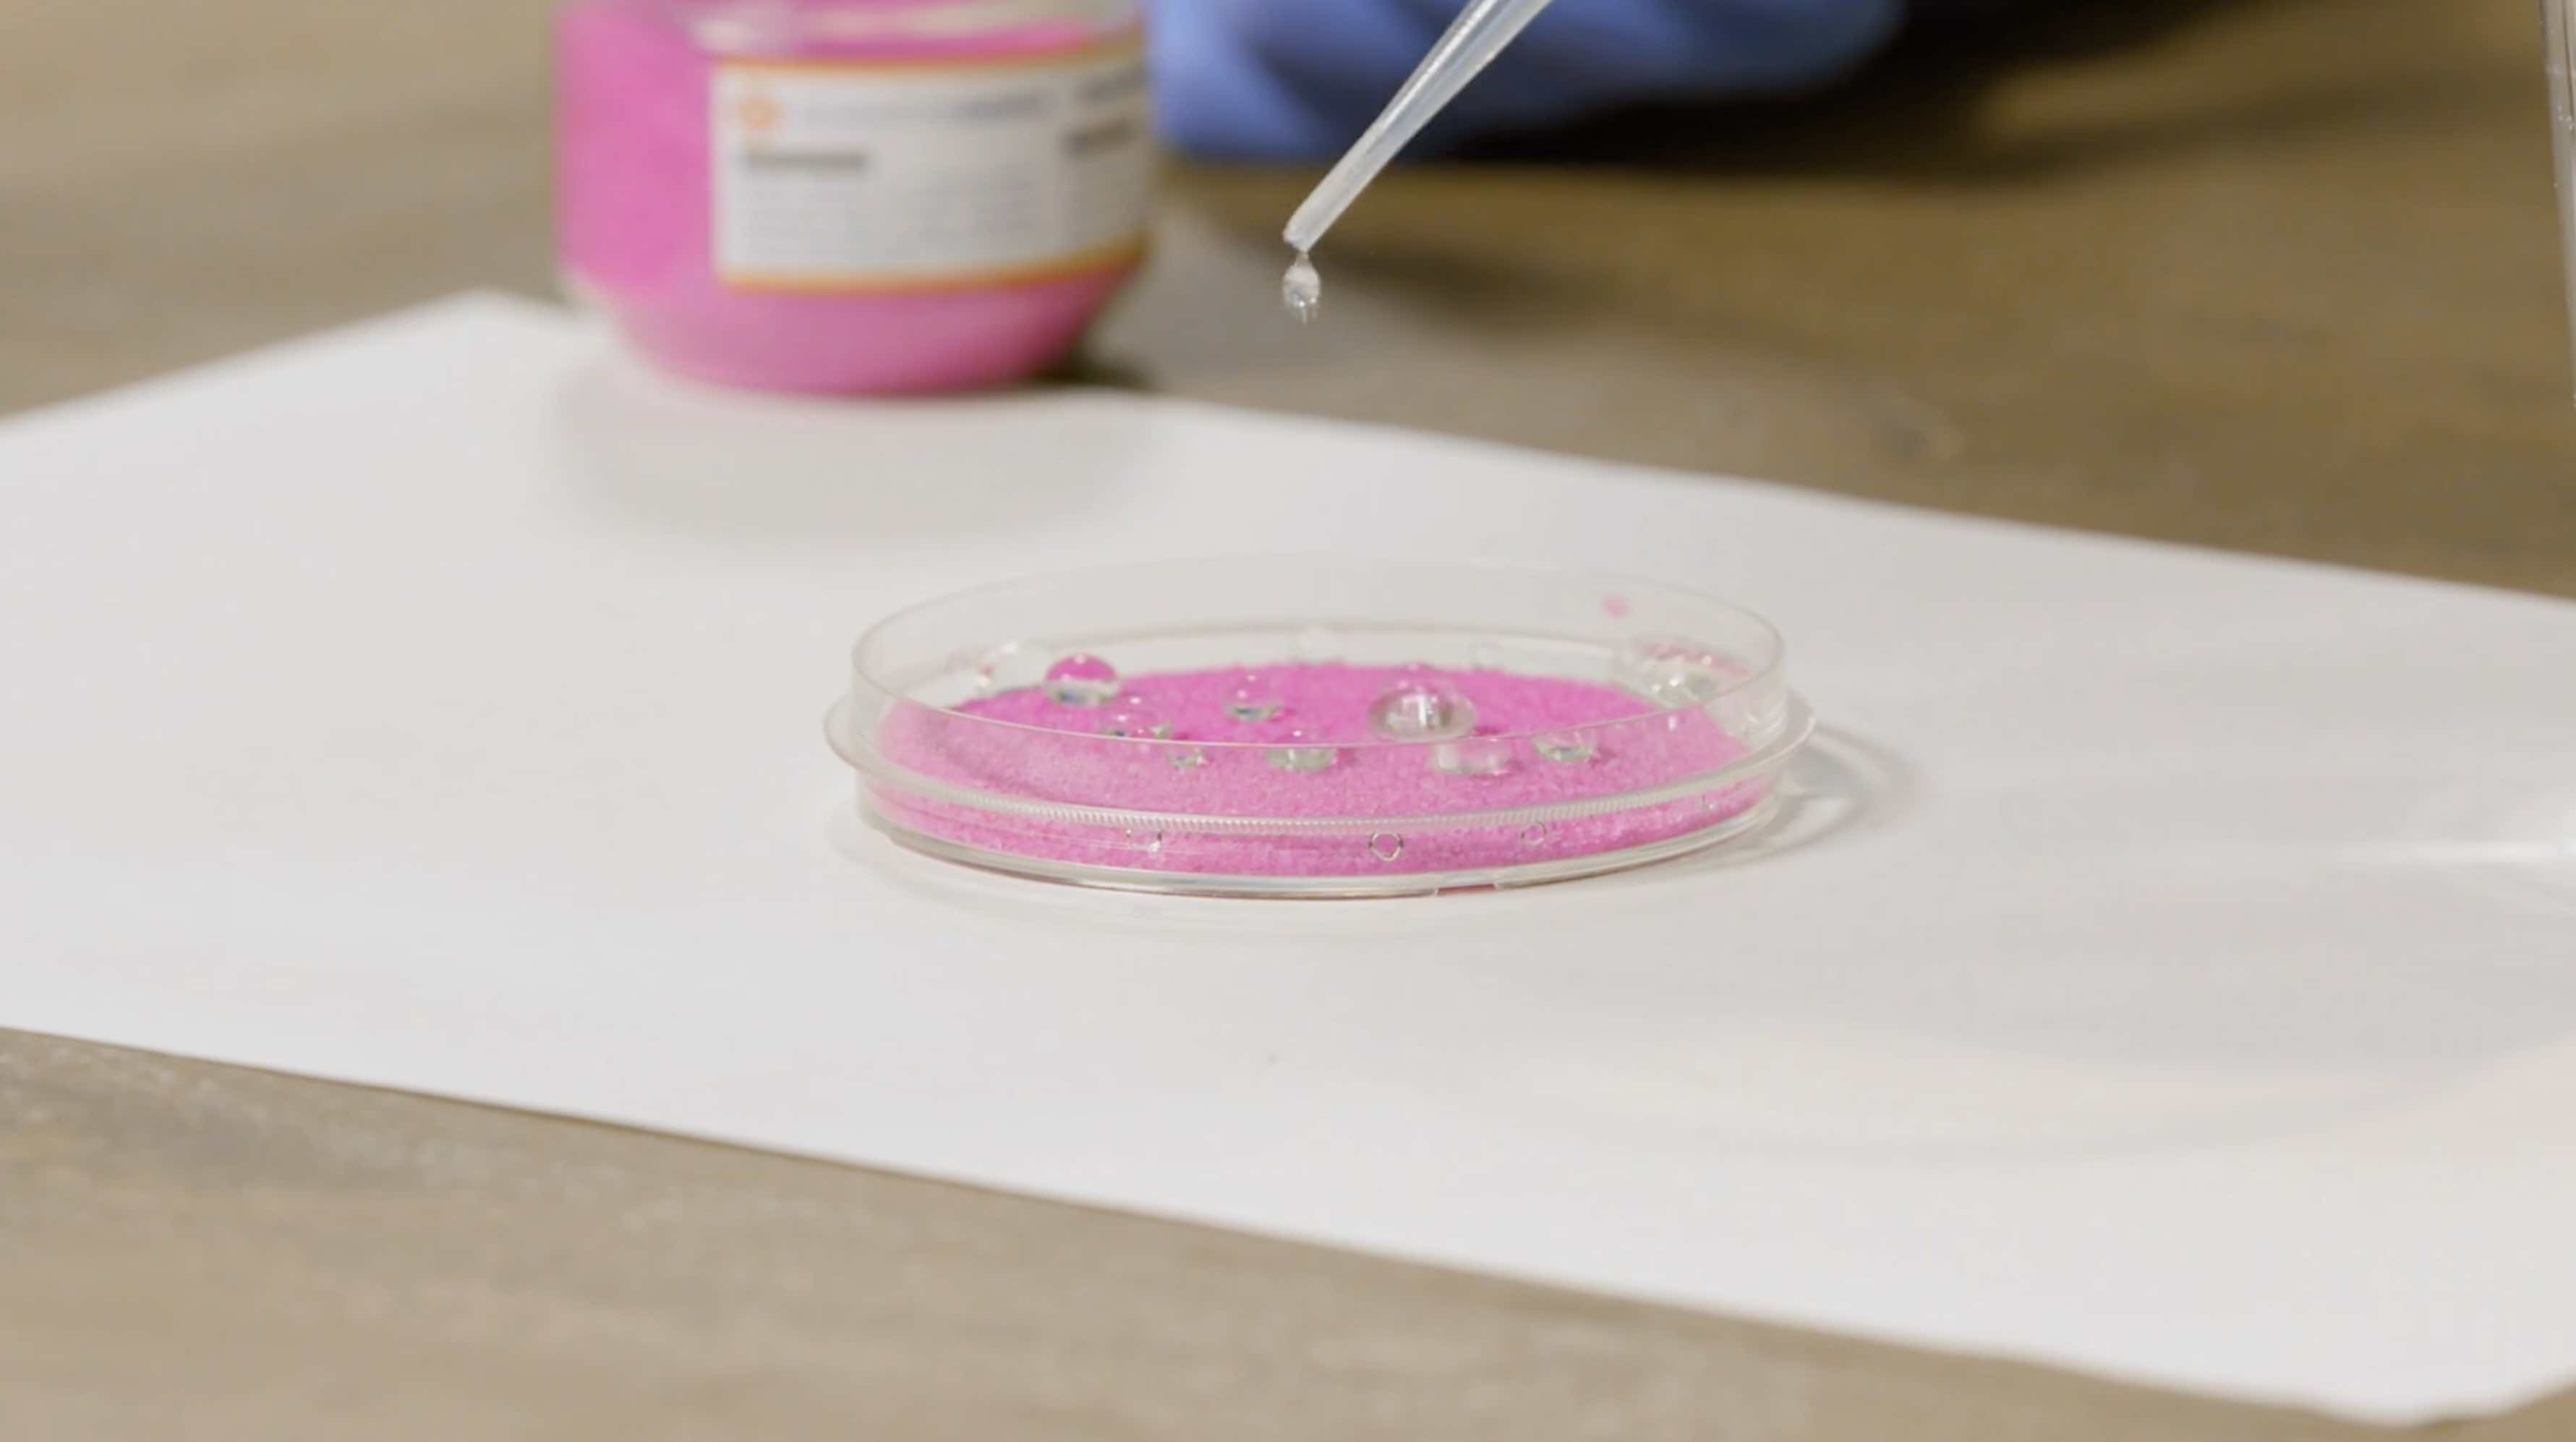
Drip the water onto the sand. Just squeeze a little bit at a time. Try making lots of little dots and see how they just run off the top of the sand.
Shake it a little to move the water to the sides. Then, make a crater in the center of the sand.
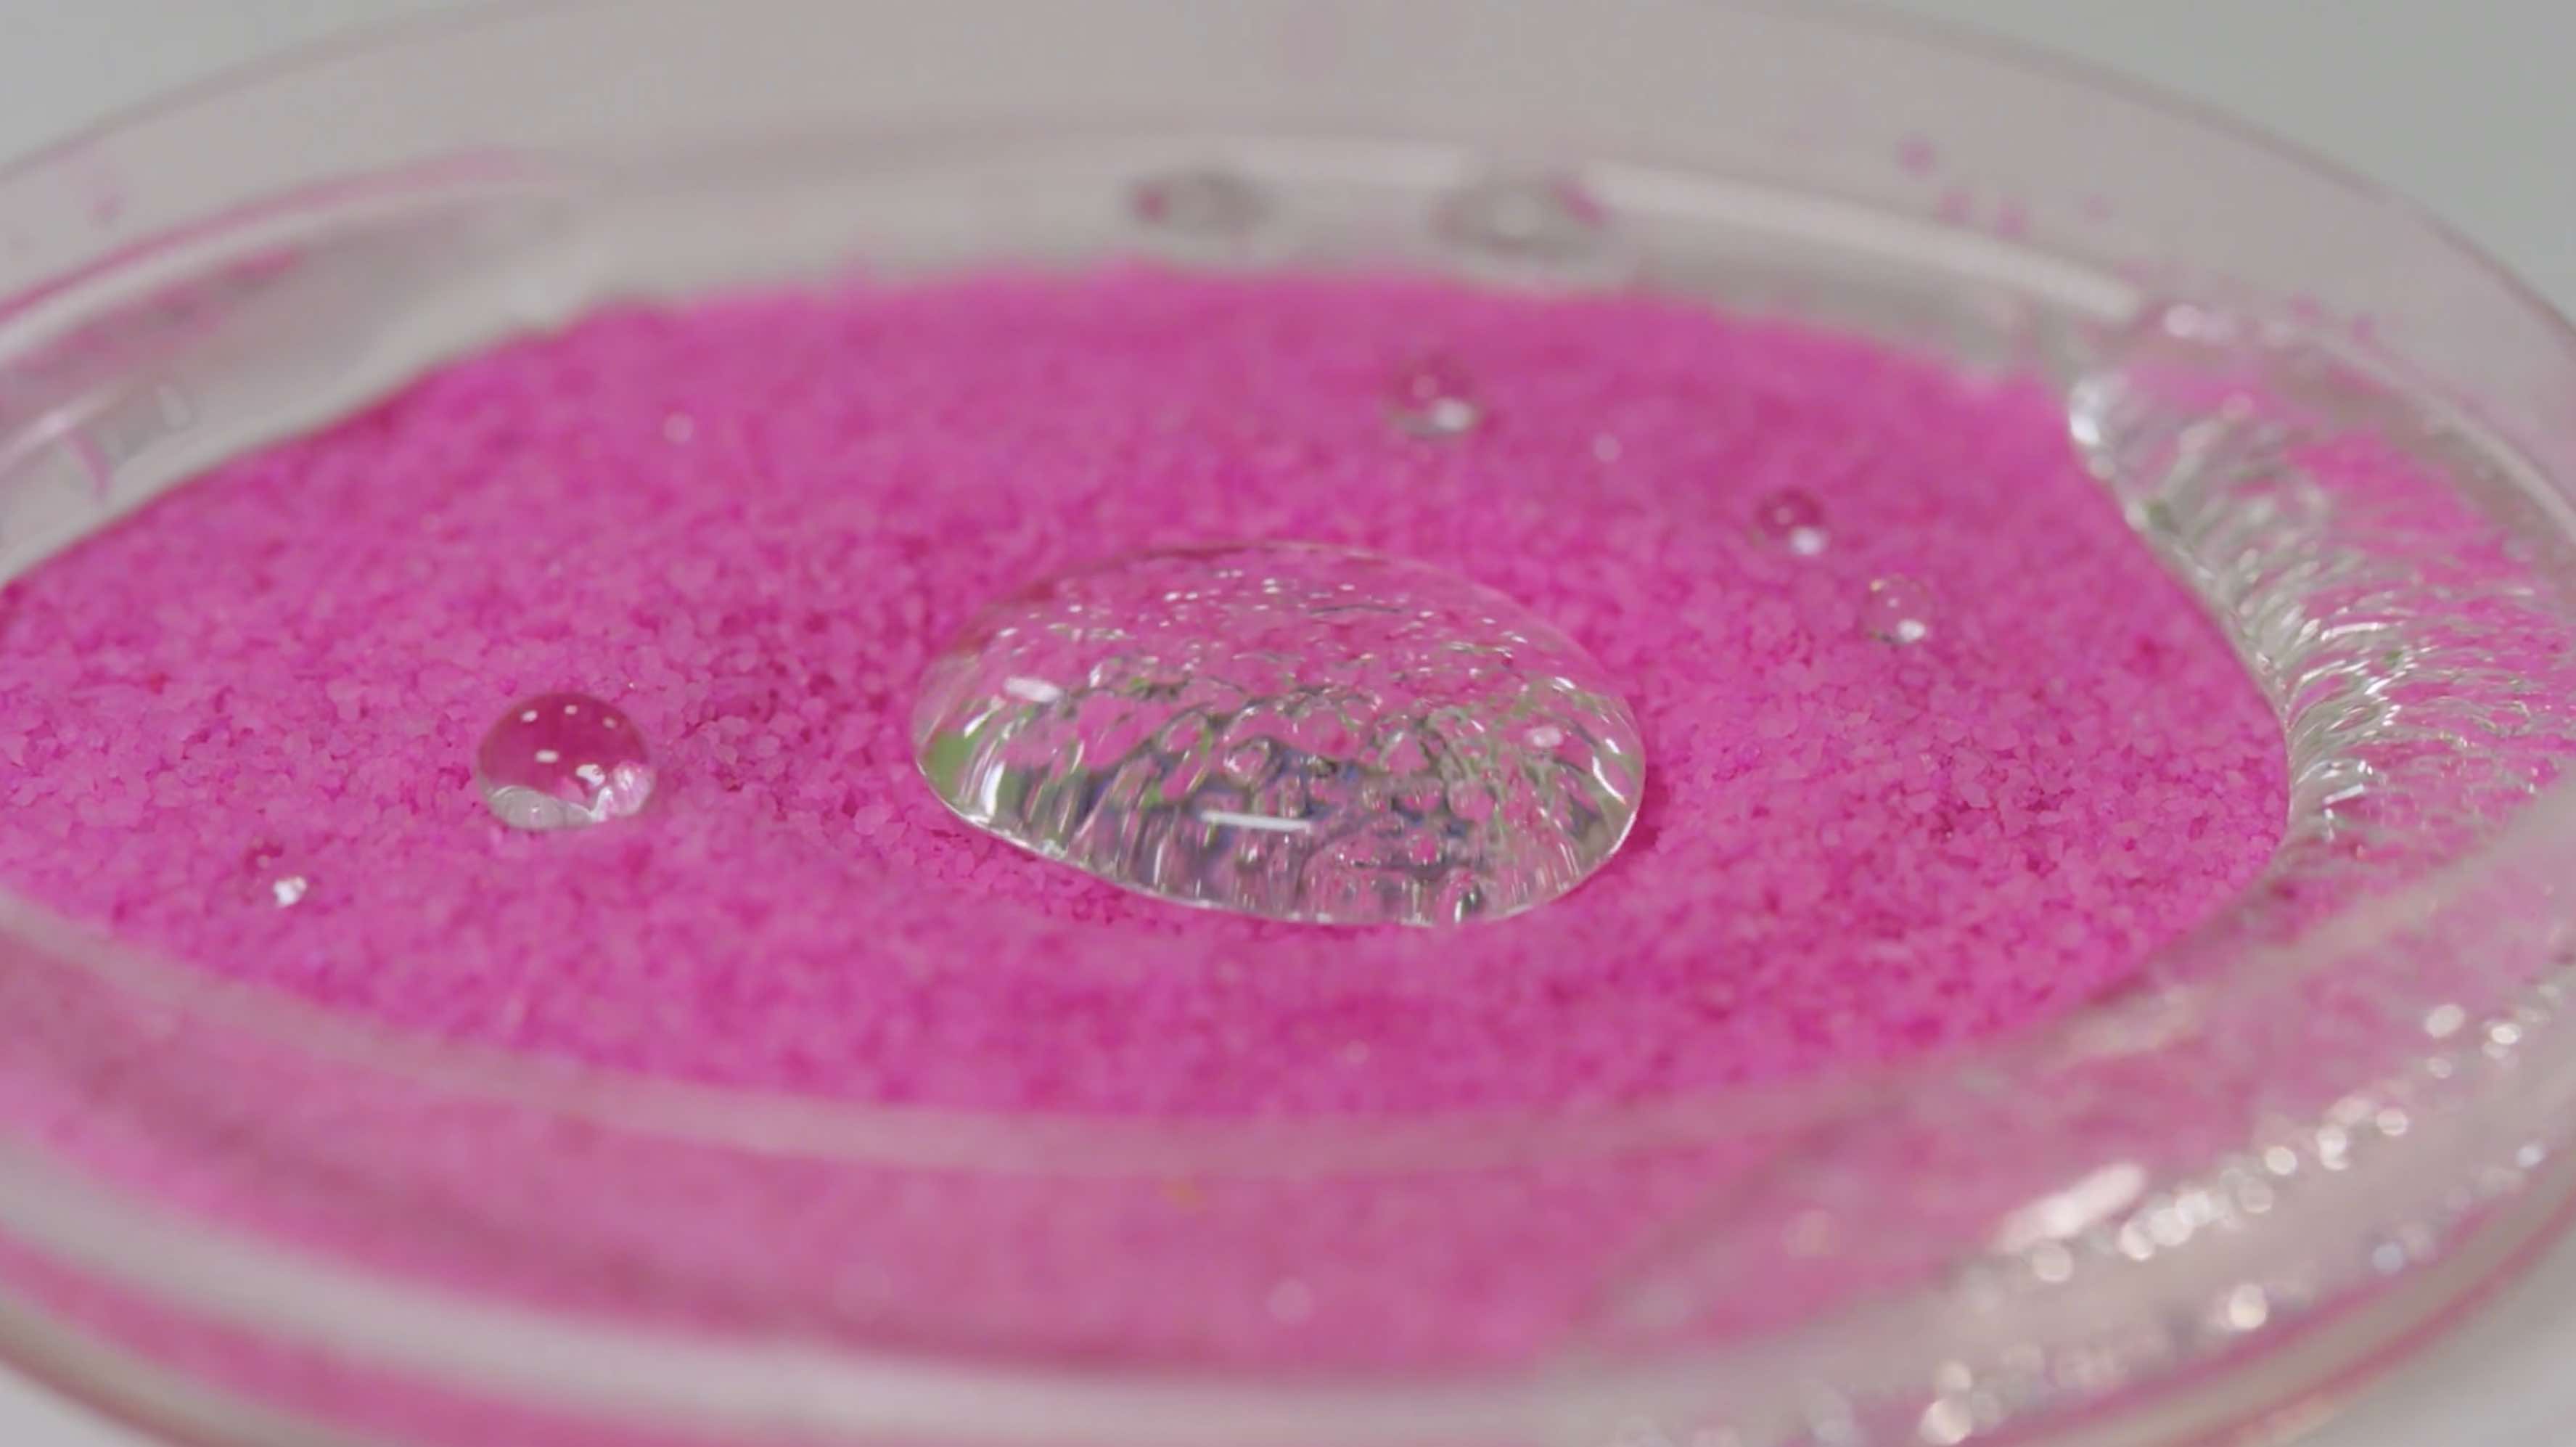
Drip the water into the center of your crater. Keep adding more water to see how big your bubble of water can get.

Add water around the edges to create a ring of water. You can even shake it around, the sand doesn’t get wet.
Take the cup of water and place it in the center of your mat and move the petri dish to the side.
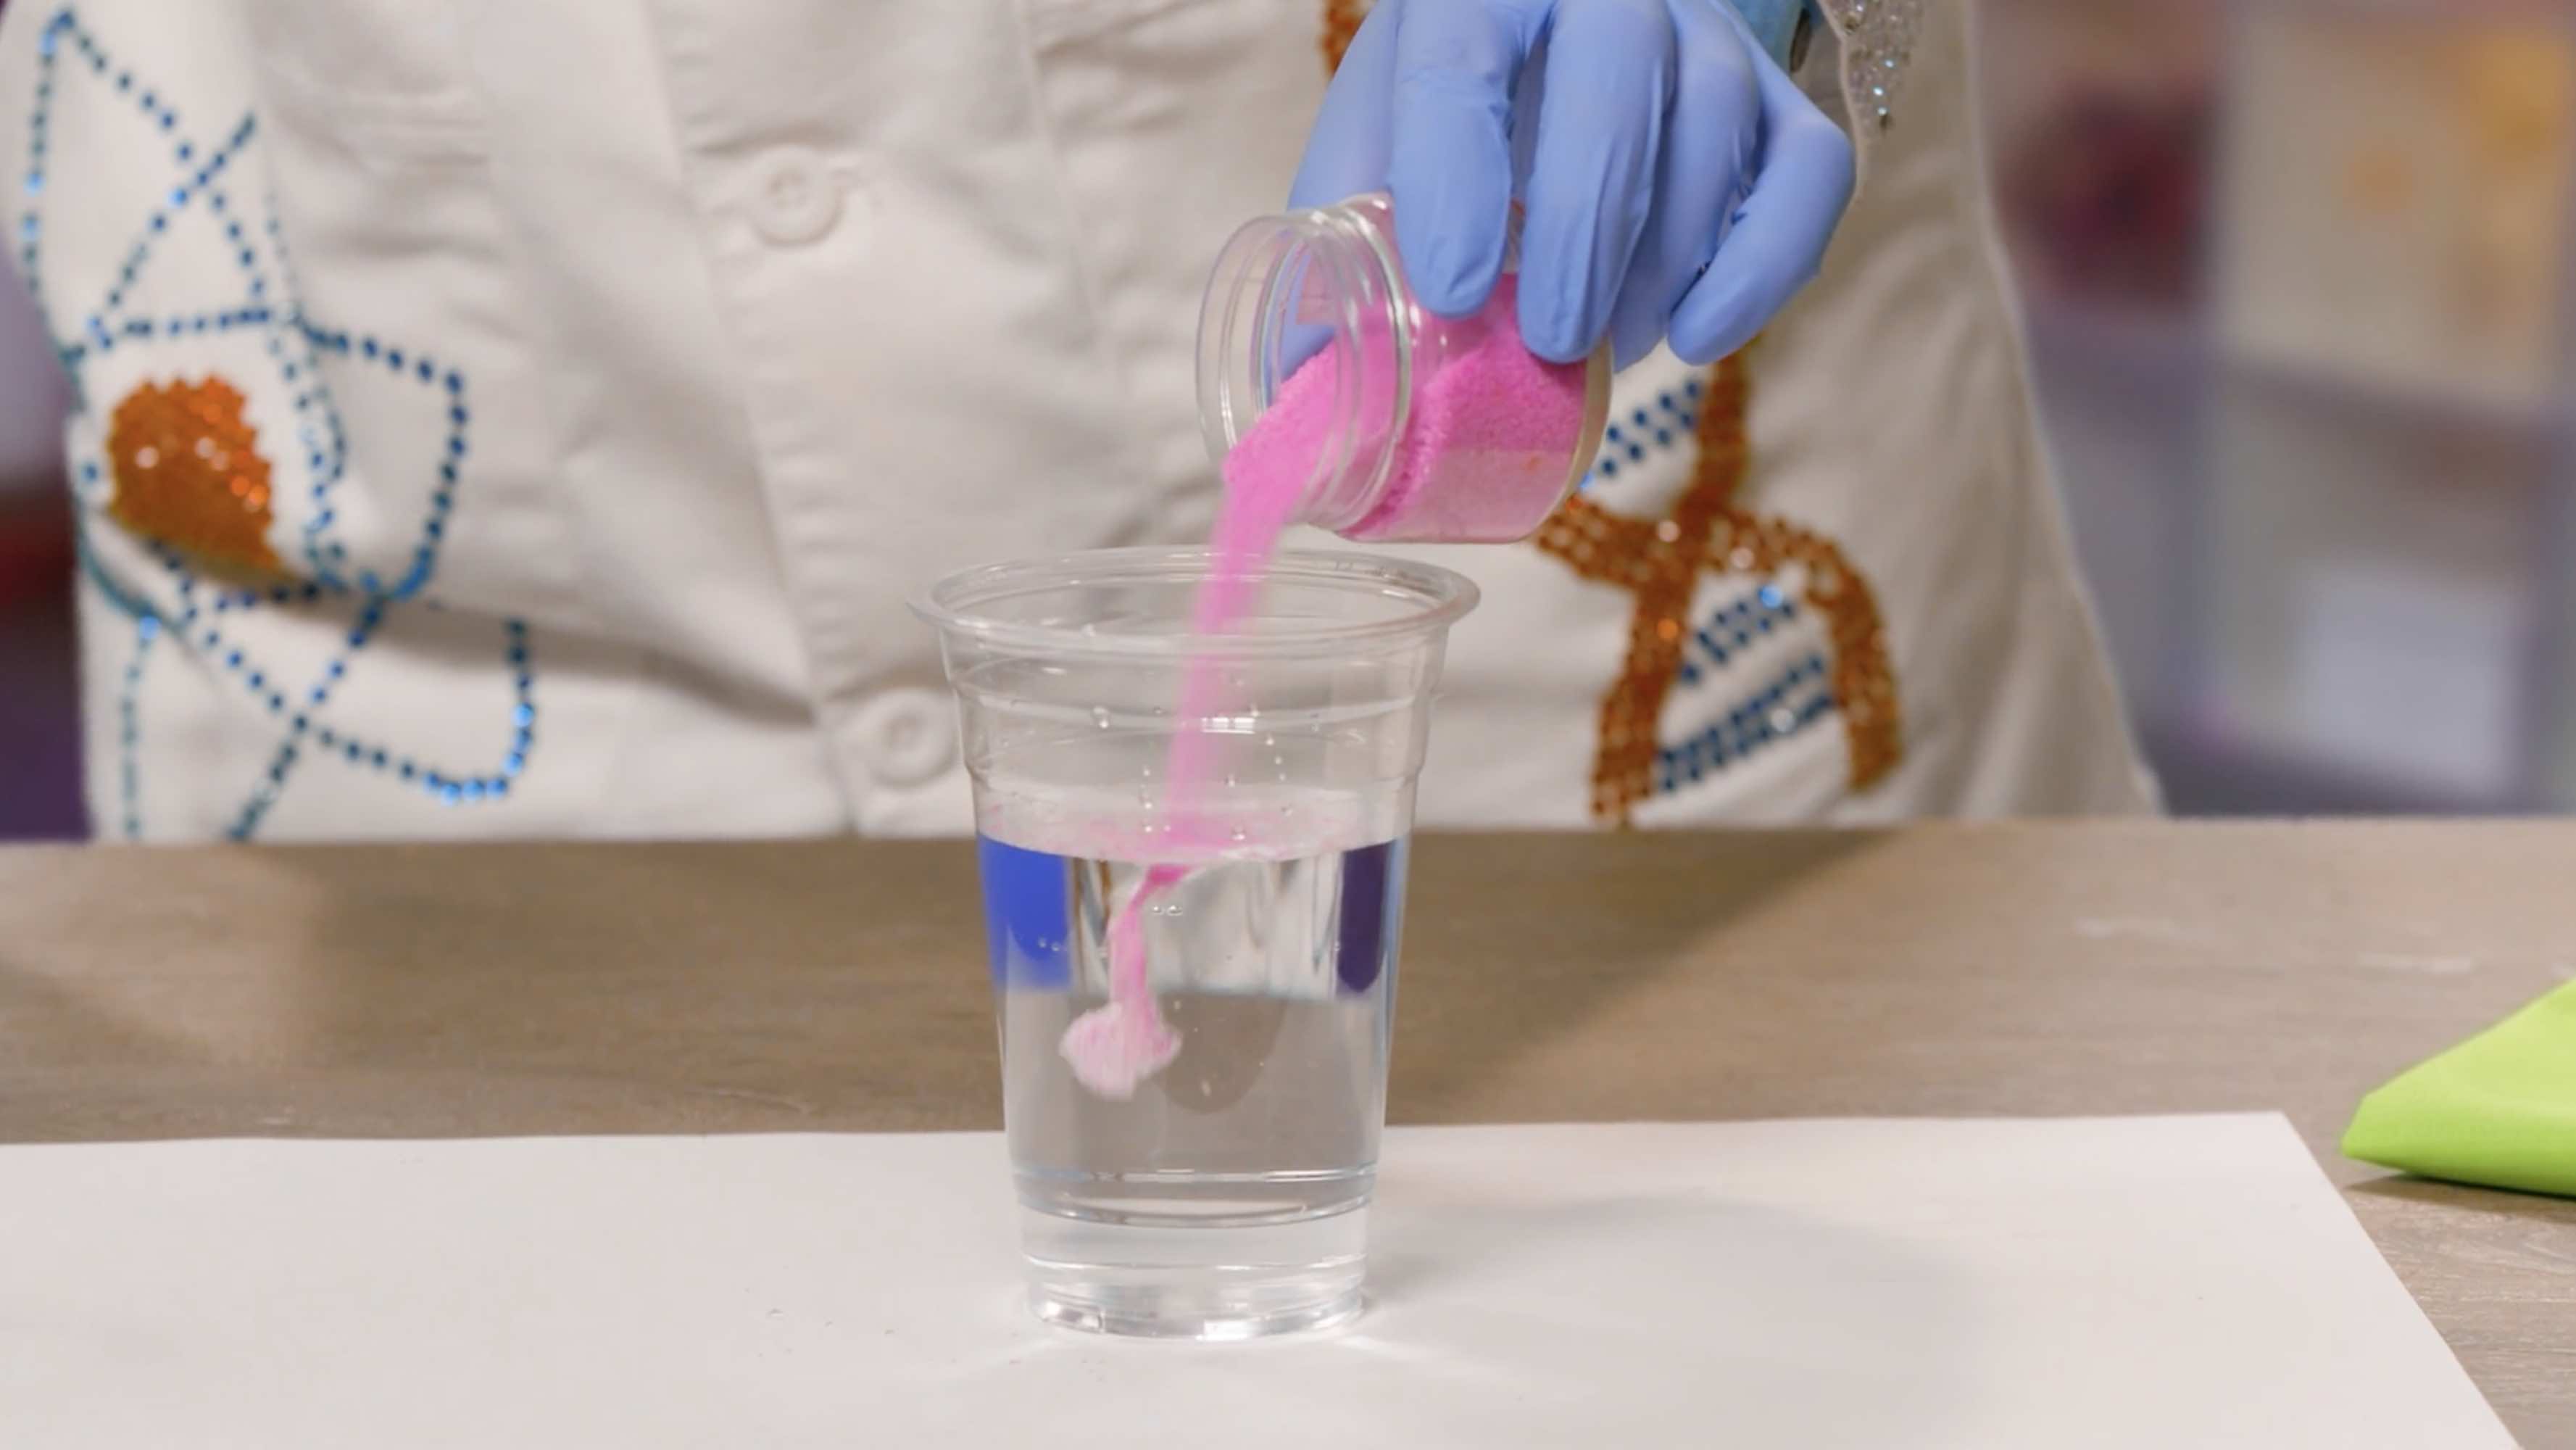
Take the entire container of pink sand and dump it in the cup of water.
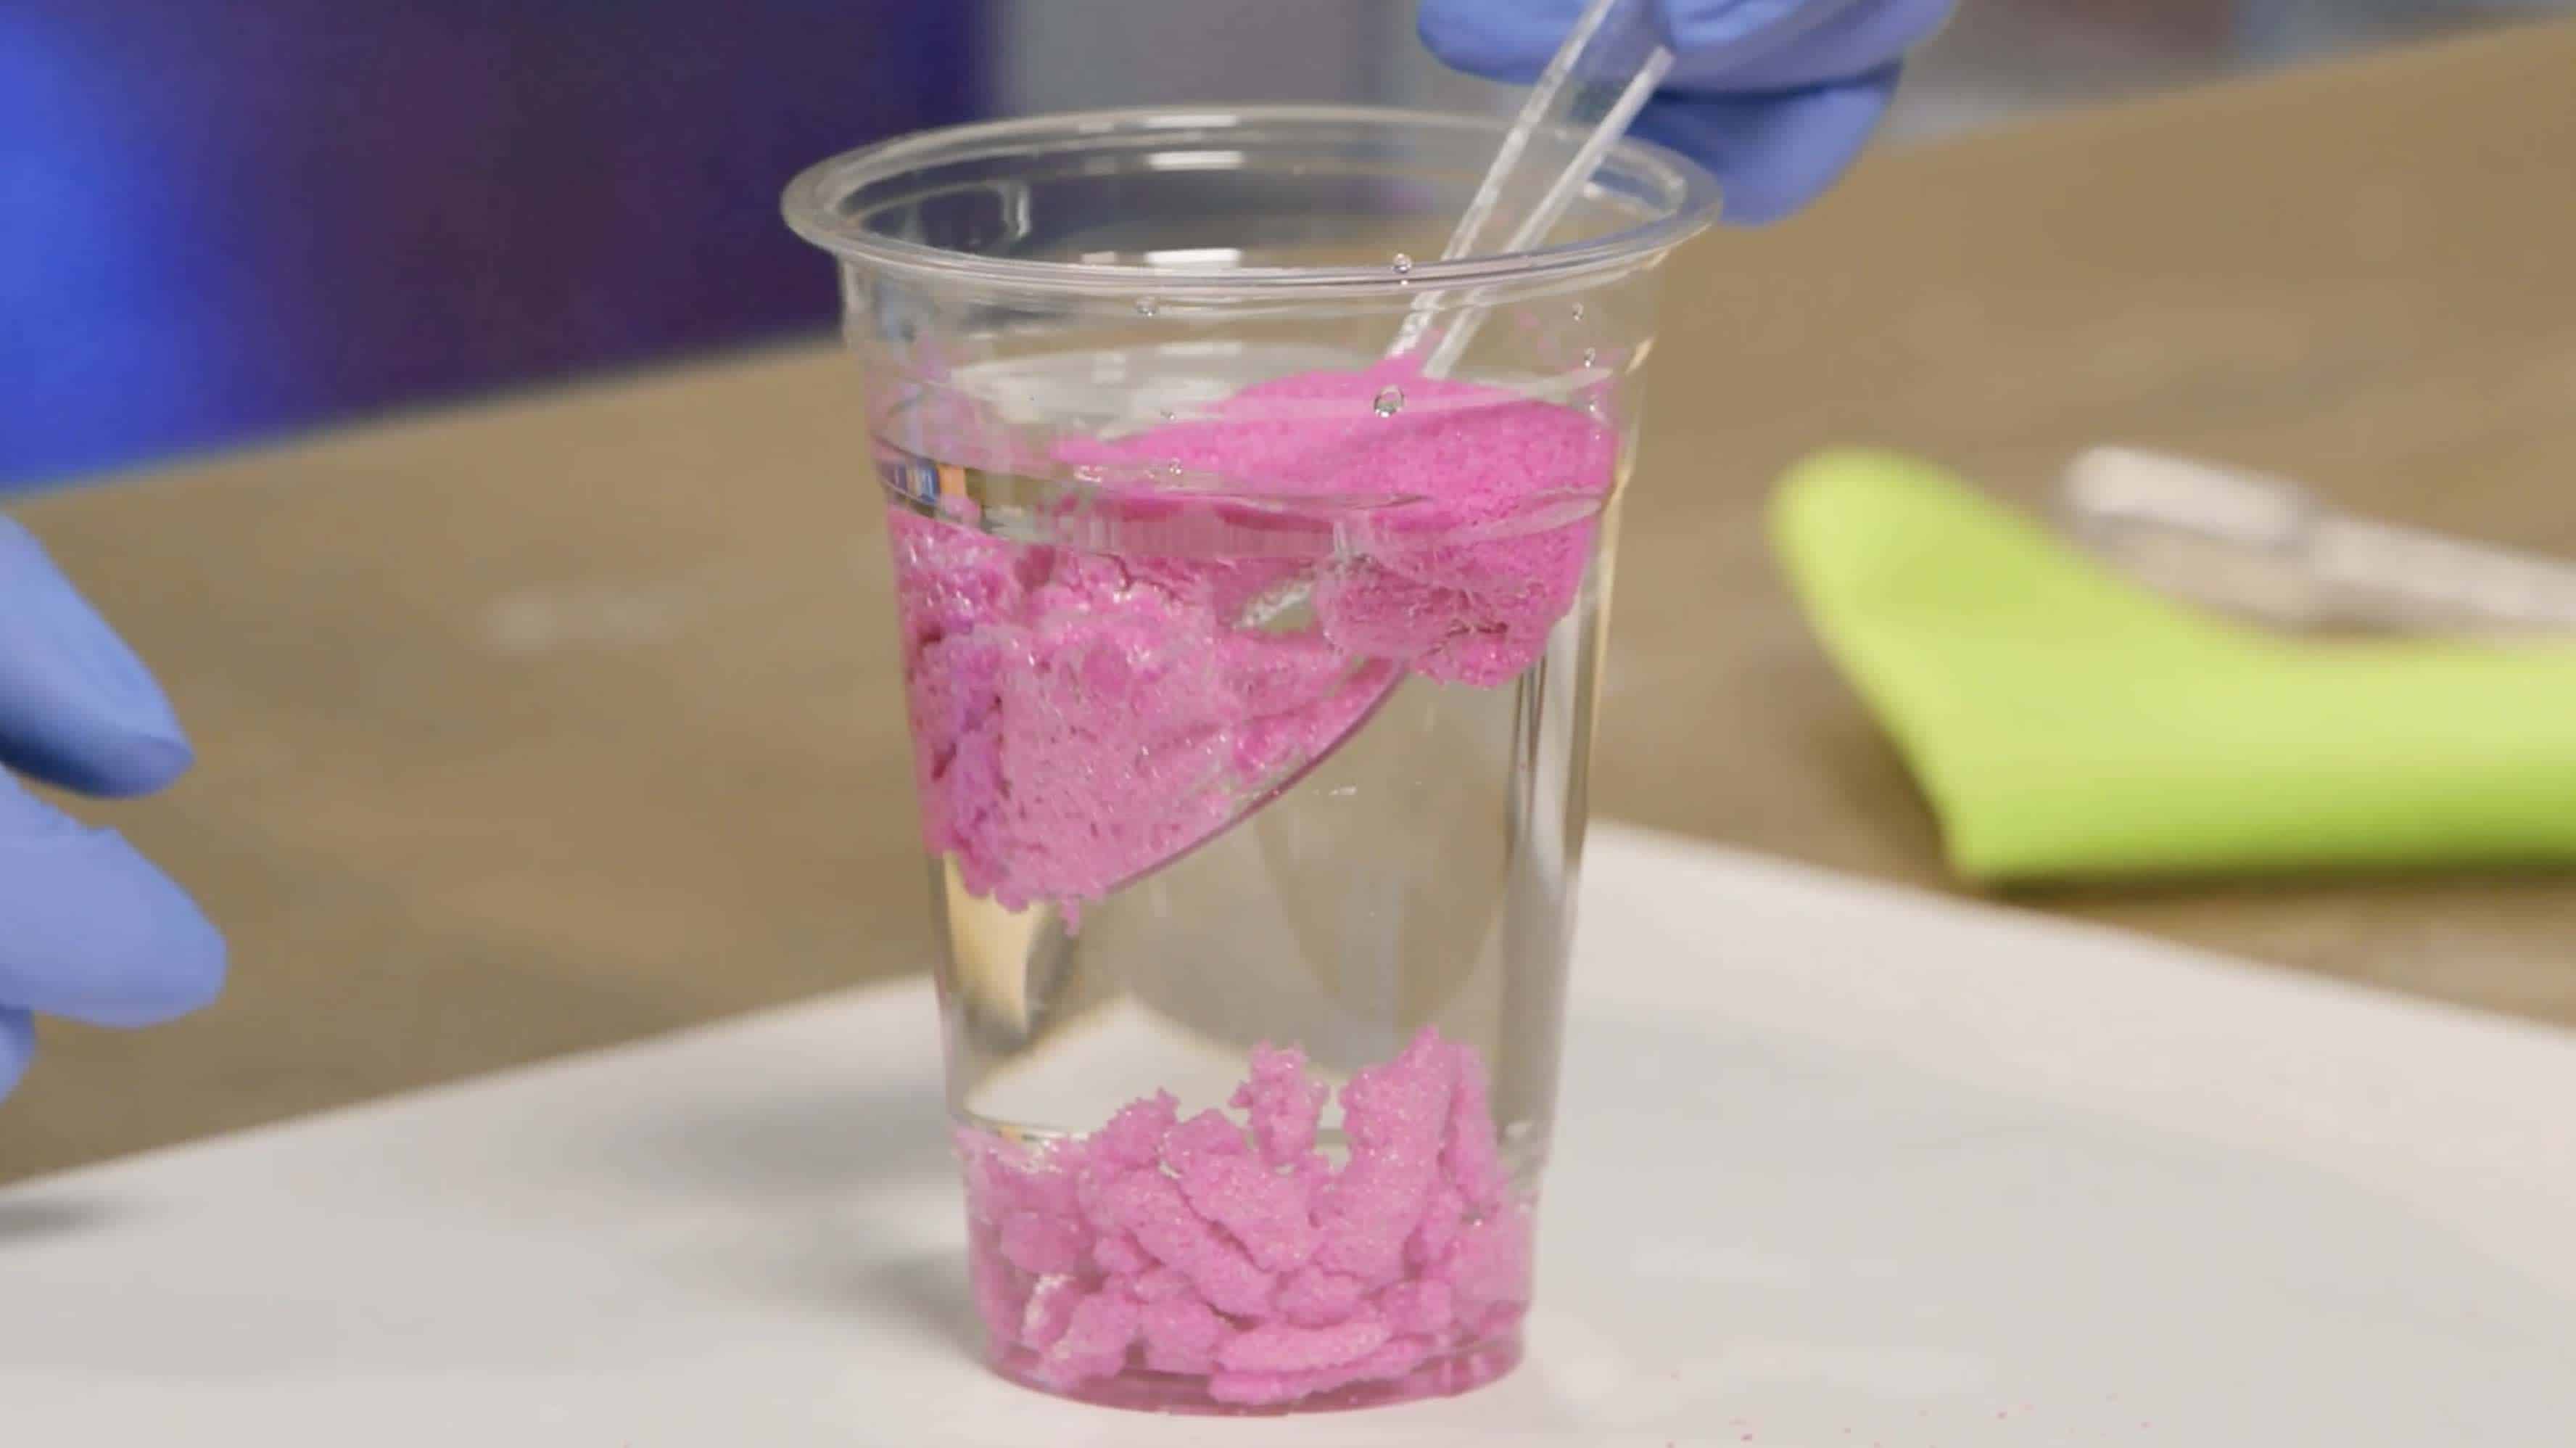
Grab the spoon, and try to take some of the sand out of the water. Try it again, every time you put the sand back in the water and take it out, it’s still dry!
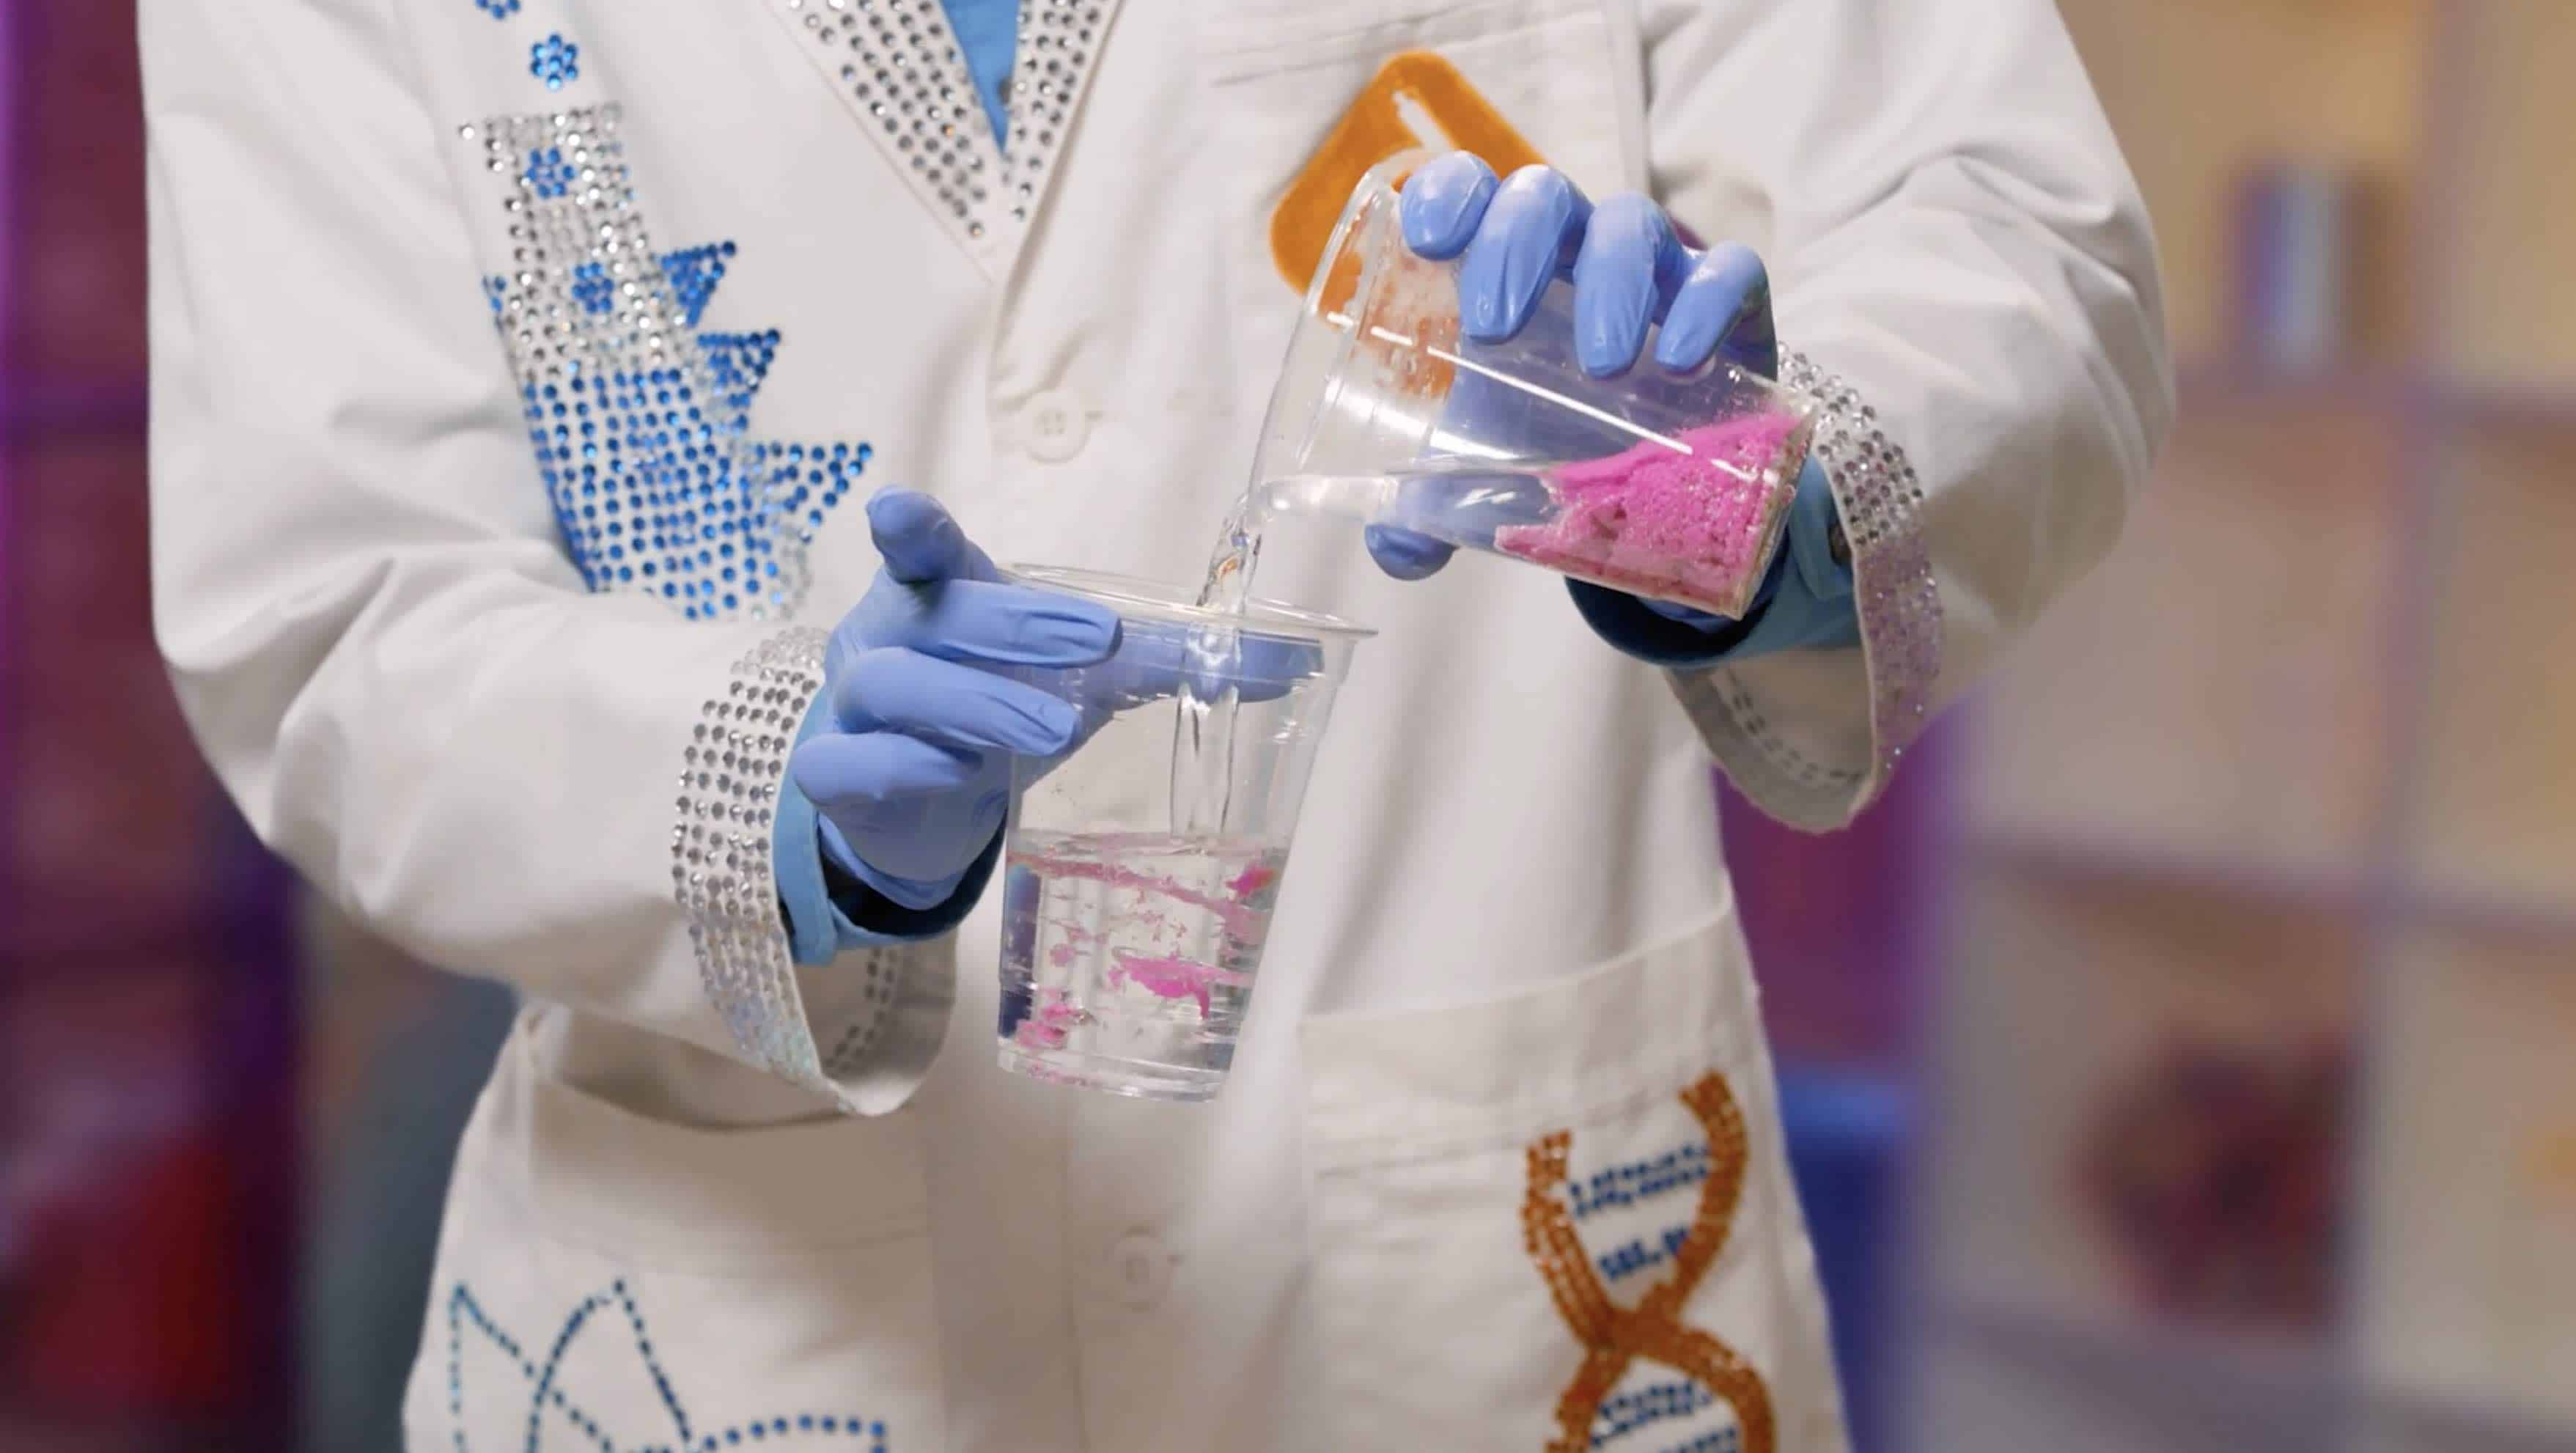
Take the cup of water and gently pour it into the empty cup. Give the cup of sand a little shake to pull the rest of the water to the top and pour out as much as you can.
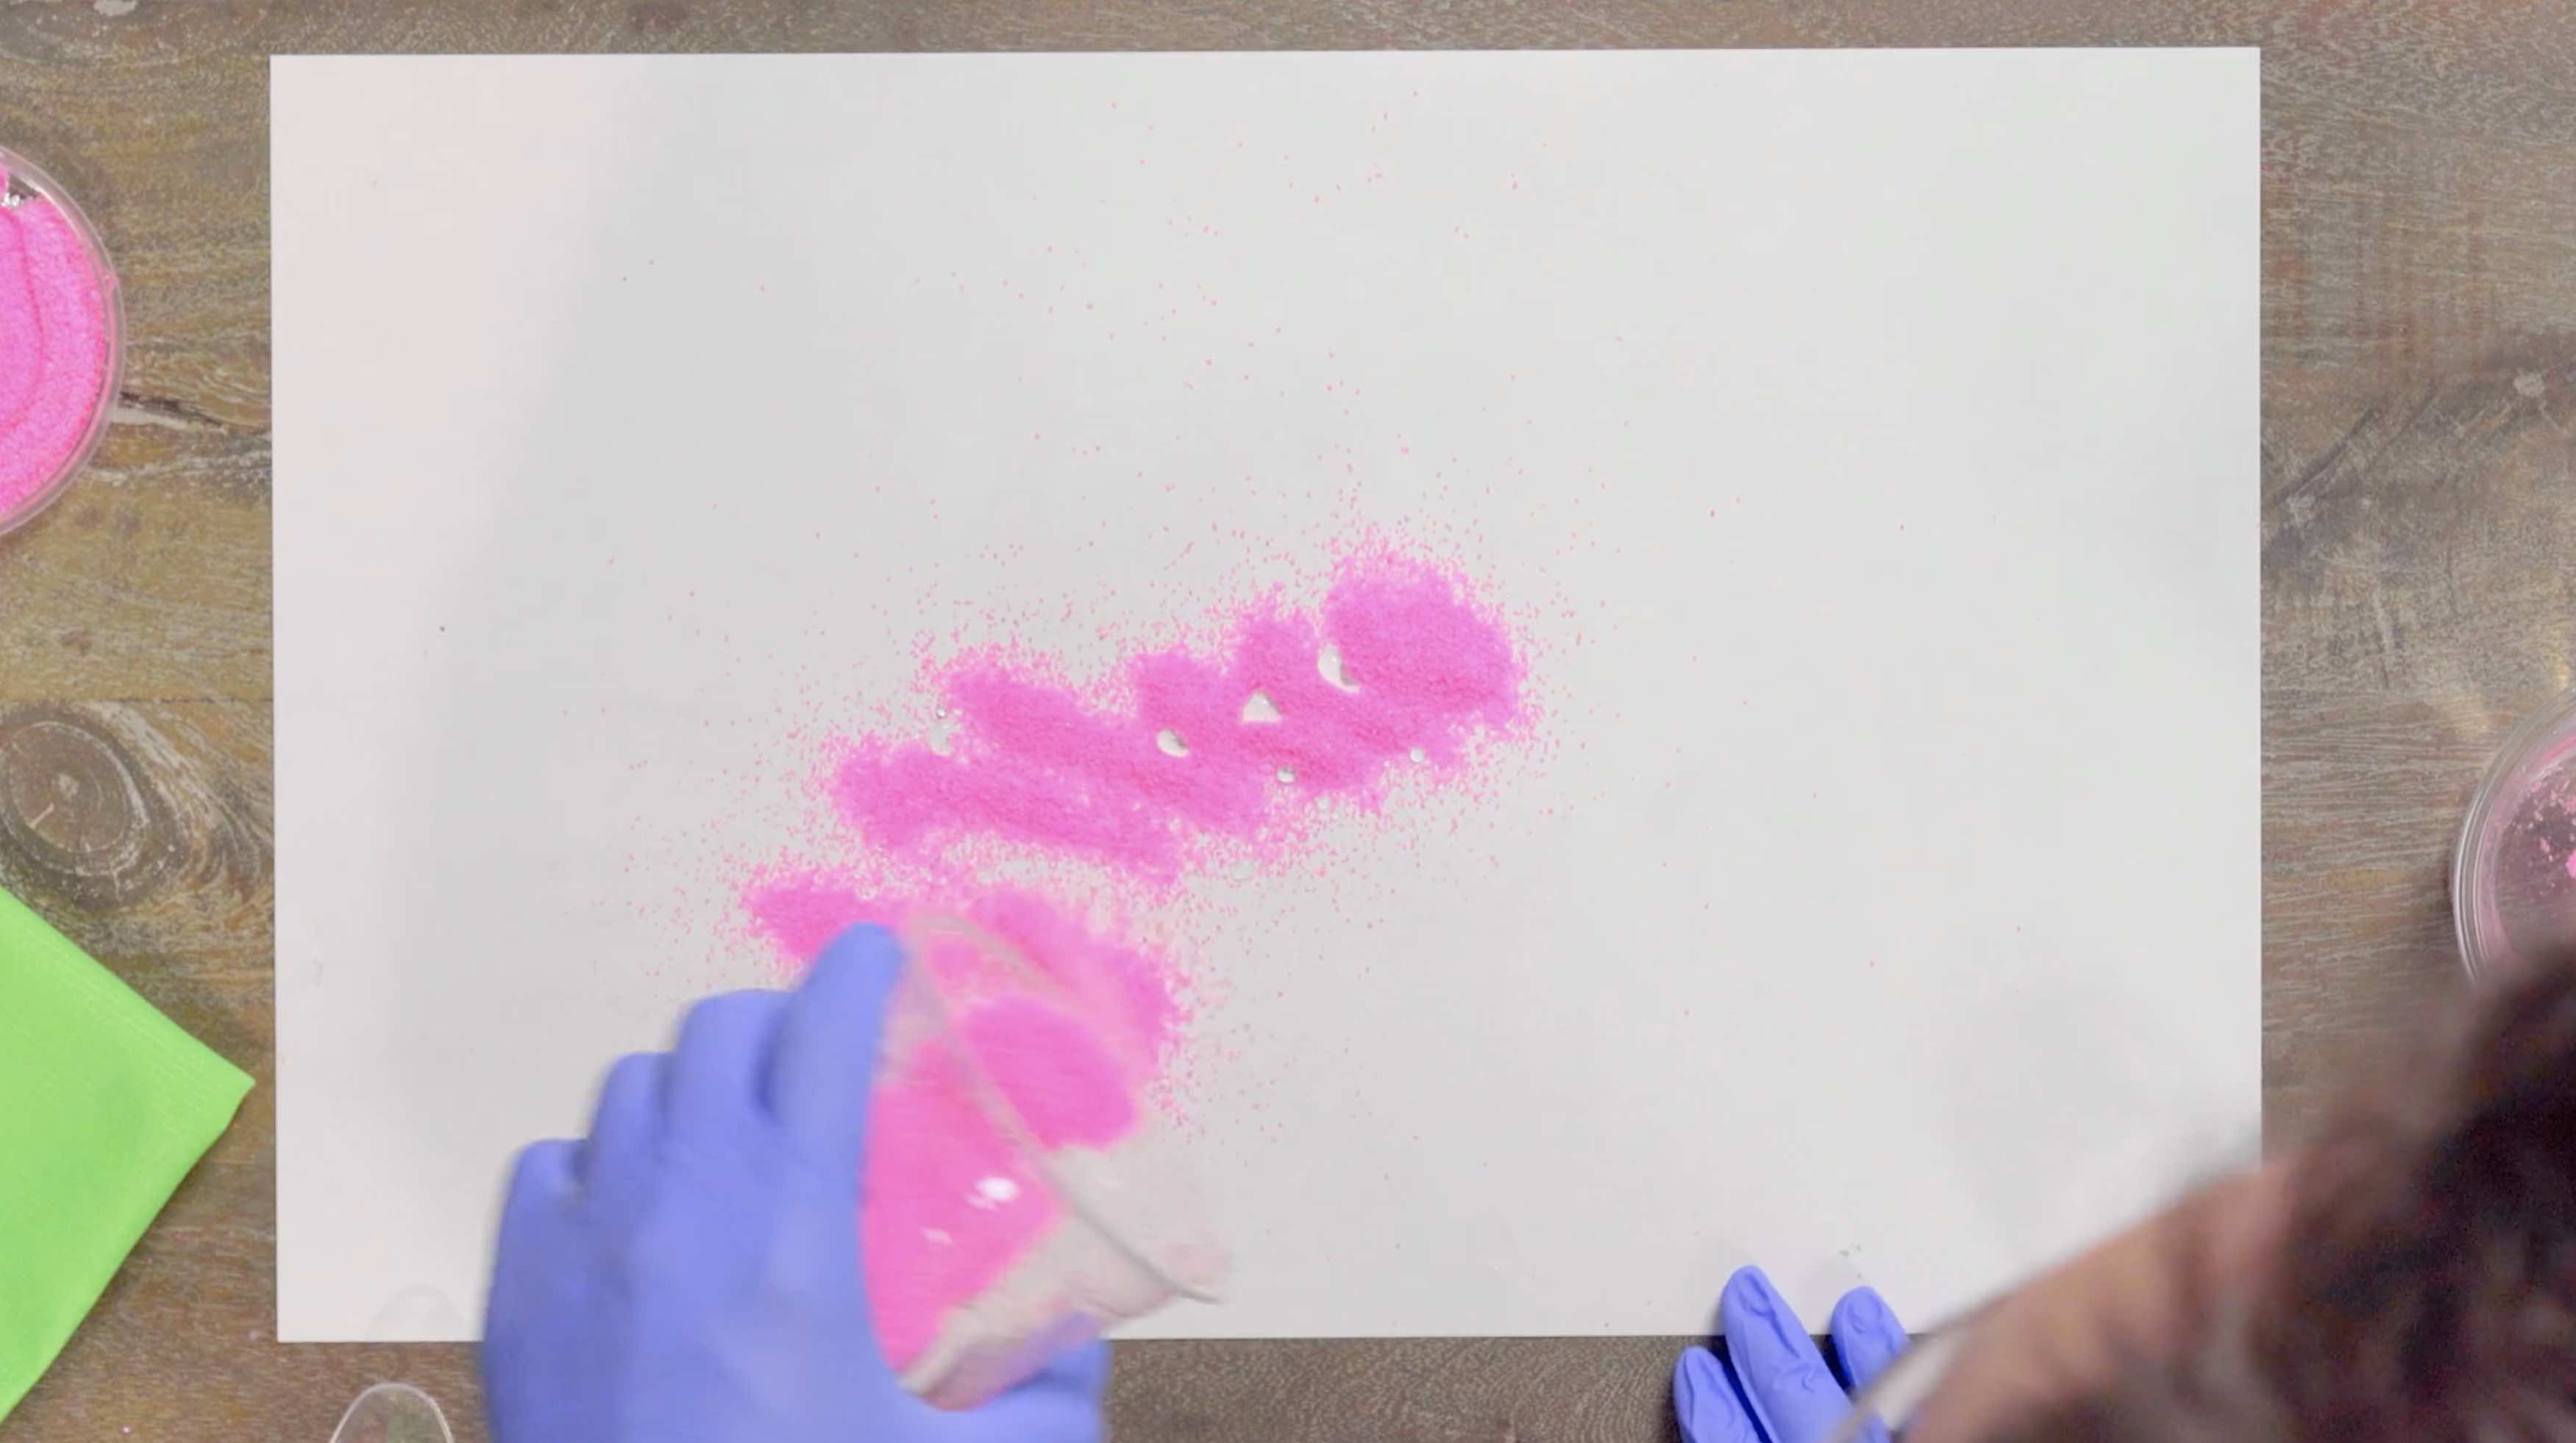
Now pour the sand back out onto your mat, it’s still dry!
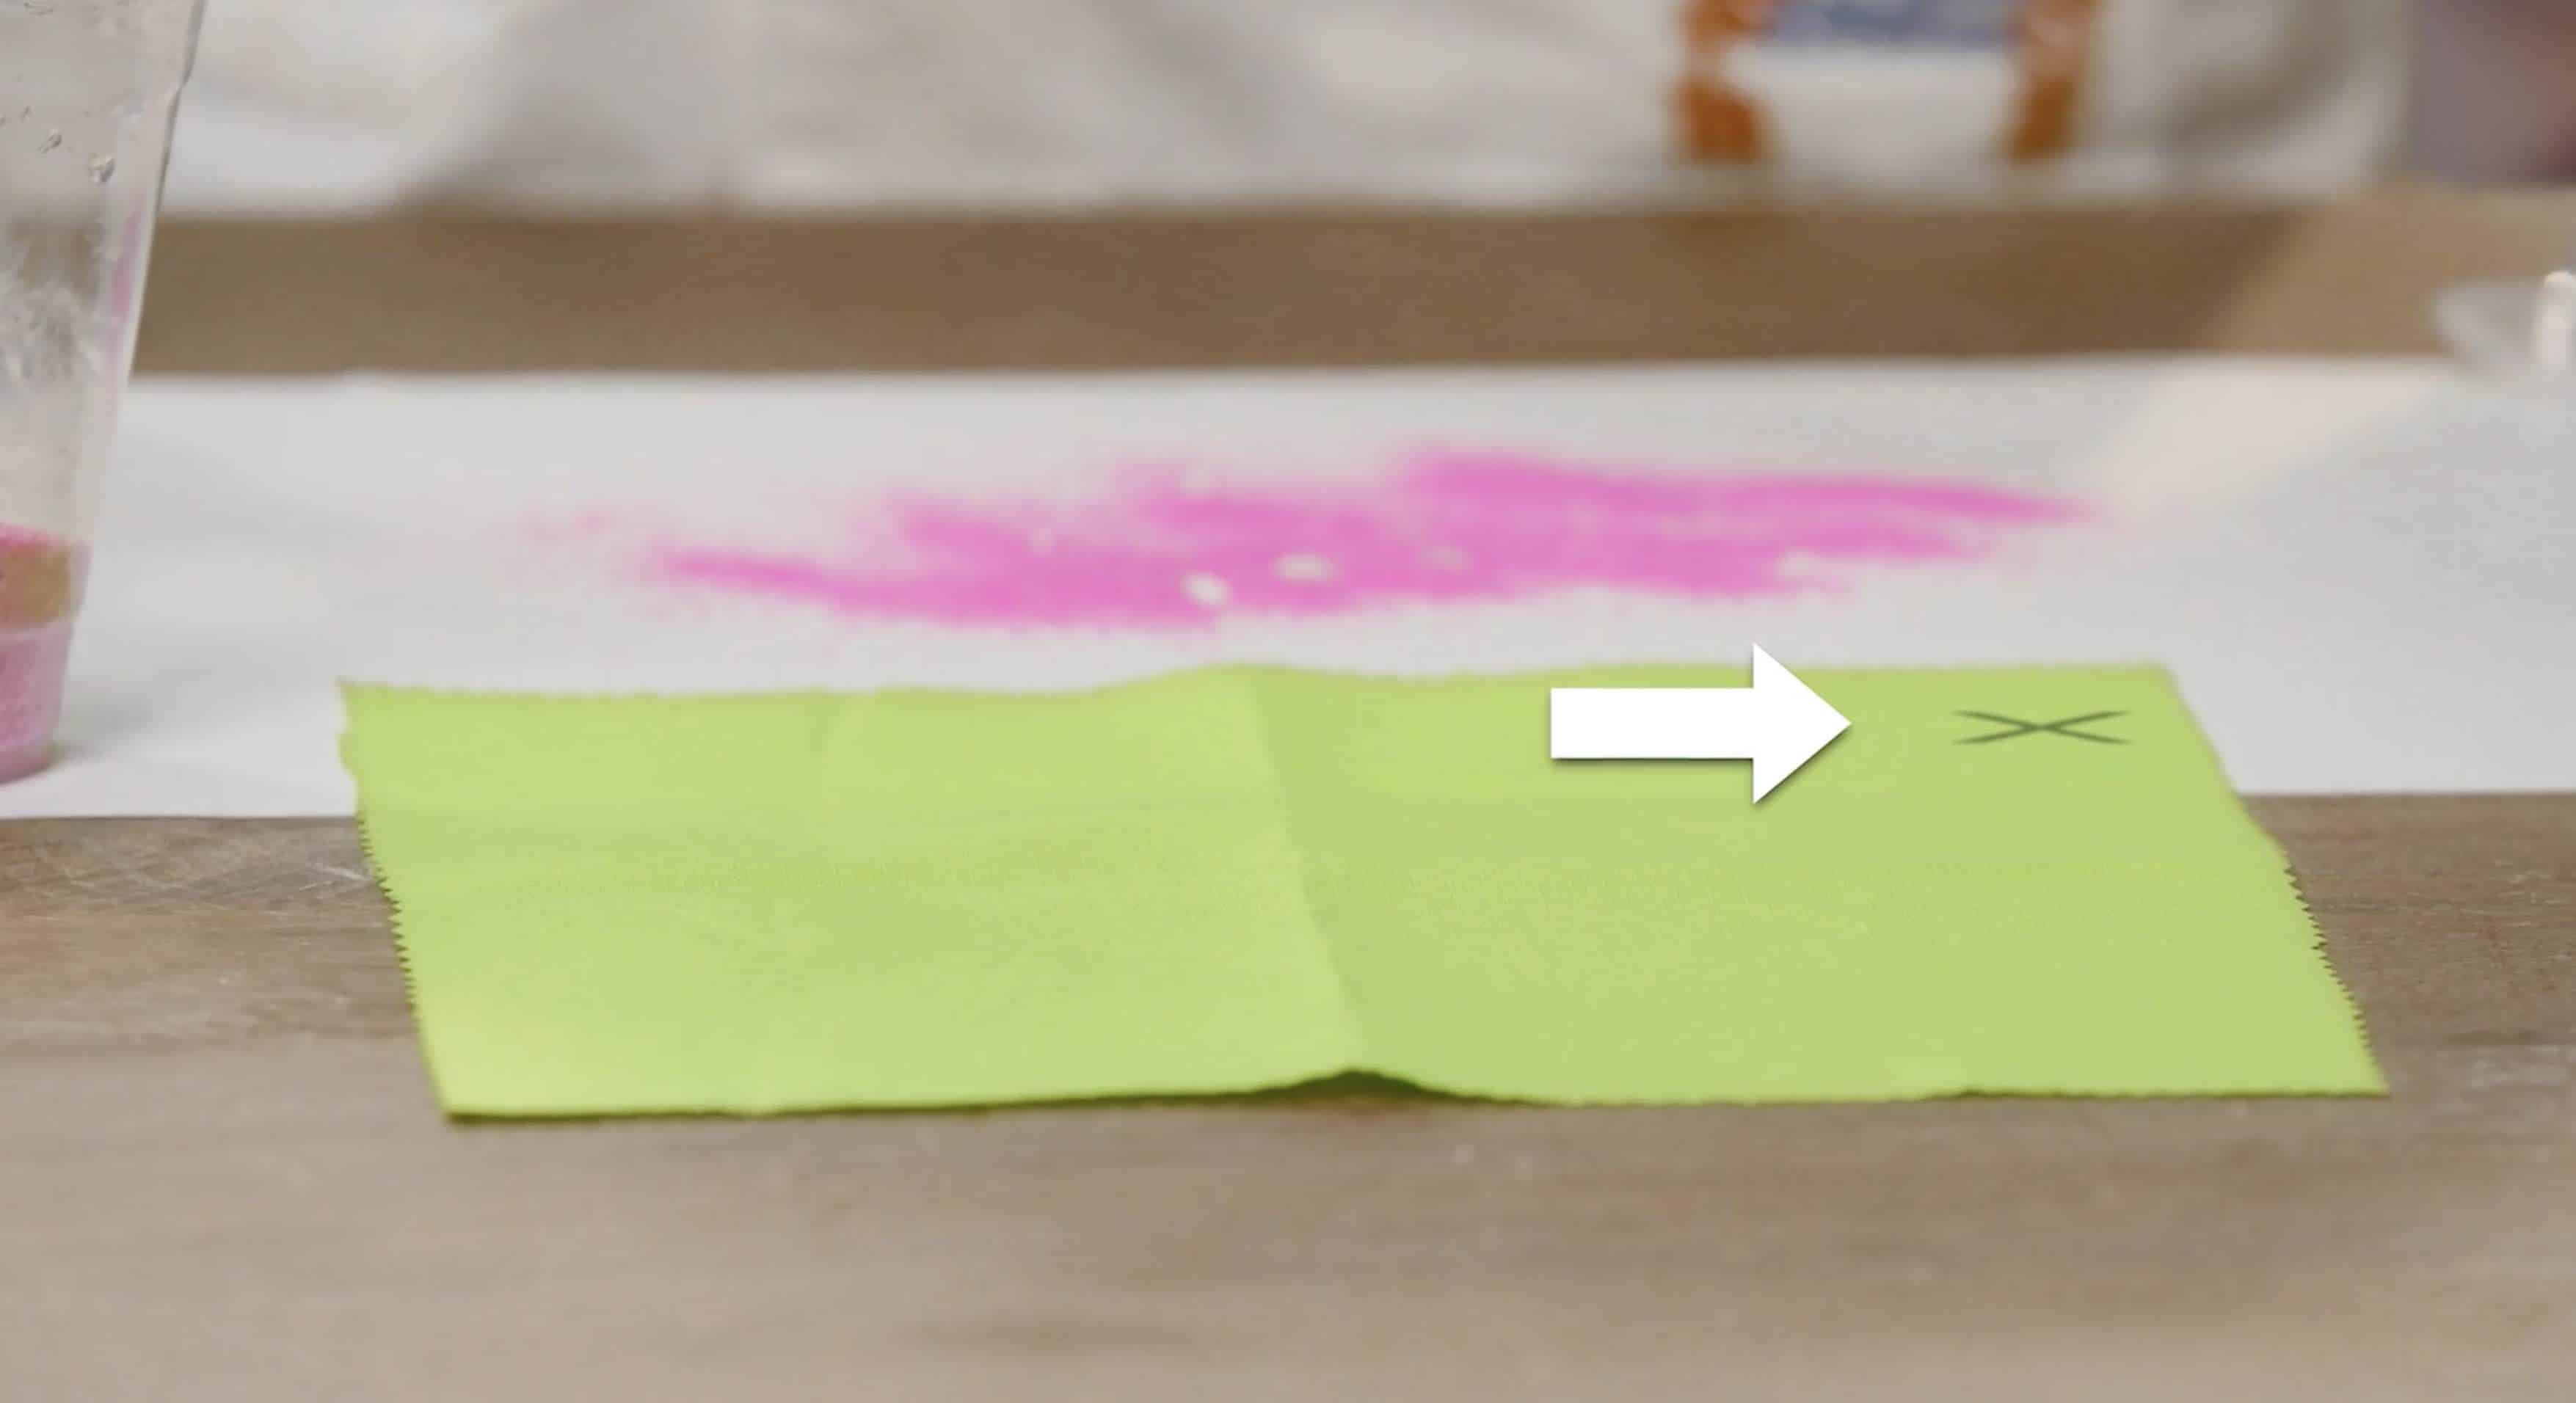
Next, place your fabric down with the “x” or “star” facing up, towards you.

Using the pipette, suck up some water and drip it onto the material.
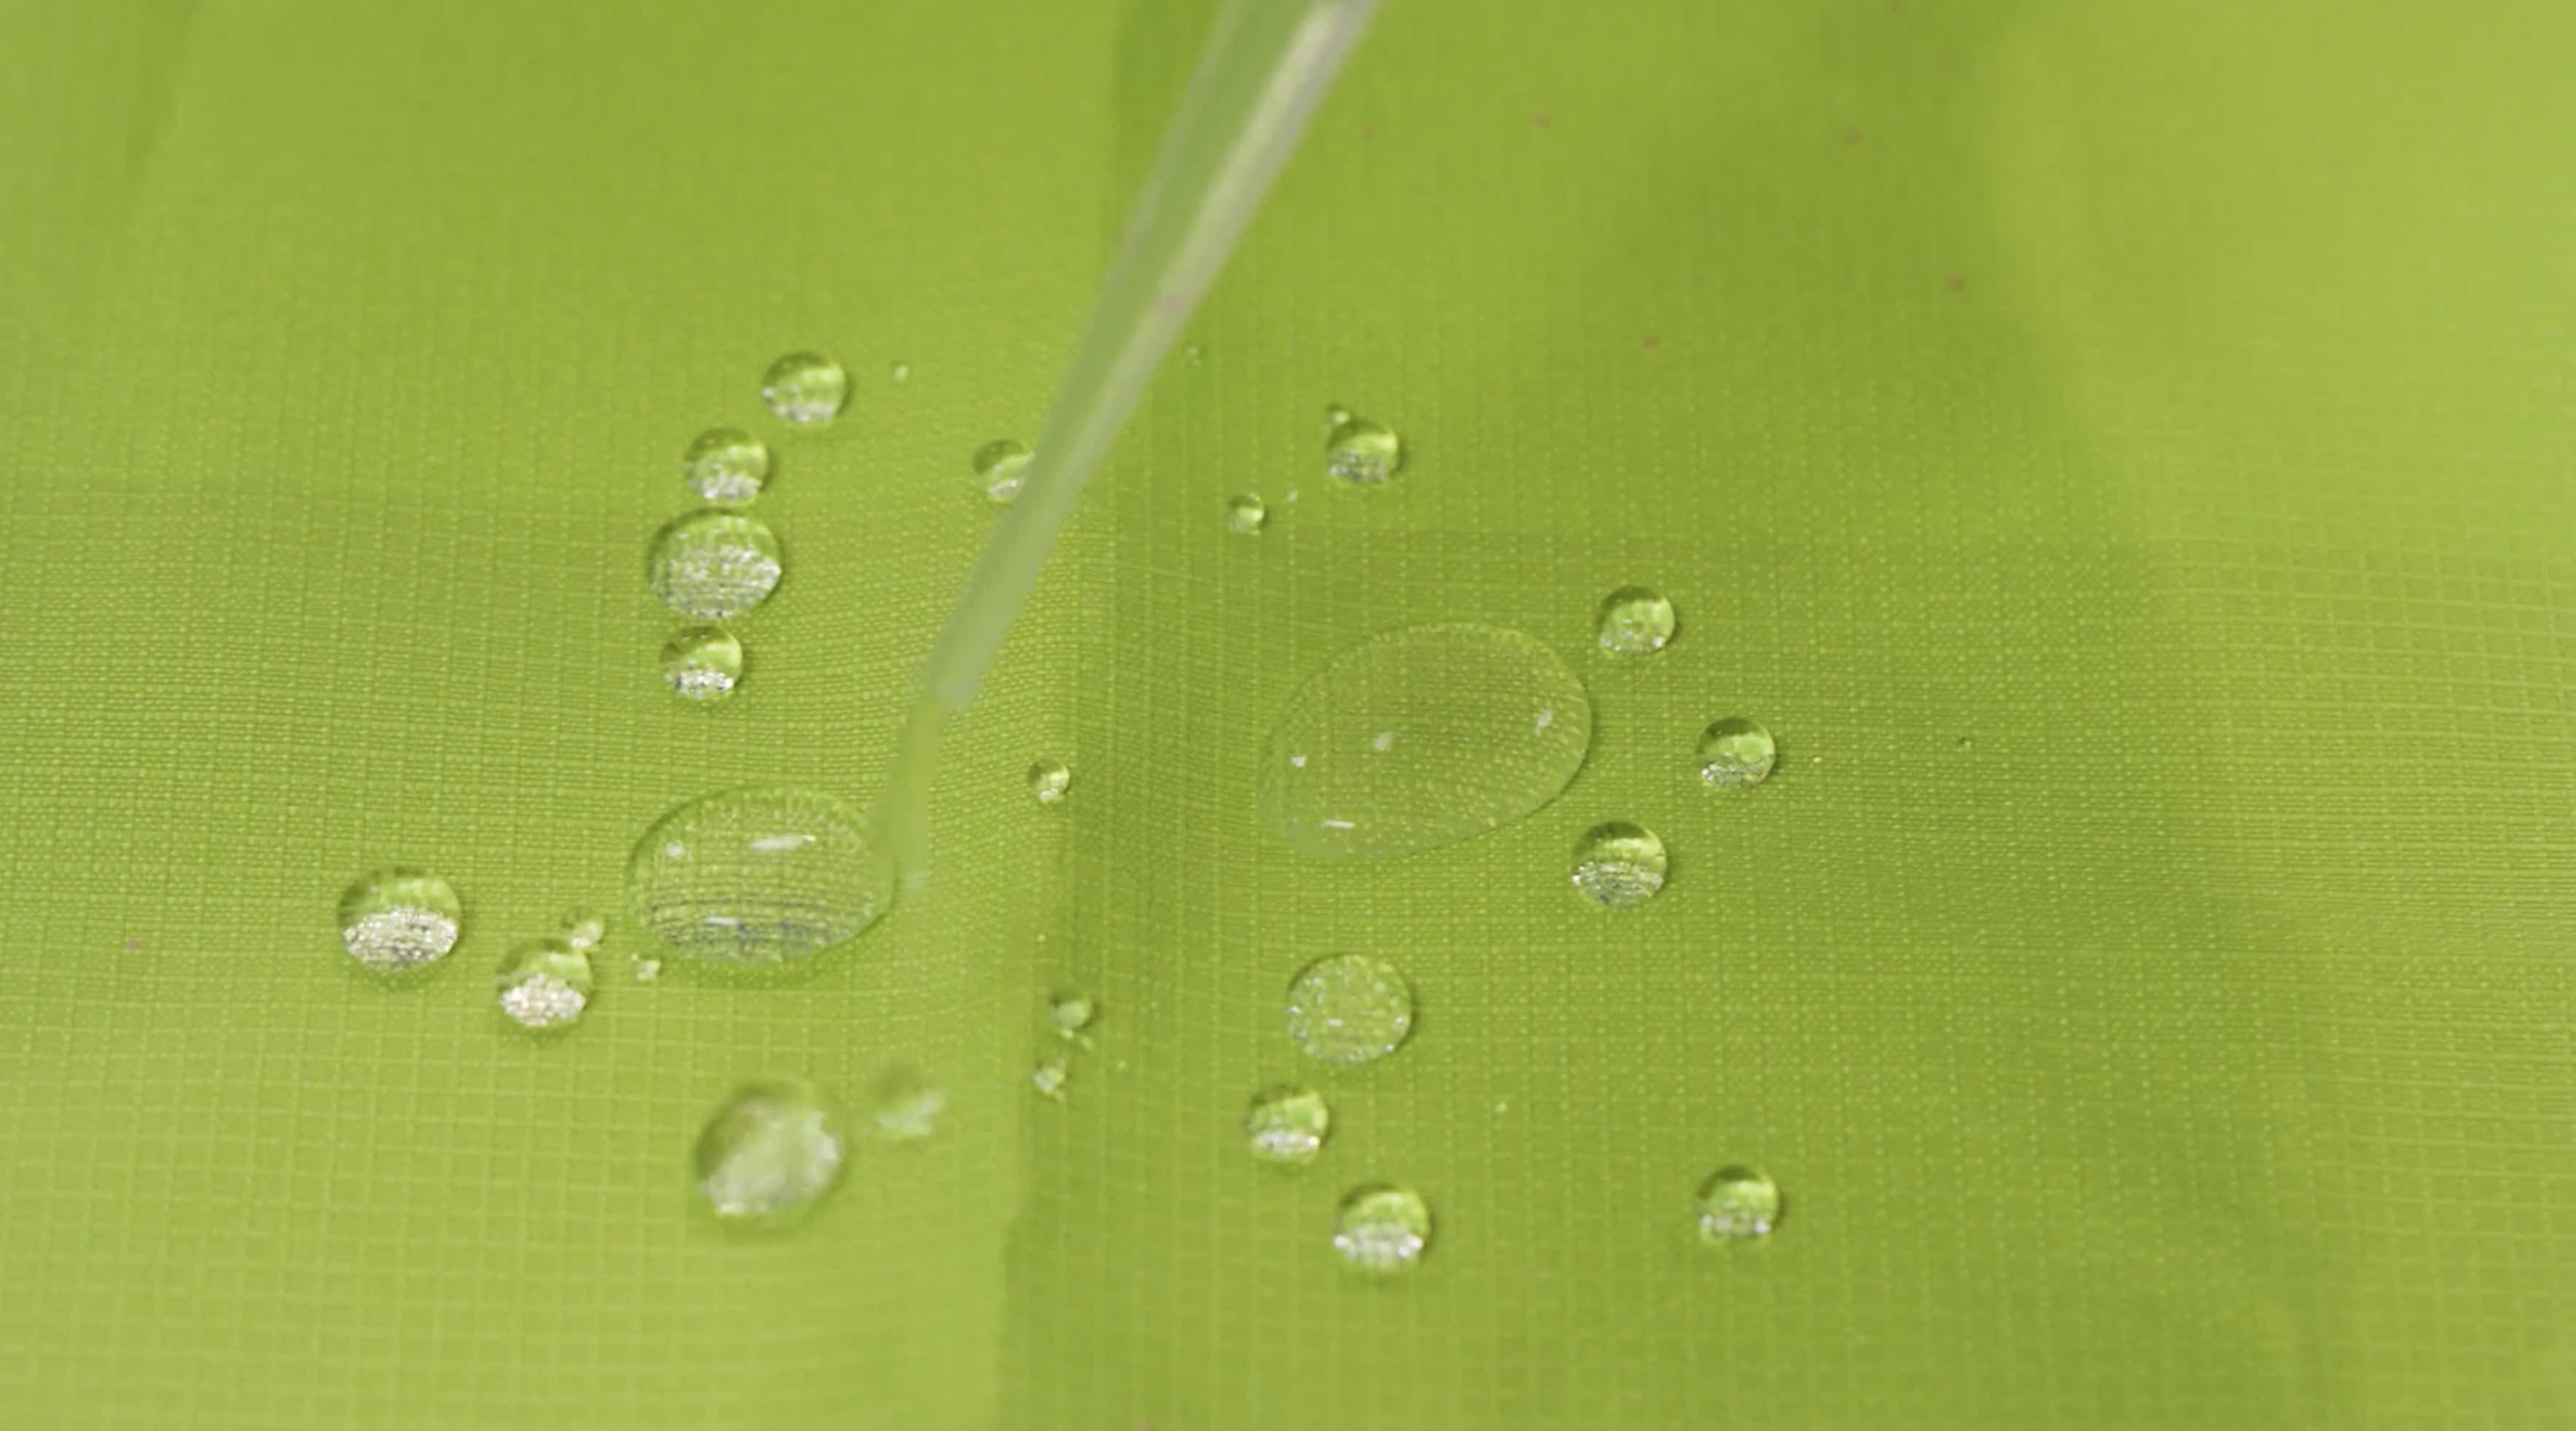
Keep adding drops of water. Try to connect the drops and make bigger ones.
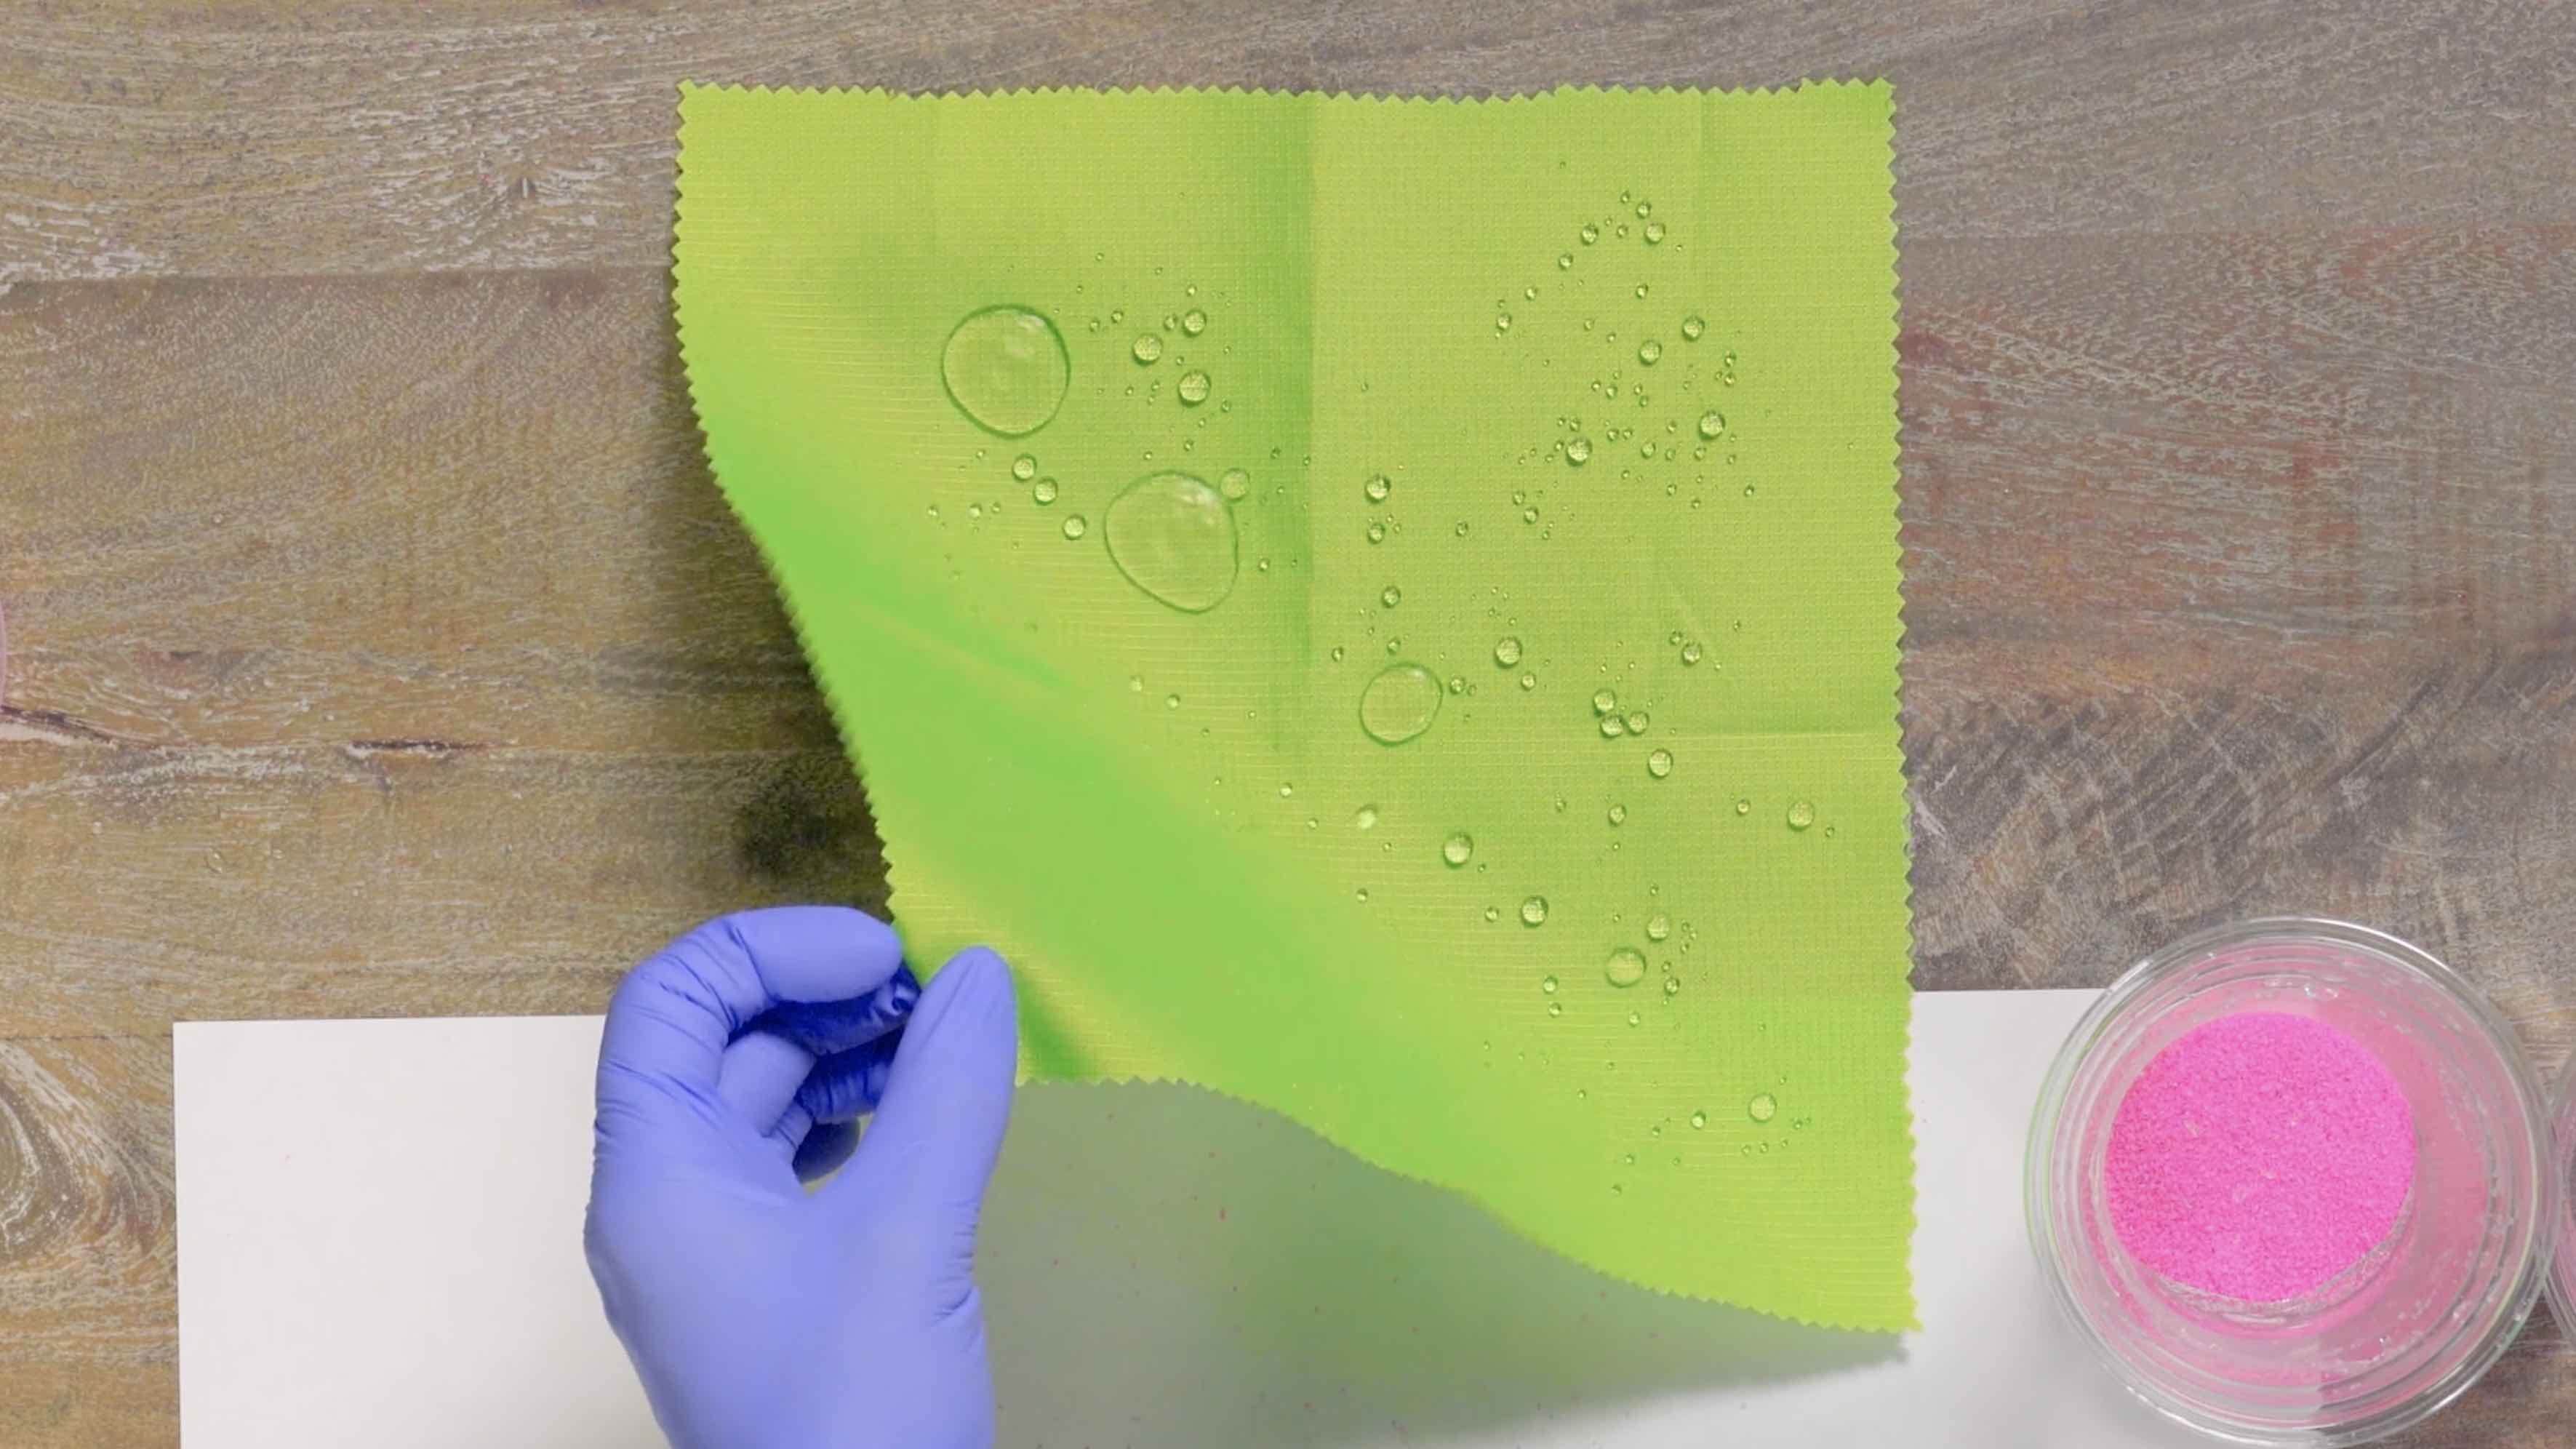
Try playing a little game with all your water drops by moving the corners of the material and trying to get all of the water into one big drop.


Skip, I will use a 3 day free trial
Enjoy your free 30 days trial


 GENERATION GENIUS