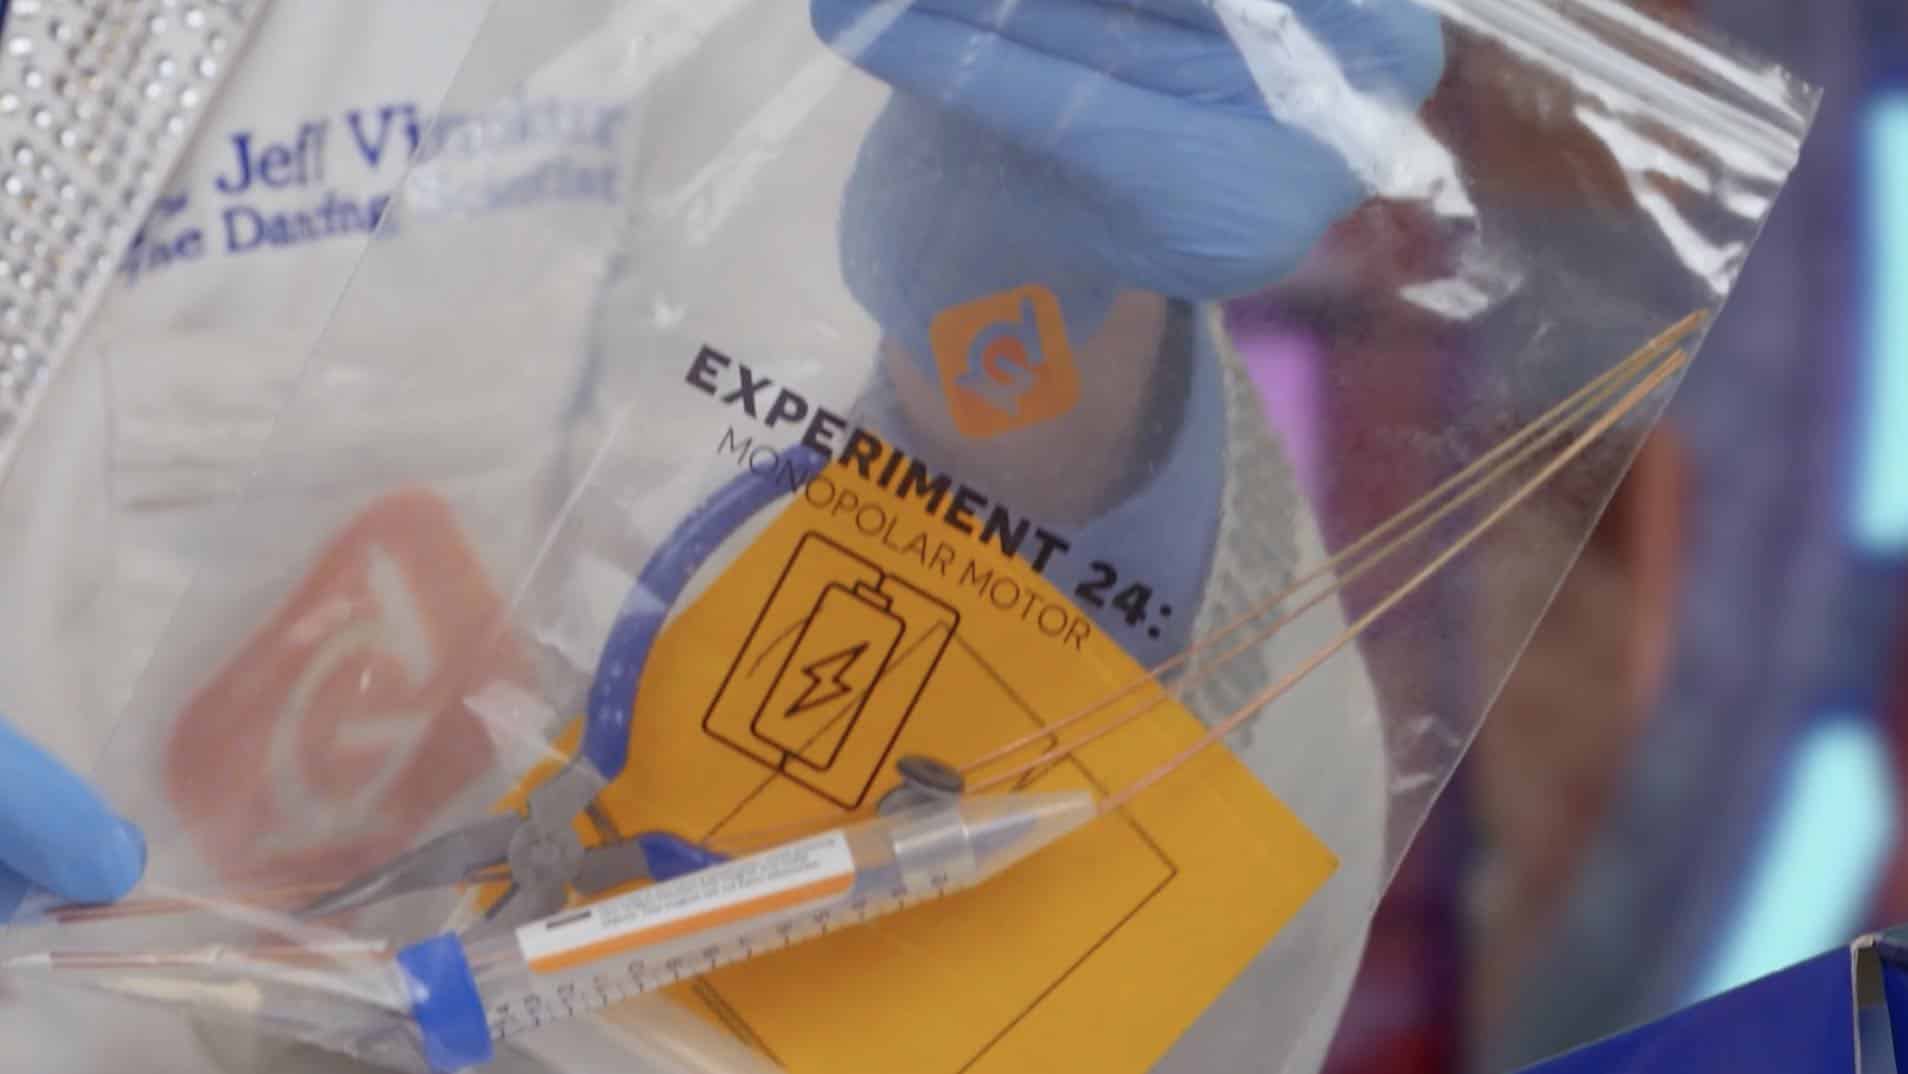
Reach into your kit & pull out the bag that says Experiment 24. Take everything out of the bag and place it around your white mat.
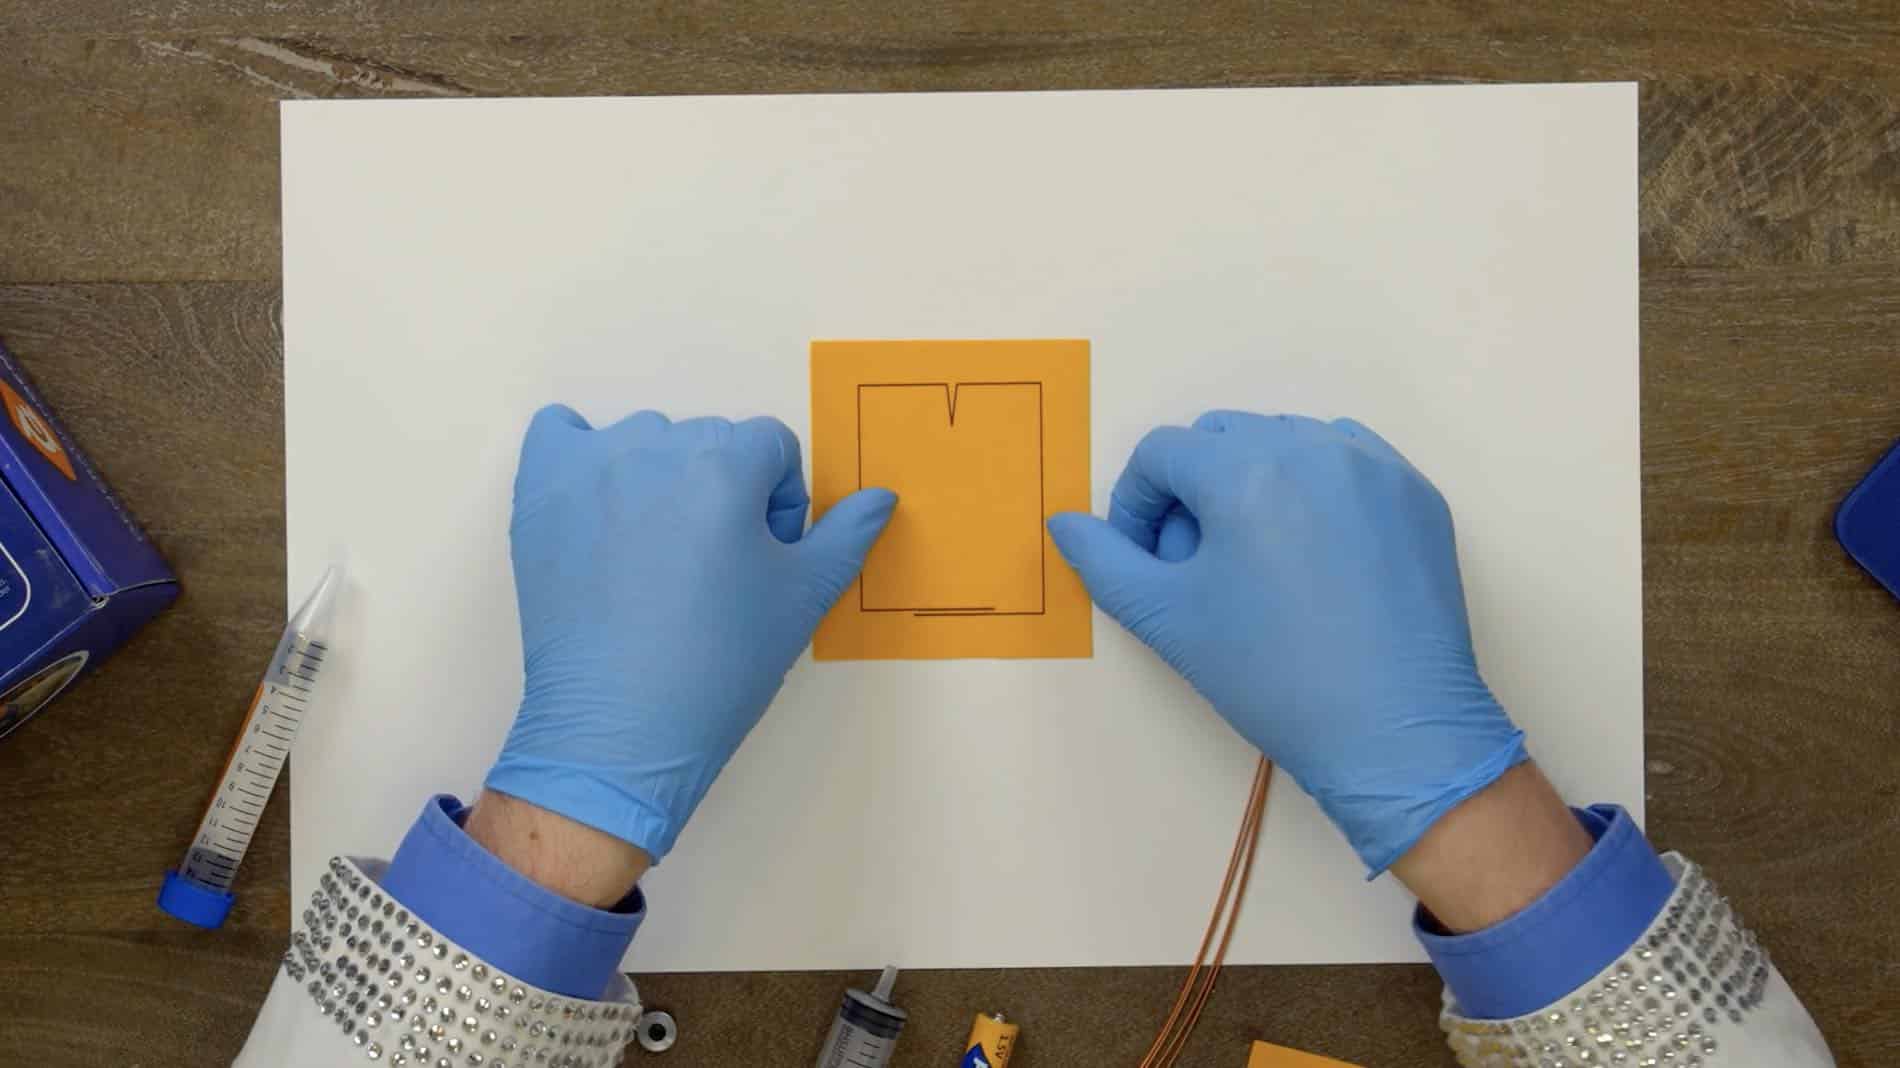
Place the orange card with the rectangle on the center of your mat. Then grab a piece of copper wire.

First, bend the piece of wire in half. Use the pliers to squeeze the center together to make a point.
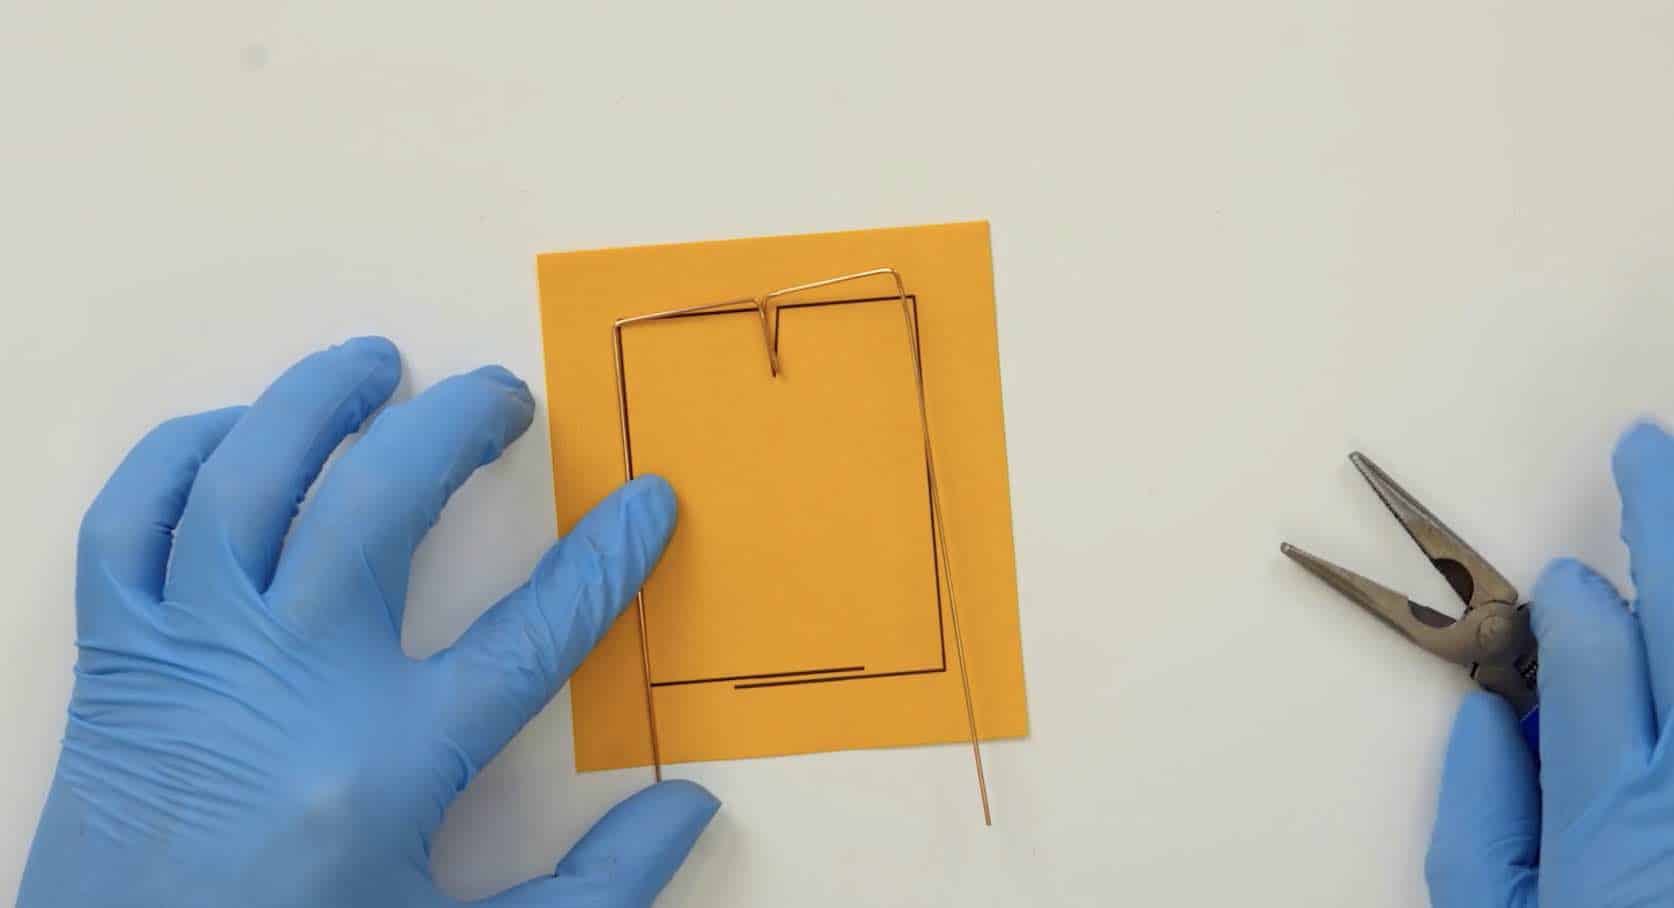
Using your card as a guide, slowly bend the wire into the same shape. You can check your bends as you go.
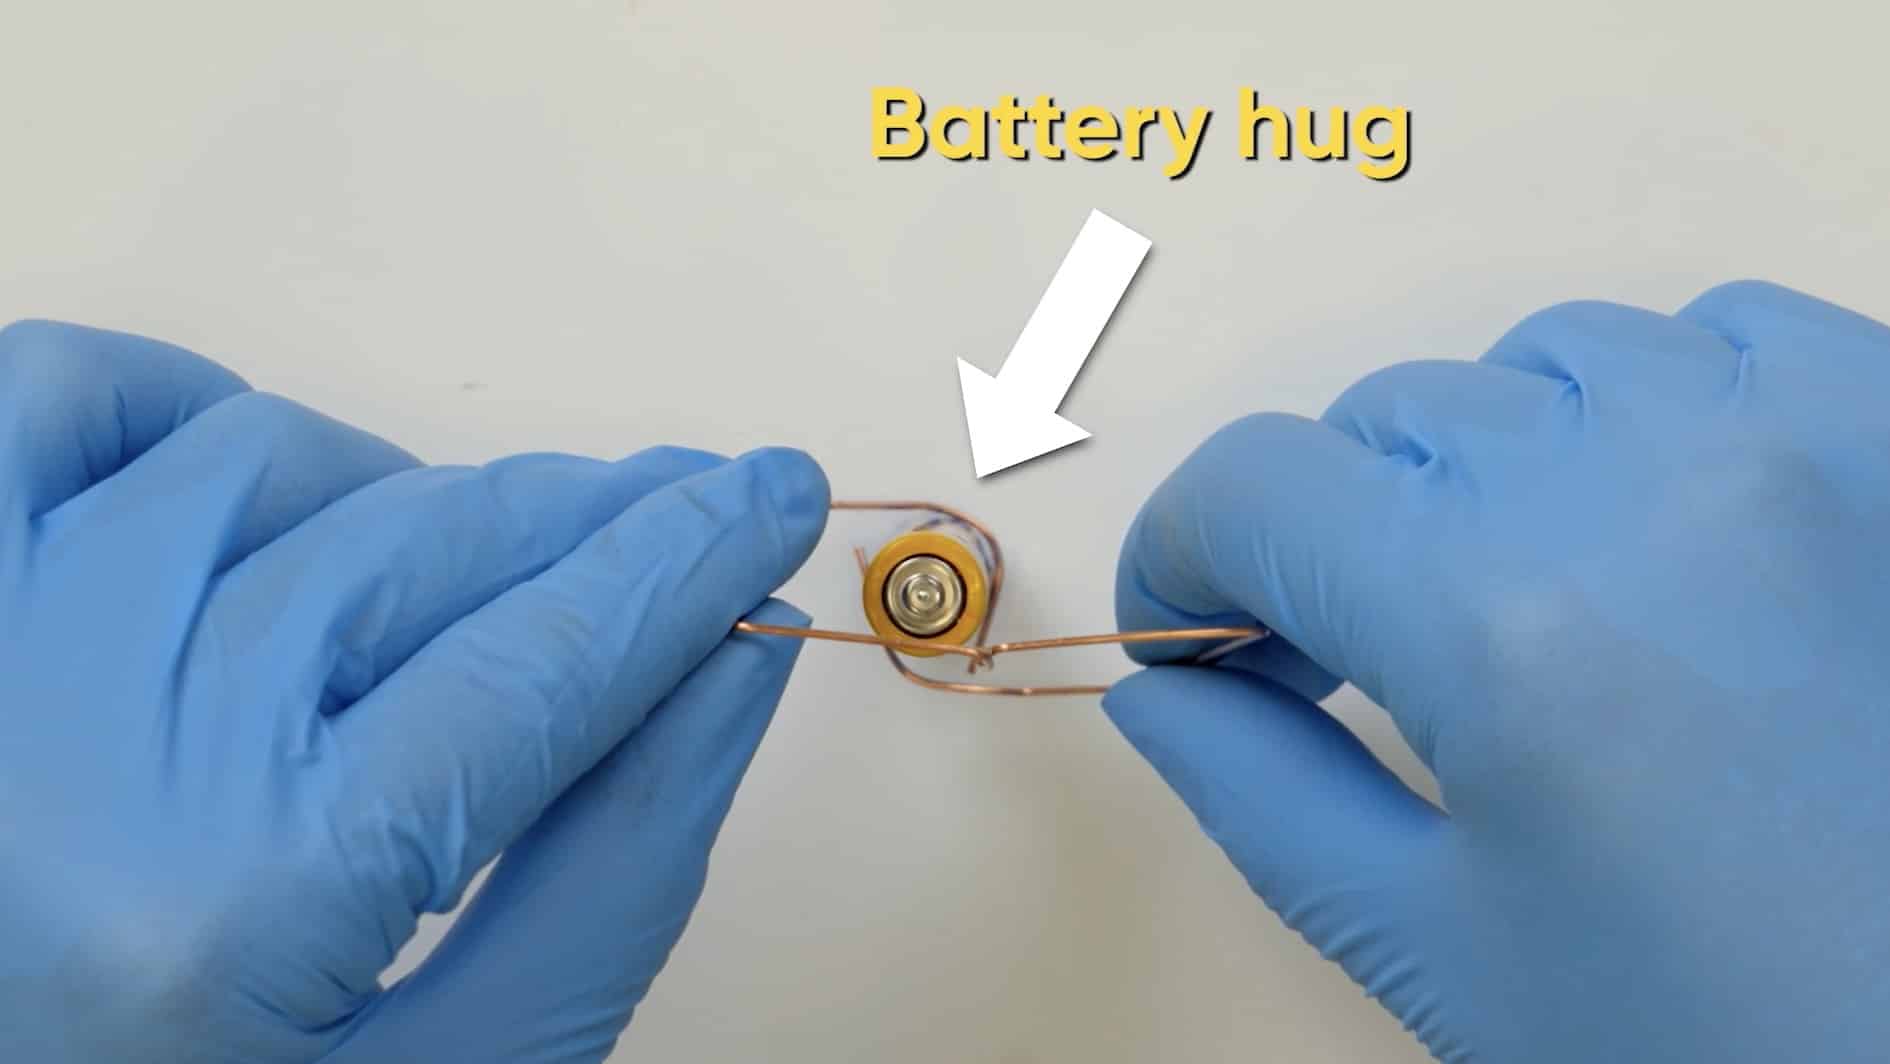
Next, Place the battery in-between the two ends of the wire and bend them around the battery. The wires should lightly hug the battery.

Grab one of the rubber connectors, with the metal side up, push down and turn it with the onto the plus side of the battery.

Next, take out your magnet and connect it to the negative side of your battery. It should stick.
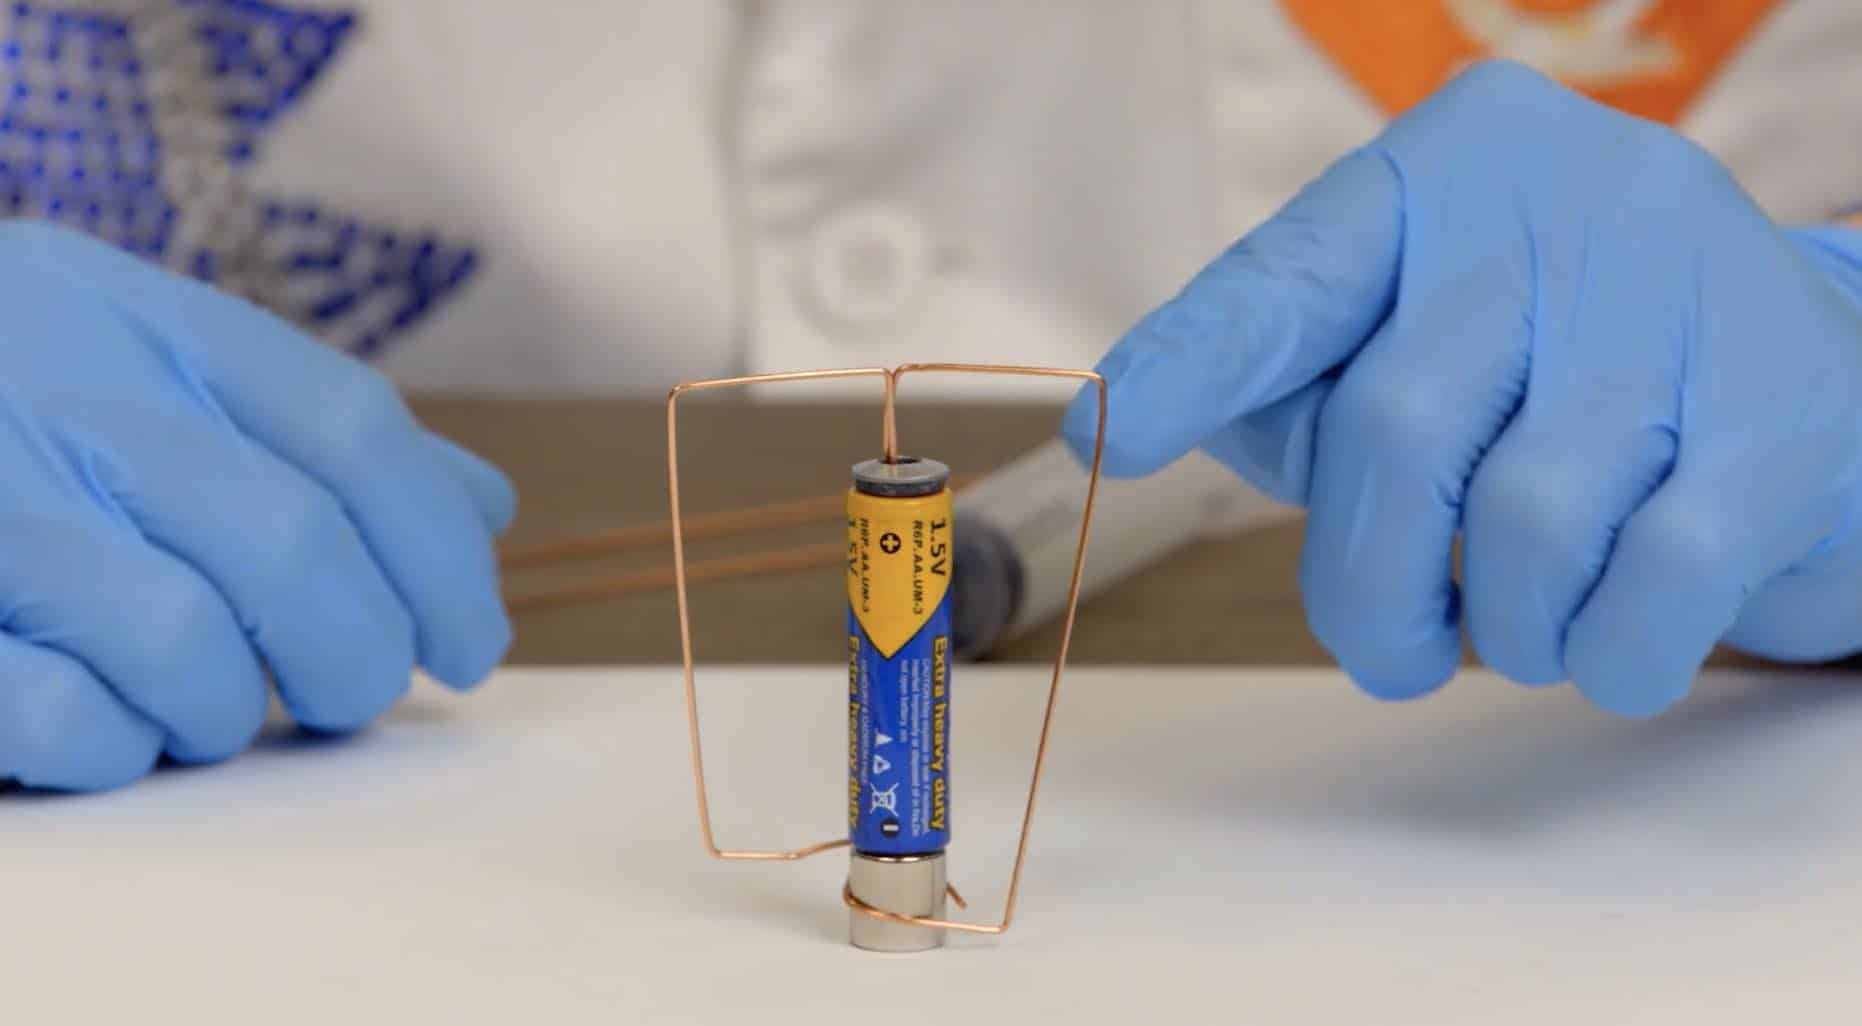
Now using the bends you made in the wire, place it over the battery and slide it down to hug the magnet below the battery, and it should start to spin. You can play with loosening the wires around the battery to make it spin faster.

Next, let’s try another shape. Grab the card with the heart shape and place it on the center of your mat. Just like before, bend a new piece of wire in half using your pliers and then work the shape around using the card as your guide.

Place the battery, without the magnet, in between the ends of the wire and like before, wrap it around the battery to create a hug.

Now, place the battery back onto the magnet and connect your wire around the battery and slide it down over the top of the magnet. Be sure to play with the shape of the wire if it doesn’t spin fast.

Want to make your wire spin the opposite direction? Simply flip the magnet on the bottom over, and your wire will start to spin the other way.

To make the last shape, the spiral, grab your syringe, place one end of a copper wire into the tip of the syringe and then wrap the wire around the outside. Finally, stretch the wire down to the 15 mark.

Next, at the end of the spiral, use your pliers to bend the end into a half circle so that it hugs your battery. You may need to adjust it to make it bigger or smaller as needed. If it still doesn’t spin, try giving it a little tap to get it started.


Skip, I will use a 3 day free trial
Enjoy your free 30 days trial


 GENERATION GENIUS