

1%
Processing, please wait...
It was processed successfully!
Login Create Free Account
en | es

Back-to-School Sidewalk Chalk Science Activity

Autopause

Materials

1 Cup Plaster of Paris
½ Cup Water
½ Cup Water
Food Coloring
Food Coloring
Mixing Bowl
Mixing Bowl
Spoon
Spoon
Silicone Molds or Ice Cube Trays

Instructions

STEP 1
1:04

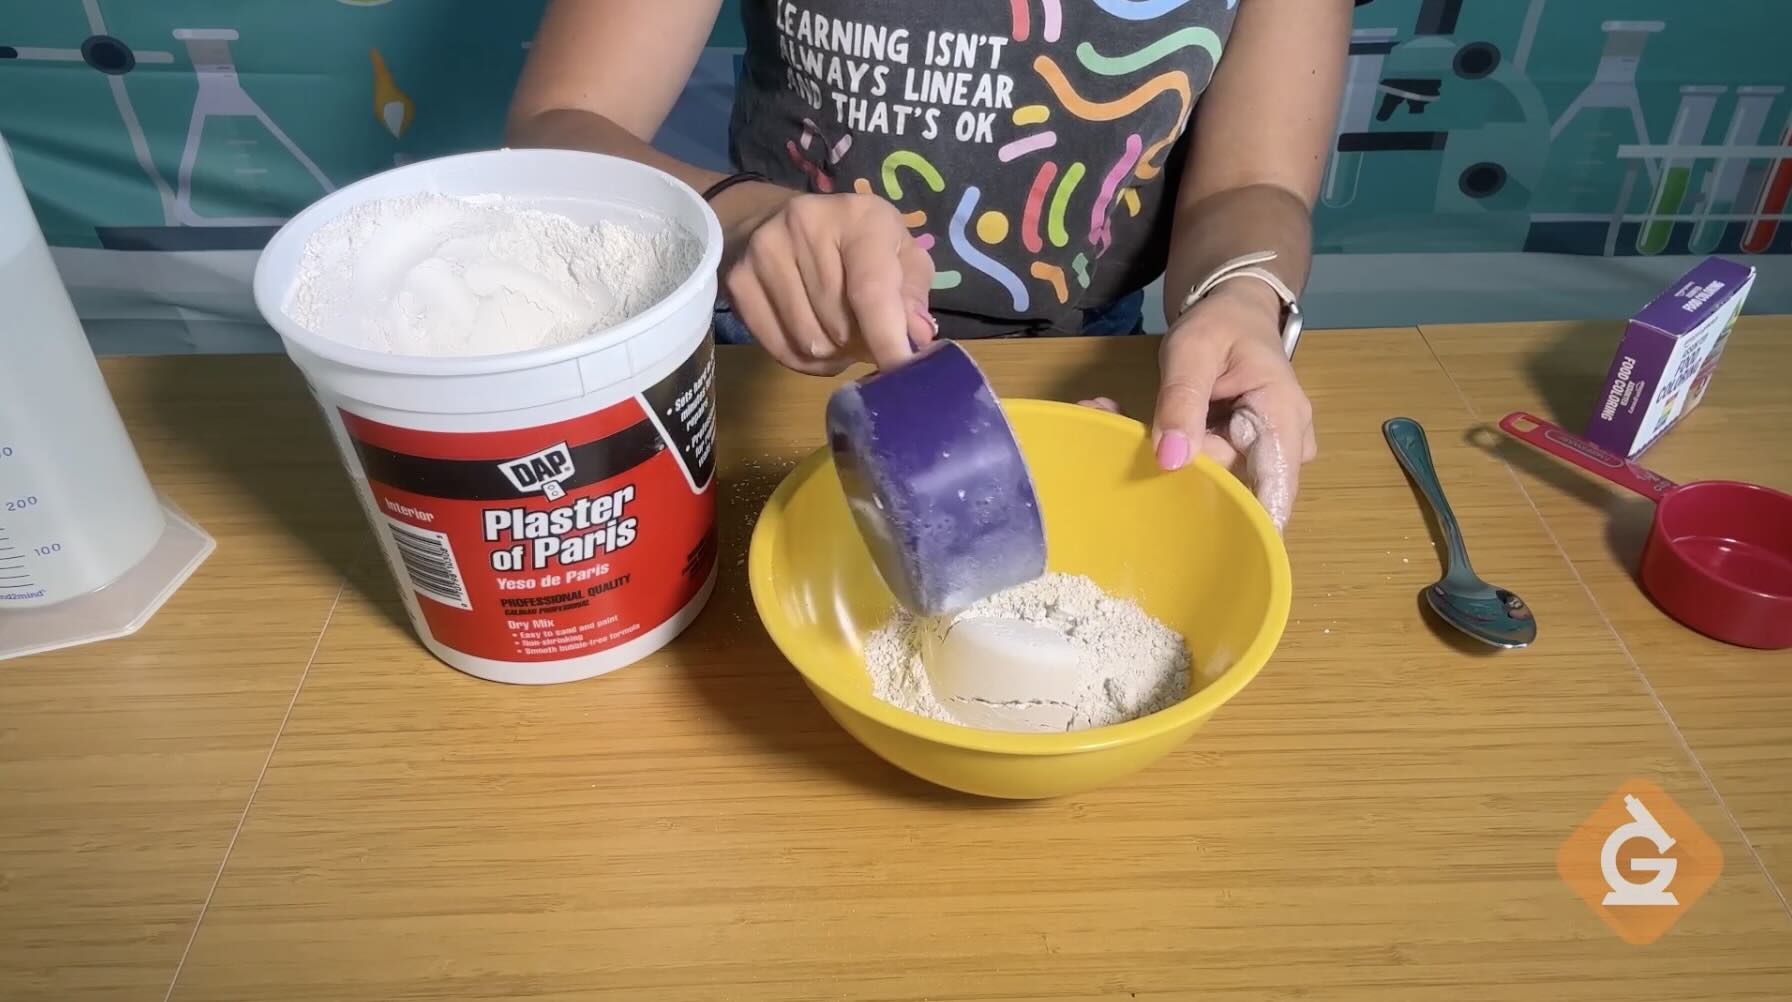
Measure 1 cup of plaster of Paris into a mixing bowl. Predict: How can this dry powder become something solid enough to draw with?
STEP 2
1:17

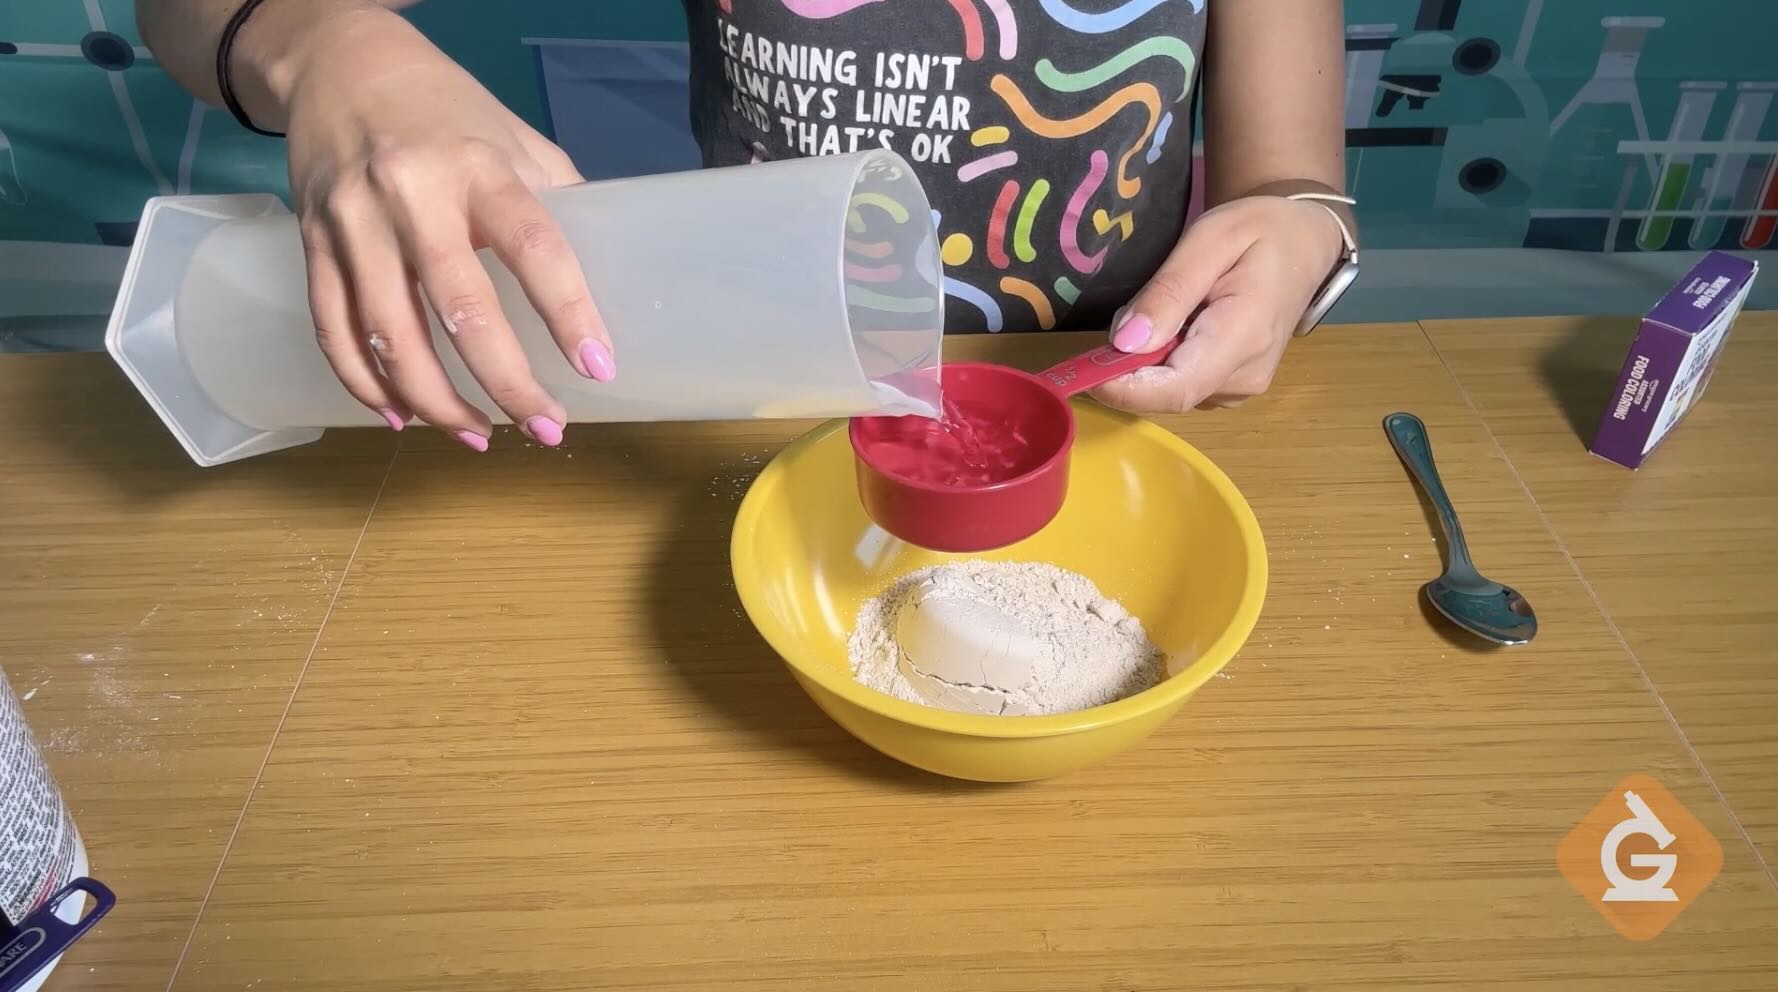
Add ½ cup of water and mix until smooth. Keep a 2:1 ratio of plaster of Paris to water if you make a larger or smaller batch.
STEP 3
1:55

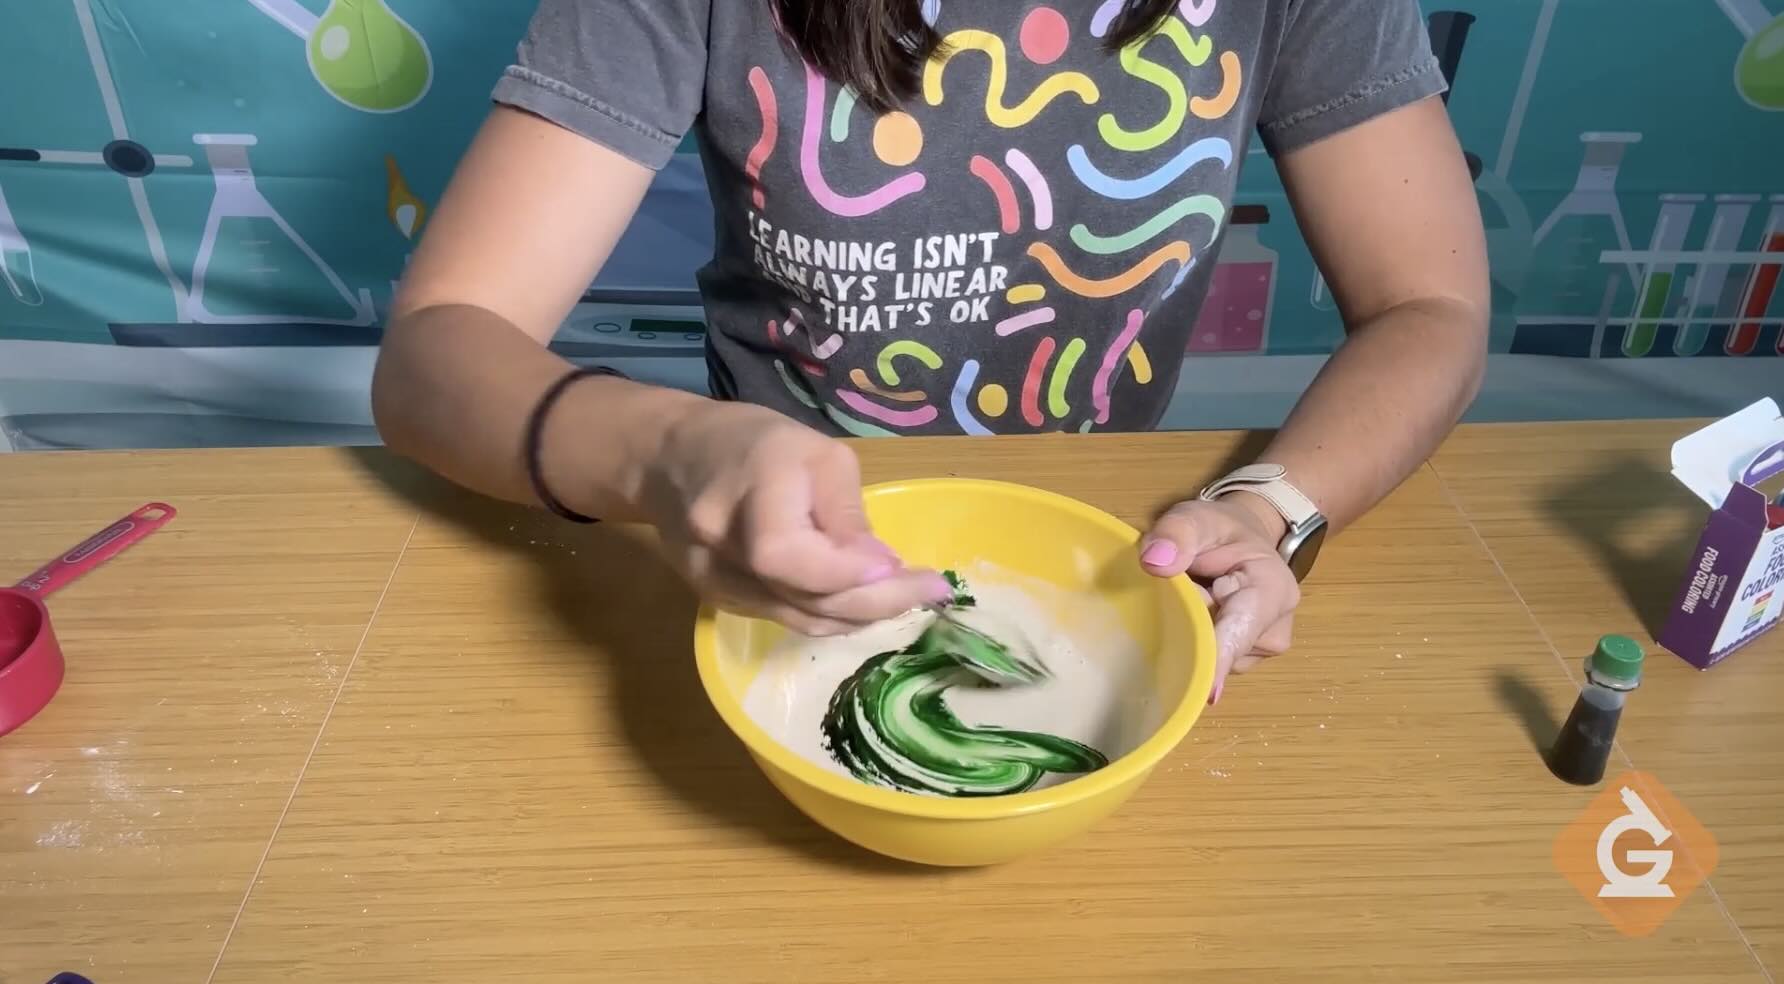
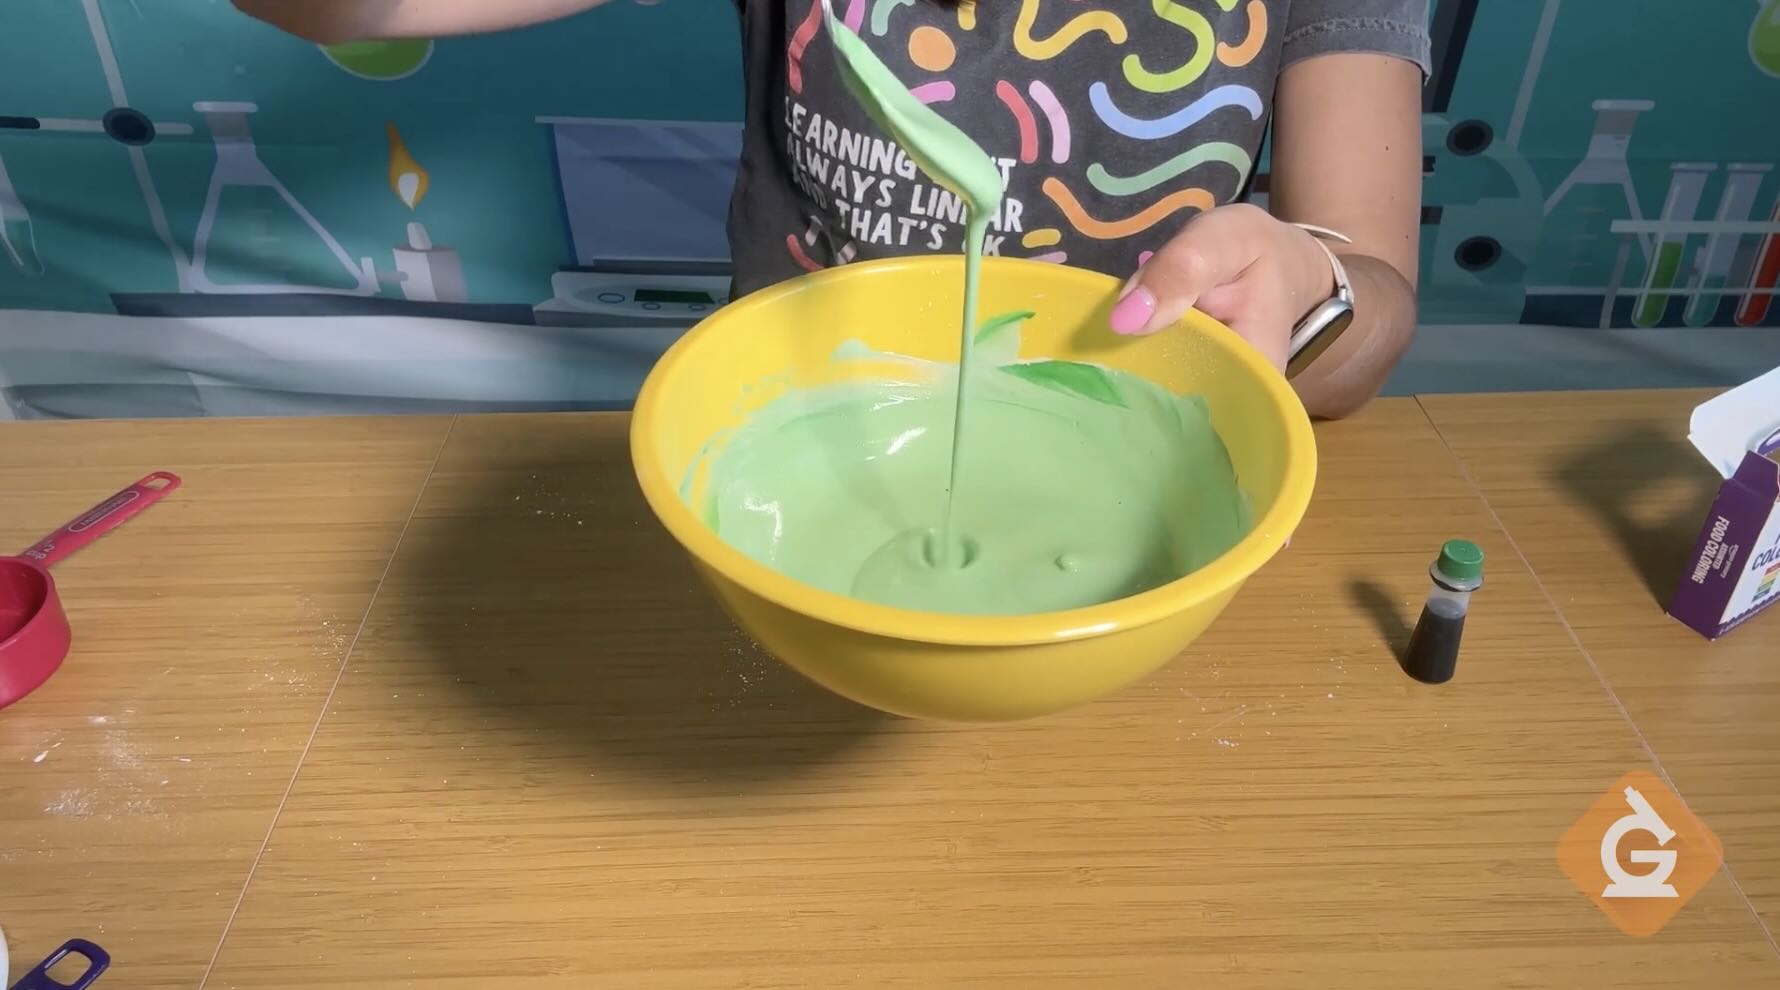
Add a few drops of food coloring and stir until the color is evenly mixed. Try combining colors to create your own custom chalk colors!
STEP 4
2:39

Check the consistency. It should be thicker than milk but thinner than cake batter. If it’s too thick, add a little water. If it’s too runny, add a little more plaster of Paris.
STEP 5
3:00

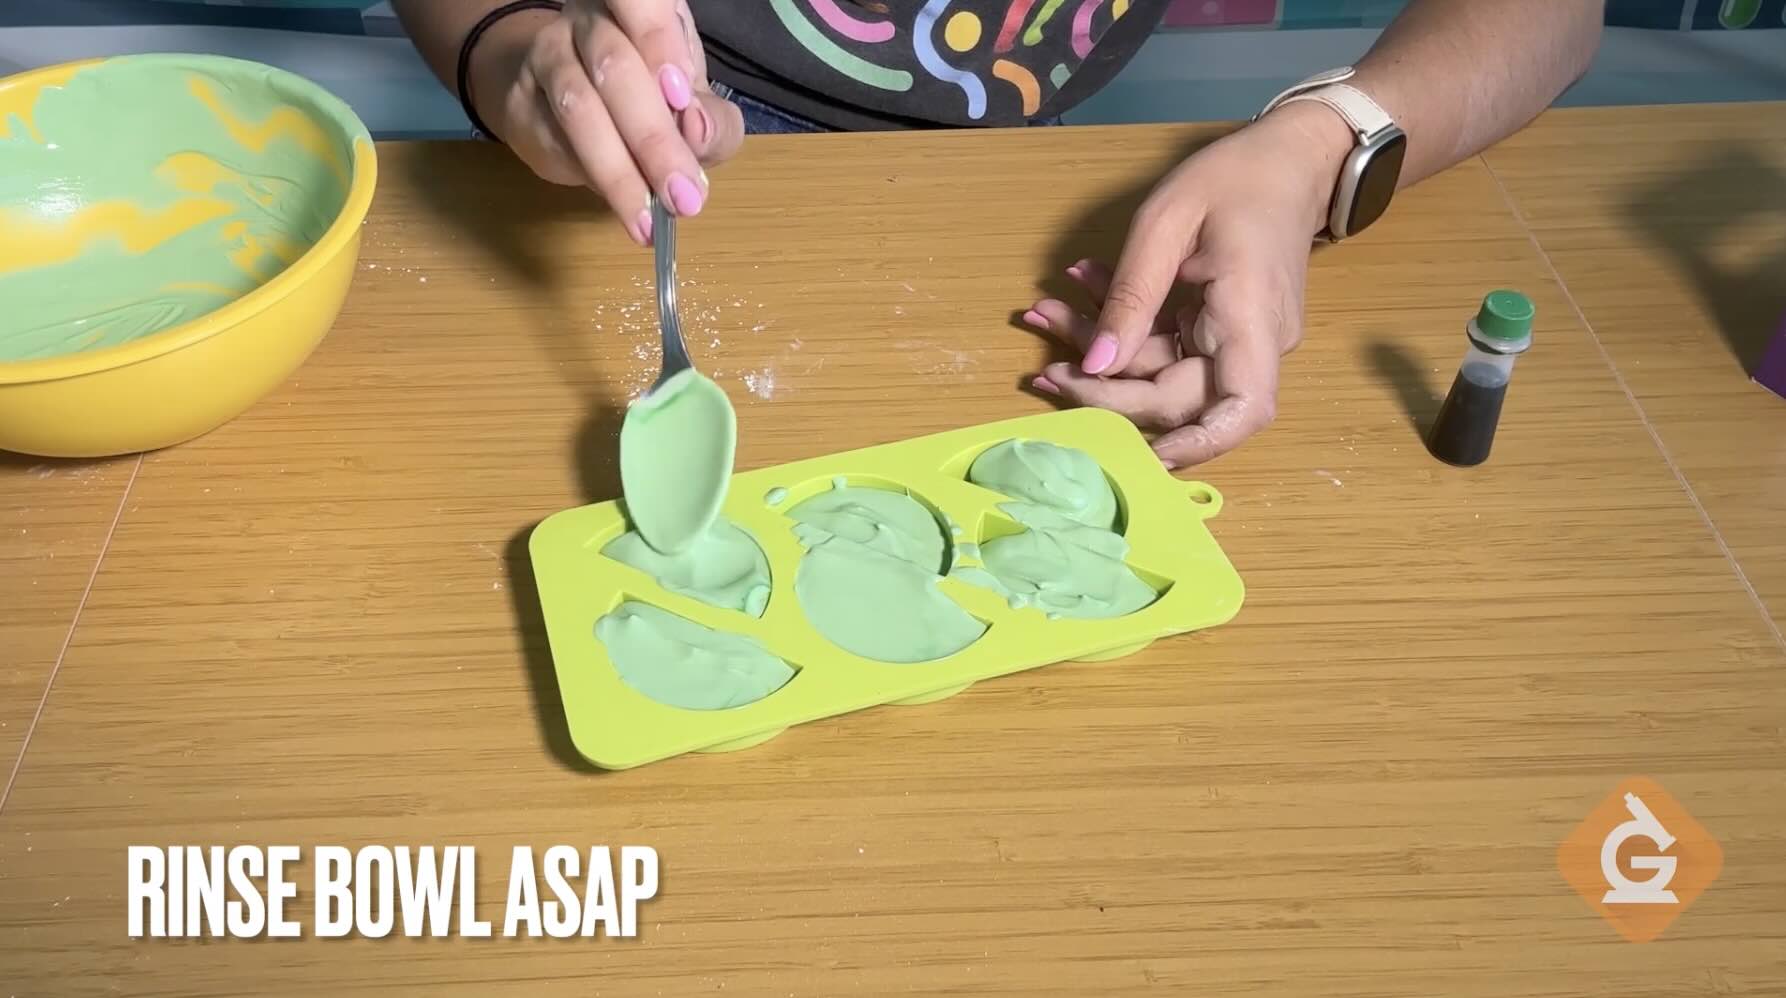
Pour the mixture into silicone molds or ice cube trays. Observe: How does the liquid mixture change as it takes the shape of the mold?
STEP 6
3:44

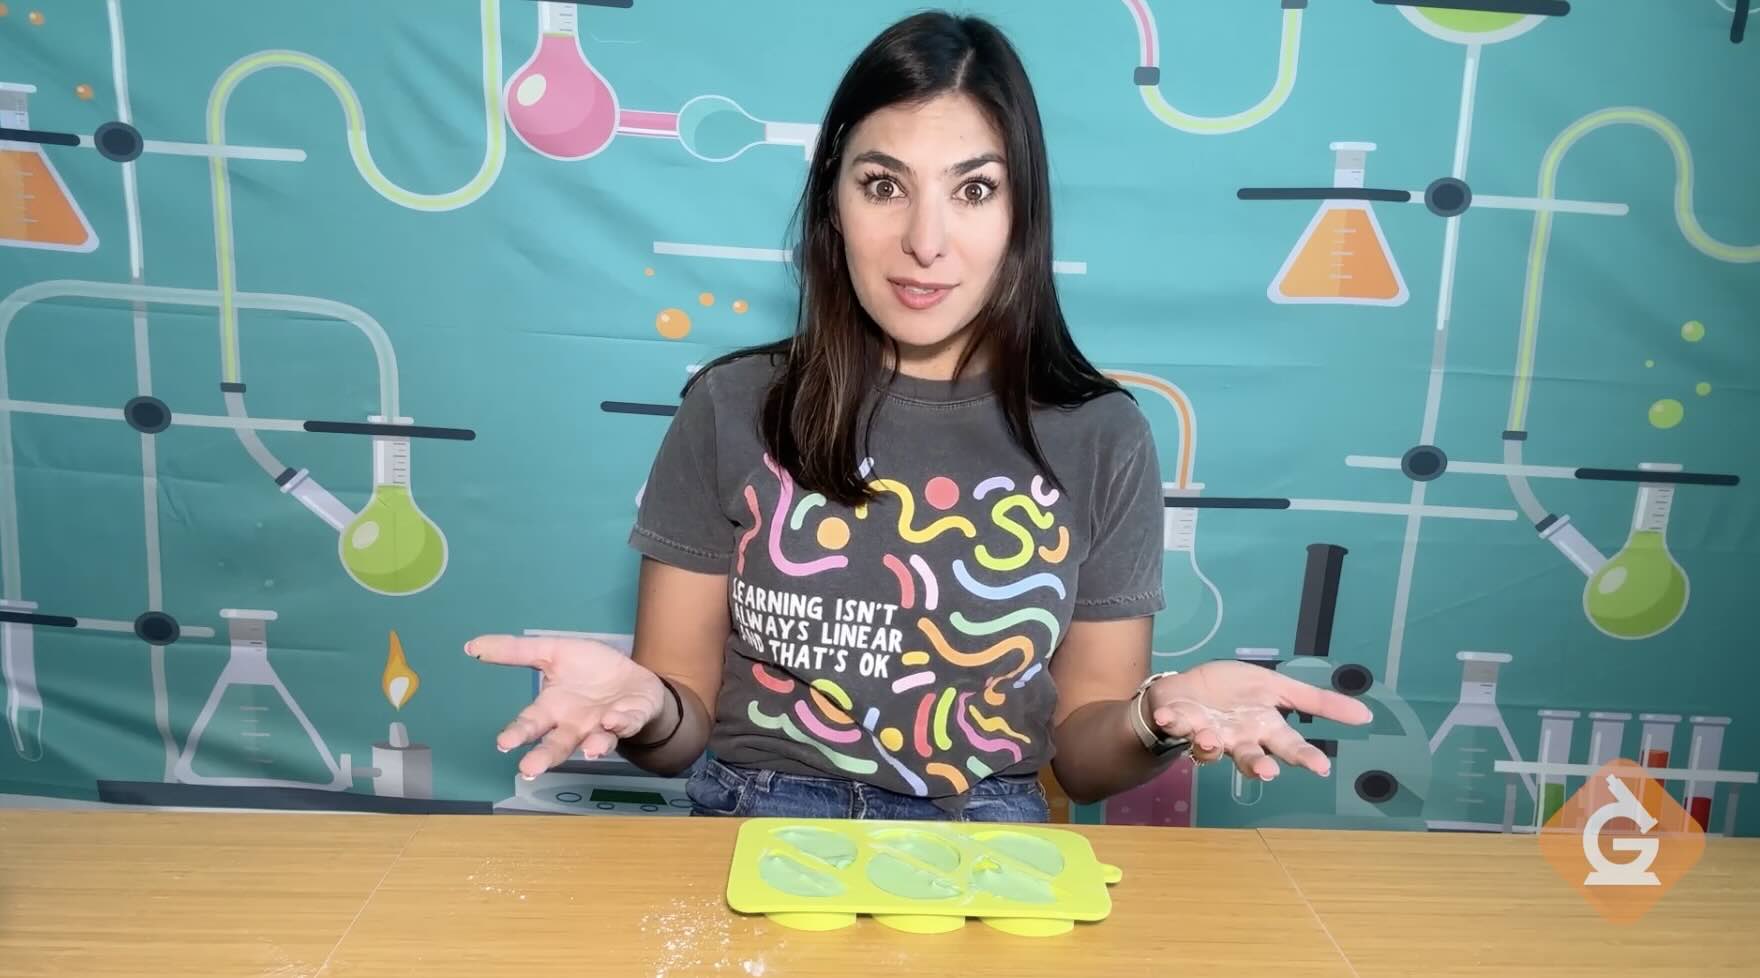
Let the chalk sit undisturbed for about 24 hours. Predict: What will happen to the mixture as it sits? What changes do you think you’ll observe?
STEP 7
3:51

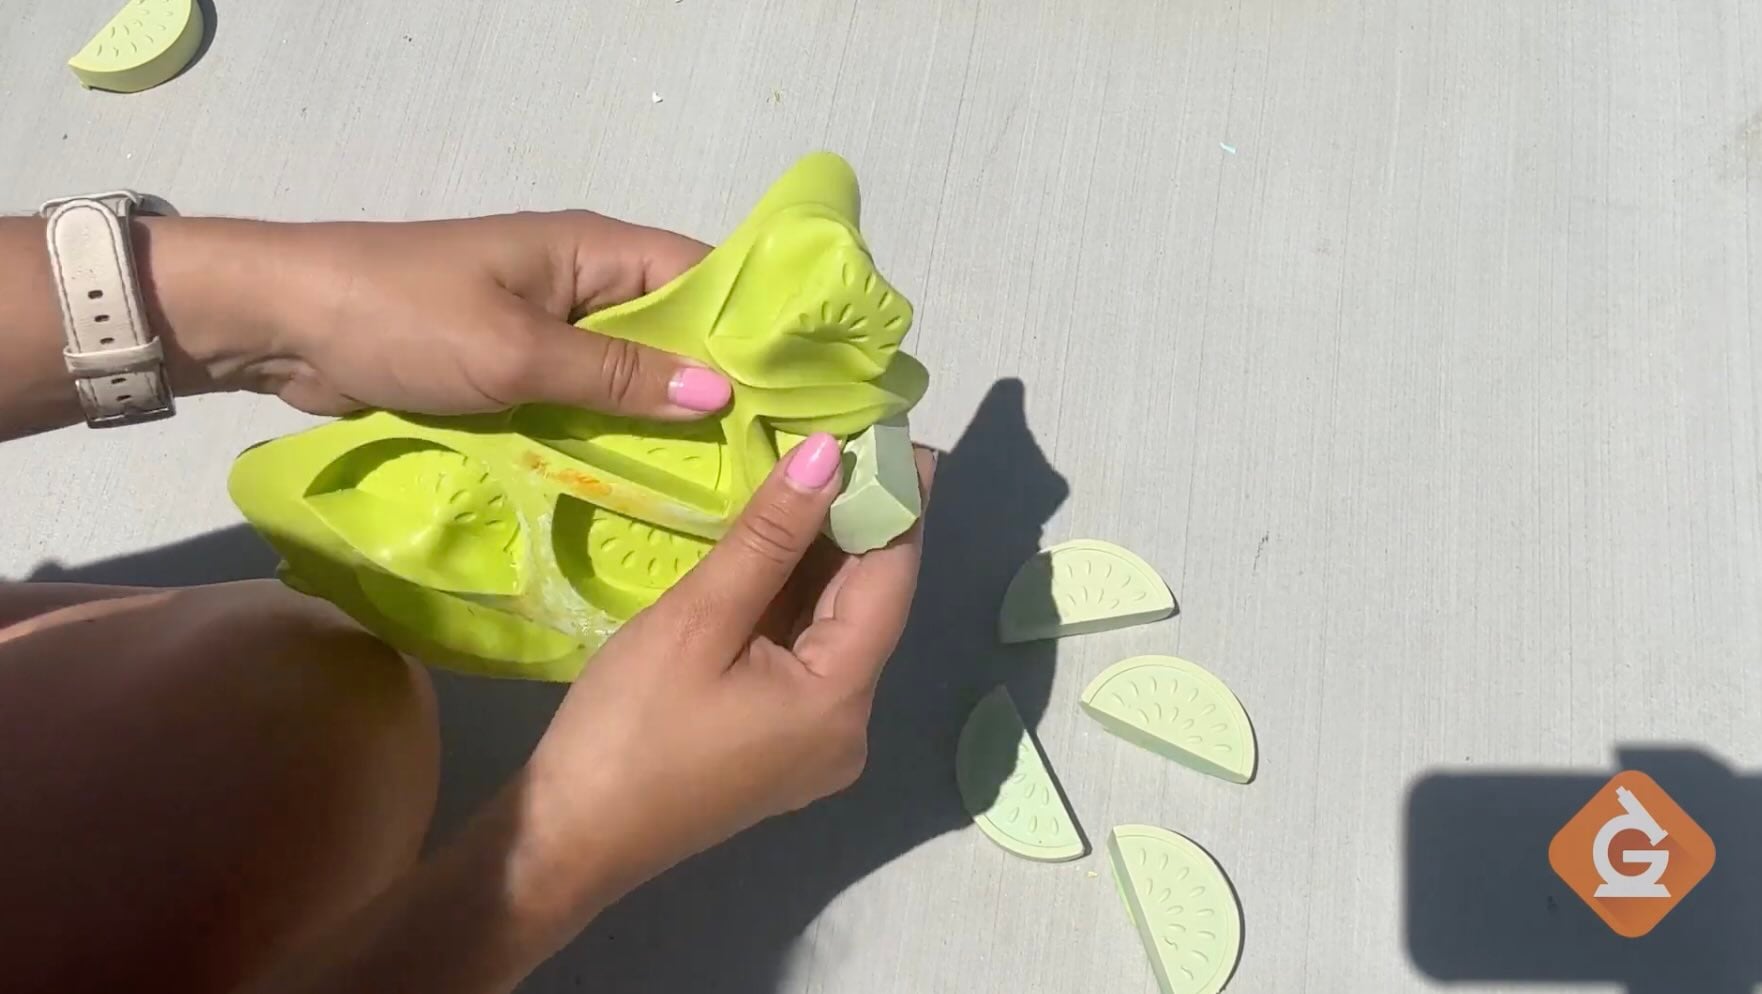
Remove the hardened chalk from the molds. Compare it with the mixture from the day before. How have its texture, shape, and hardness changed?
STEP 8
4:29

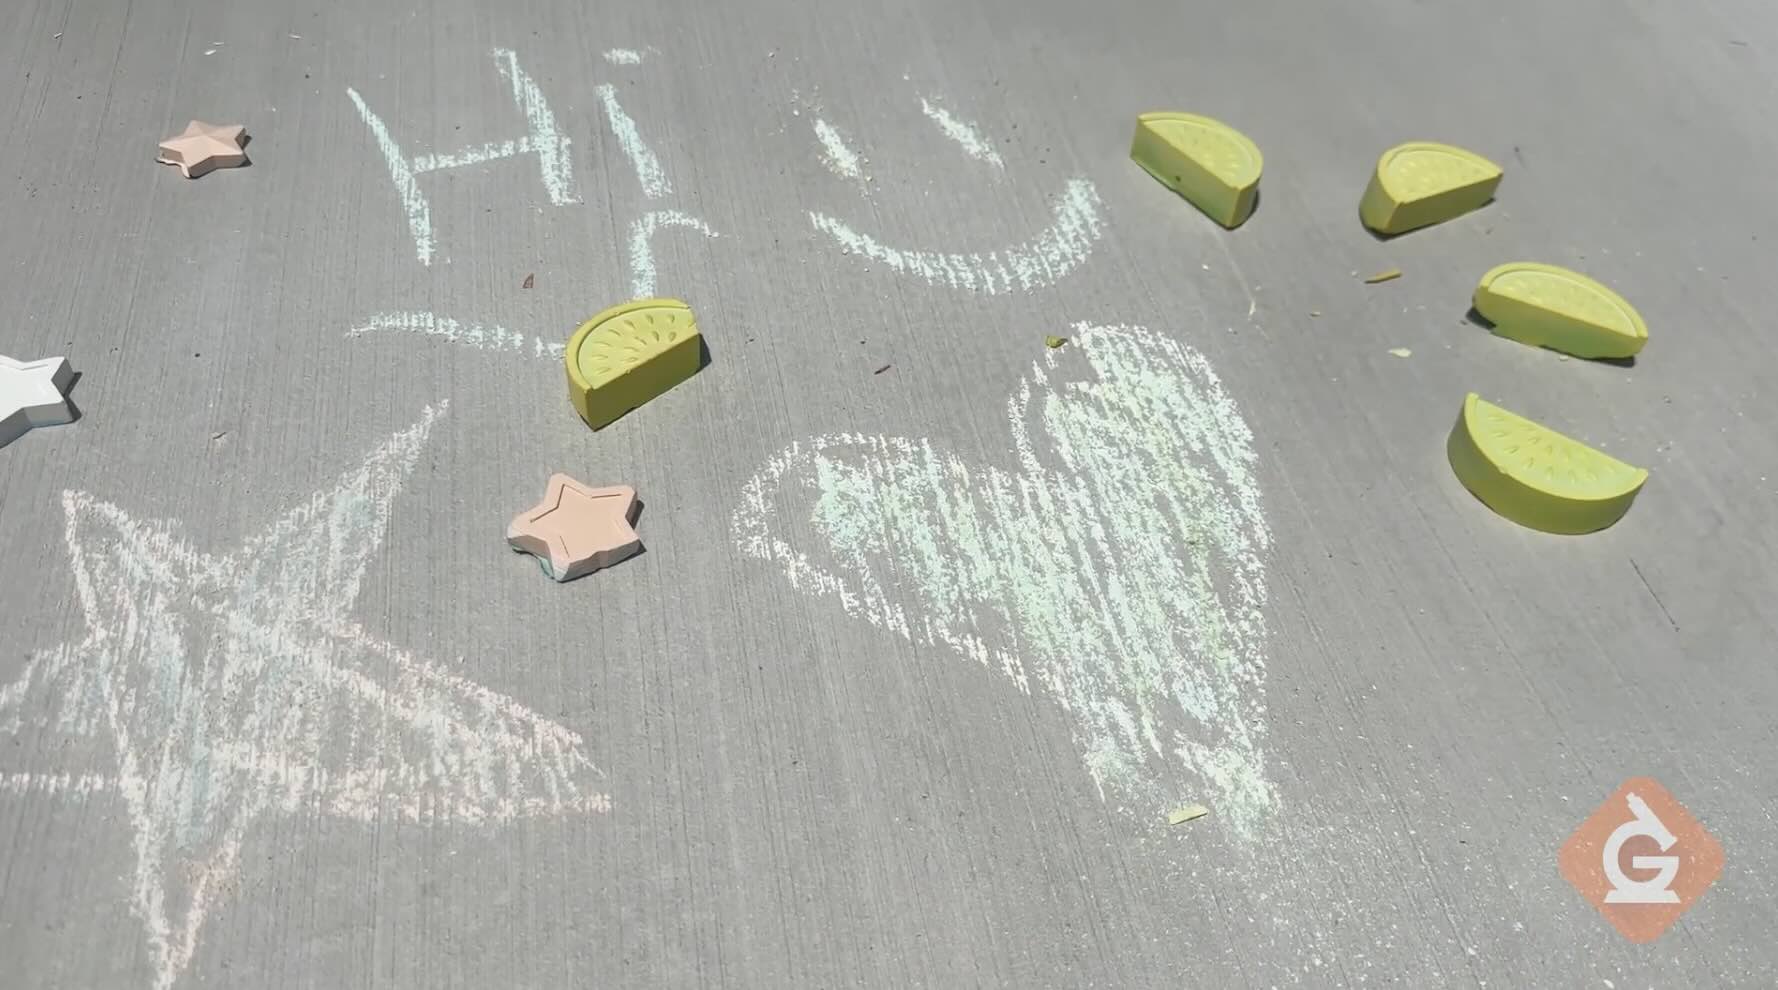
Test your chalk outside! Draw on a sidewalk or driveway and observe how the hardened material leaves colorful marks on the surface.

How It Works

This activity starts with plaster of Paris, a dry powder made from a form of calcium sulfate. When water is added, more than just mixing happens — the plaster begins a chemical reaction with the water. New hydrated calcium sulfate crystals form and grow together, causing the soft mixture to become hard and solid.

At the same time, students can observe several physical changes. The food coloring spreads throughout the mixture, the wet plaster takes the shape of its mold, and excess water eventually evaporates into the air. Evaporation is a physical change because the water changes from a liquid to a gas but is still water.

The hardening of the plaster is different. Because the plaster reacts with water to form a material with a different chemical structure, setting the plaster is a chemical change. This experiment is a great way to see physical and chemical changes happening together — all while turning a powdery material into colorful sidewalk chalk you can actually use!

Back-to-school activity extension: the final step could easily become a class extension: have students use their homemade chalk to draw something that represents them, write a science question they have for the year, or create a collaborative “Science Is Everywhere” sidewalk mural.
X
Success
We’ve sent you an email with instructions how to reset your password.
Ok
x
Choose Your Free Trial Period
3 Days

3 days to access to all of our teaching resources for free.

Continue to Lessons
14 Days

Get 14 days free by inviting other teachers to try it too.

Share with Teachers
Get 14 Days Free
By inviting 4 other teachers to try it too.
4 required

*only school emails accepted.

Skip, I will use a 3 day free trial

Thank You!

Enjoy your free 14 days trial