


Reach into your kit & pull out the bag that says Experiment 36. Take everything out of the bag and place on your white mat. Then, put the bag back in the box.

First, we’ll connect the clear plastic pieces with the metal screws. Start with the square piece and insert a screw through the corner hole so the nut rests inside the grove. Do this for all four corners.

Next, take the remaining plastic piece and point the bigger opening towards the screws. Twist to thread the screws into each corner to connect it together. Twist until the screw reaches the end, but don’t go past the edge.

Now stand it upright, and grab the giant syringe. Then, going from underneath, insert the syringe into the opening at the top and push it up until it reaches the end.

Now, using the bottle your saved from the last experiment, fill it with water all the way to the top.

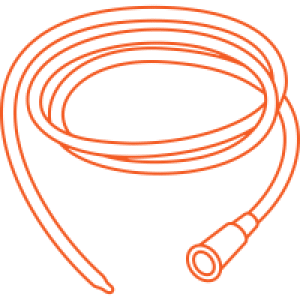
Next, grab the tube, and your small syringe. Locate the “Y” on the tube, and follow it to the short end that connects to your syringe. To connect, place the tip of the syringe into the connector on the tube and twist to secure.

Now take the longer end with a similar connector and attach that to the top of your bigger syringe on your can crusher. Then place the end with the red cap into your bottle of water.

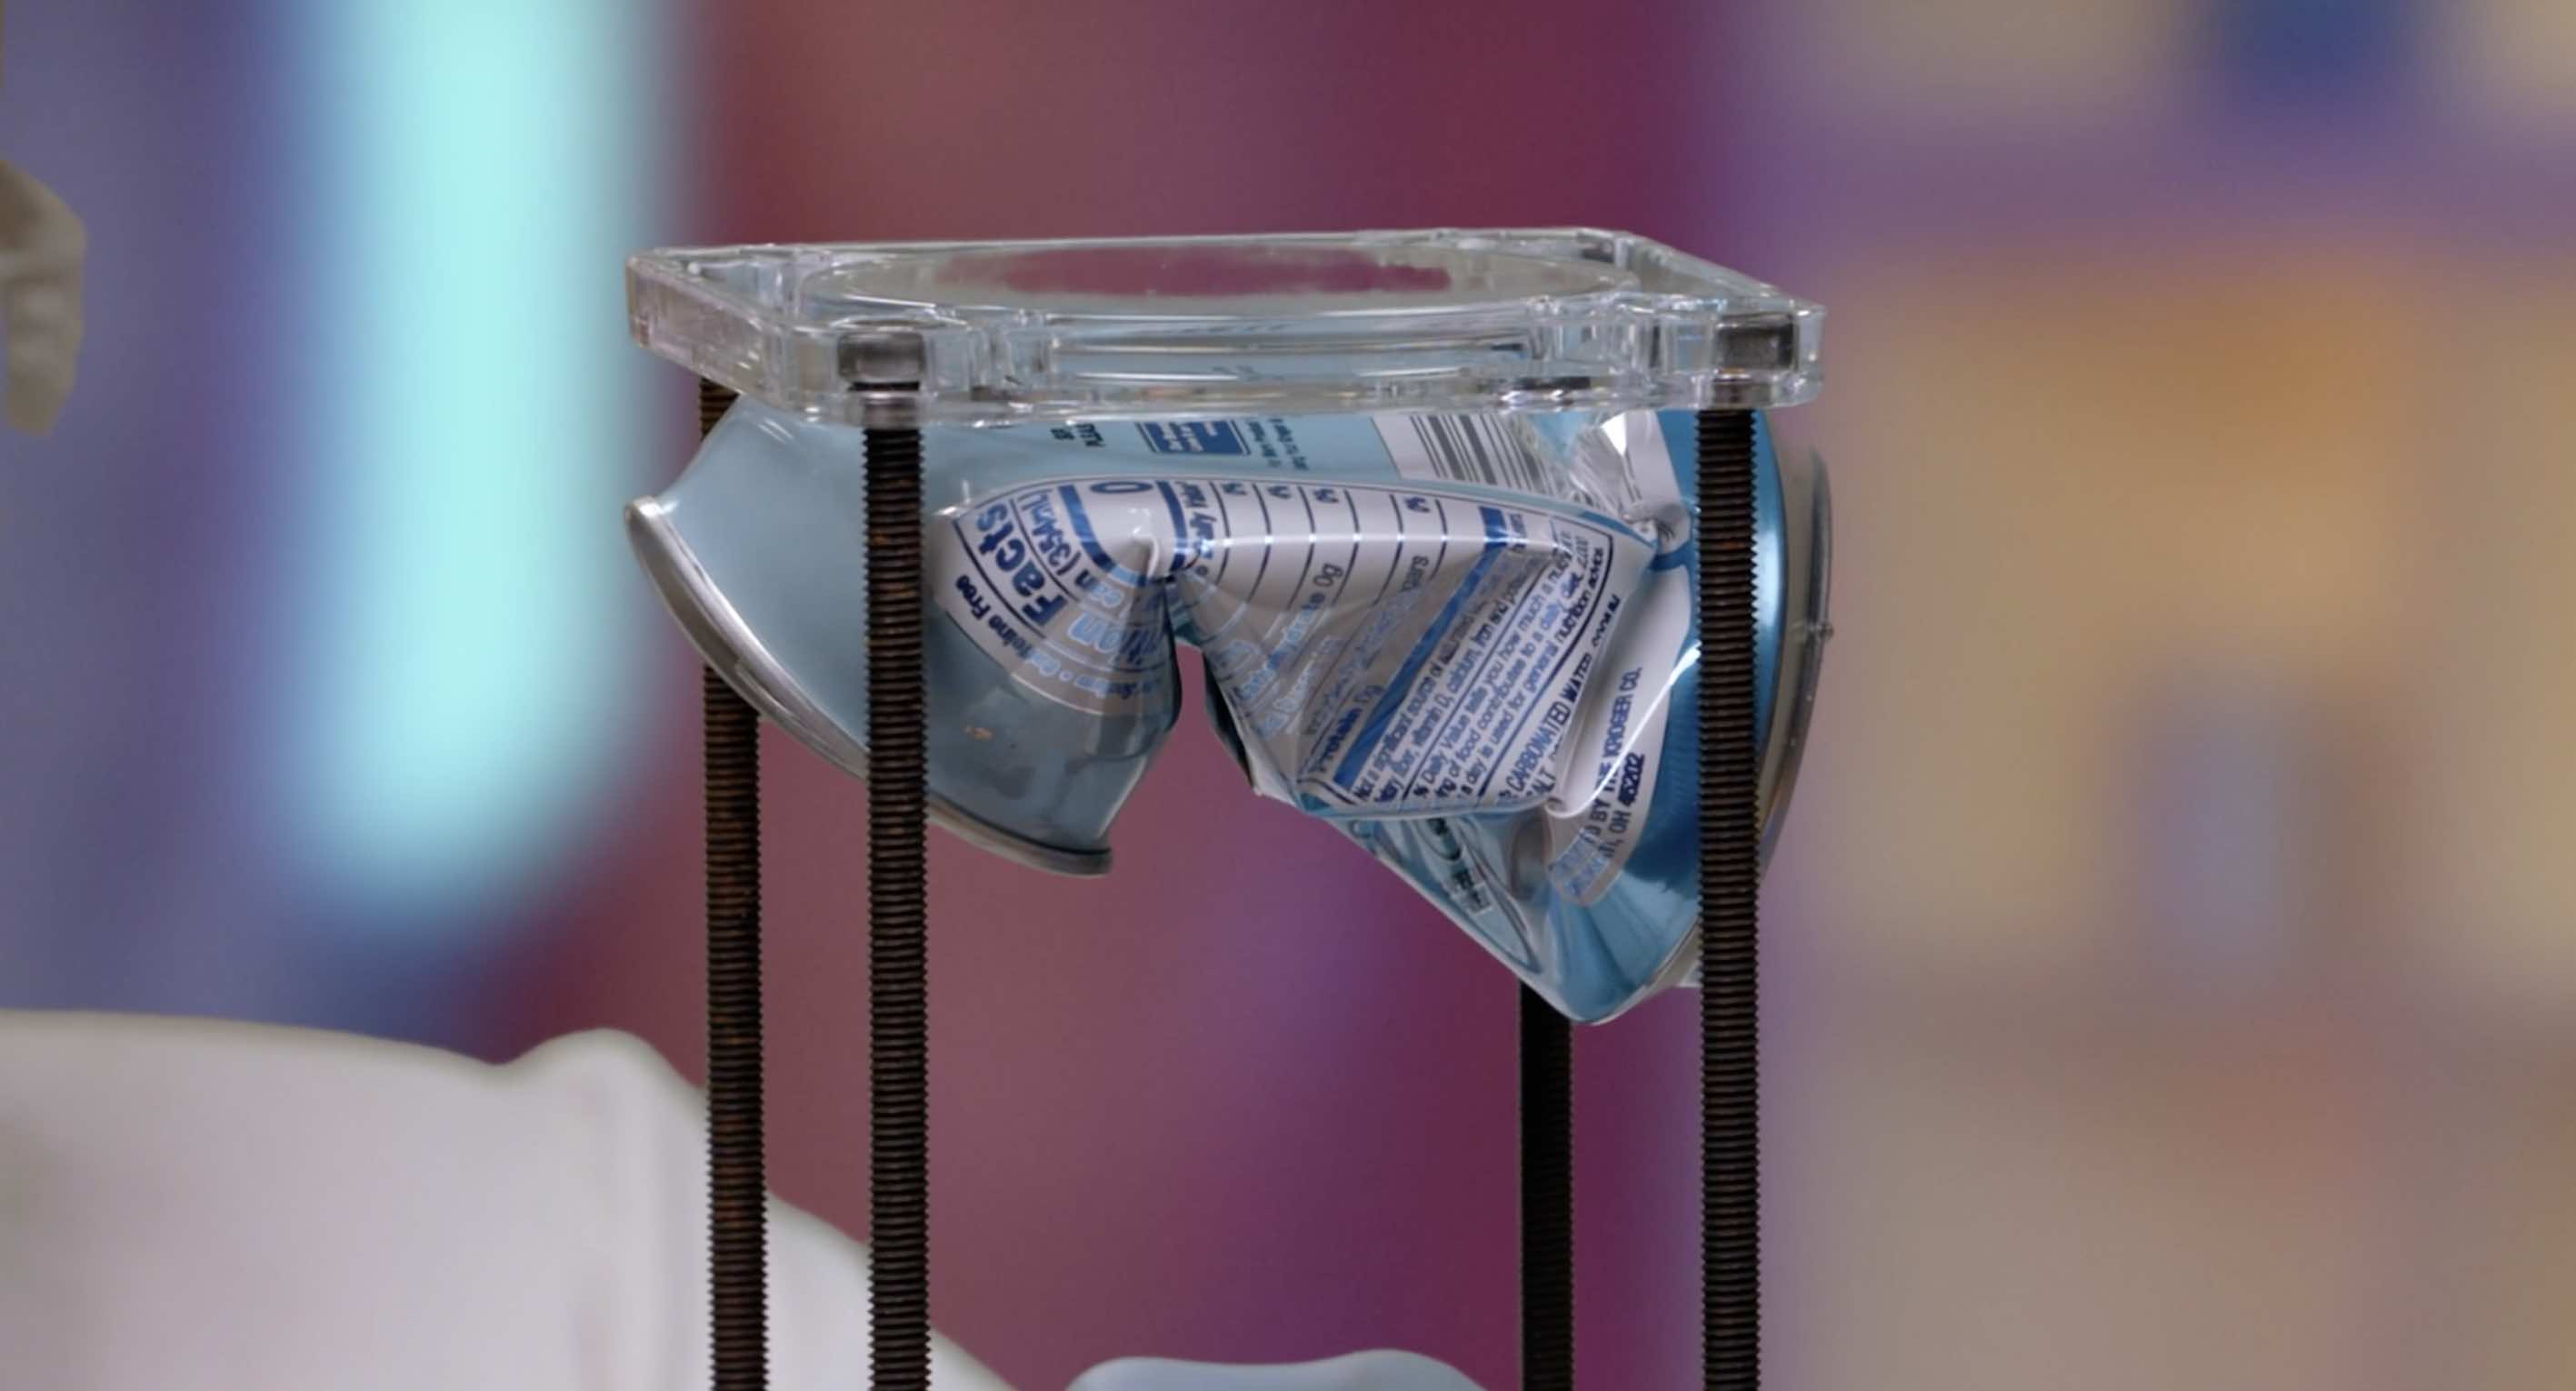
Time to crush your can! (make sure it’s open and empty) then just pump the small syringe and watch the plunger on your crusher get closer and closer until it reaches the can. Give it a few more pumps and watch it crush the can.

Now, to remove the crushed can, slowly unscrew the tube from the top of the crusher, flip it upside down and then gently push the syringe plunger to squeeze the water out into the sink or into an empty cup.
The best part is you can do this over and over again since this can crusher is reusable. So have fun!


Skip, I will use a 3 day free trial
Enjoy your free 30 days trial


 GENERATION GENIUS