Light Painting
Materials


Instructions
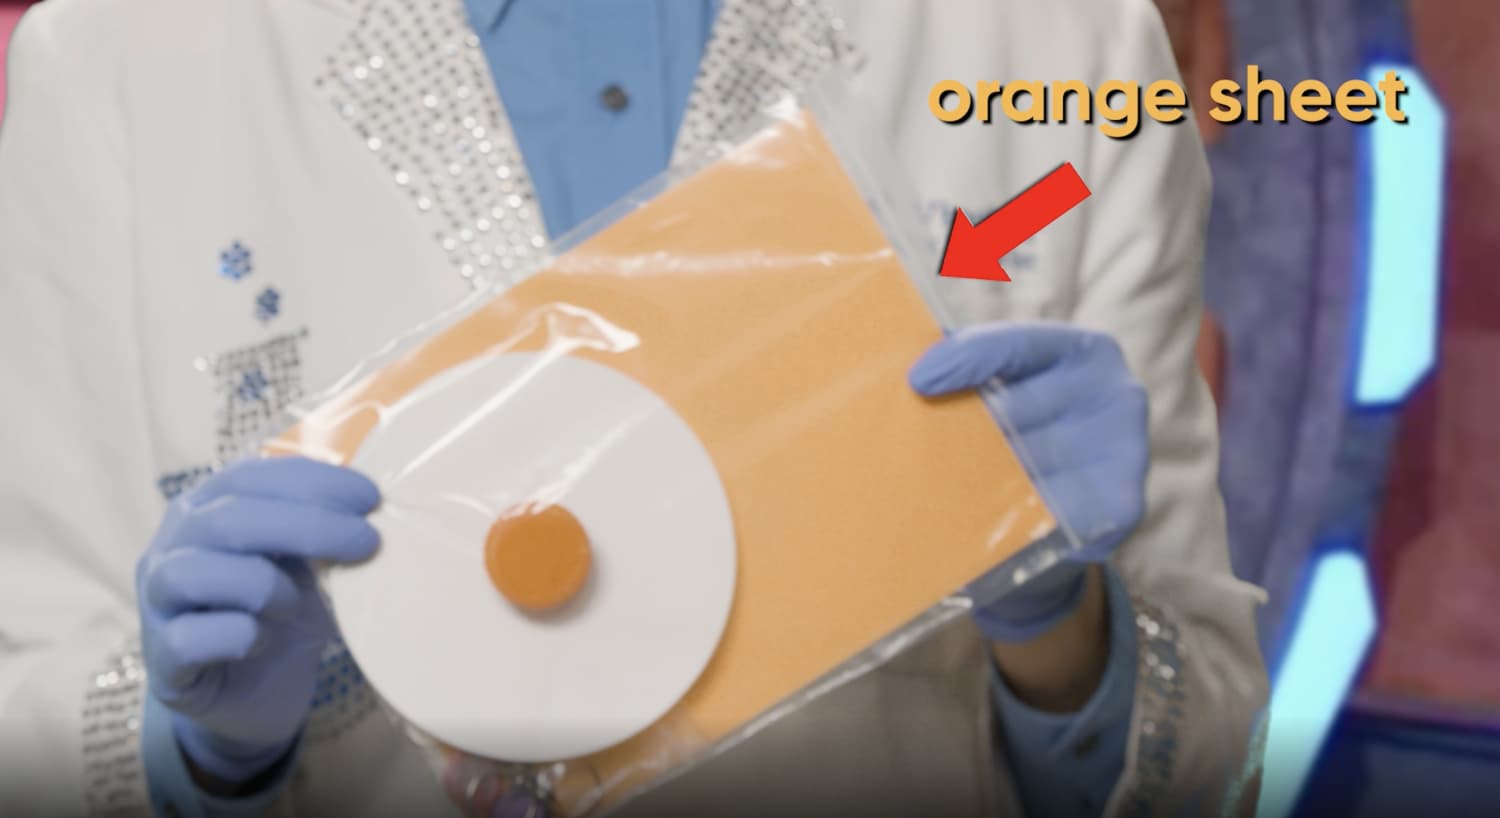
Reach into your kit and pull out the bag with the orange sheet in it. Take everything out of the bag and place it on the table. Then, go ahead and put the empty bag back in your box.
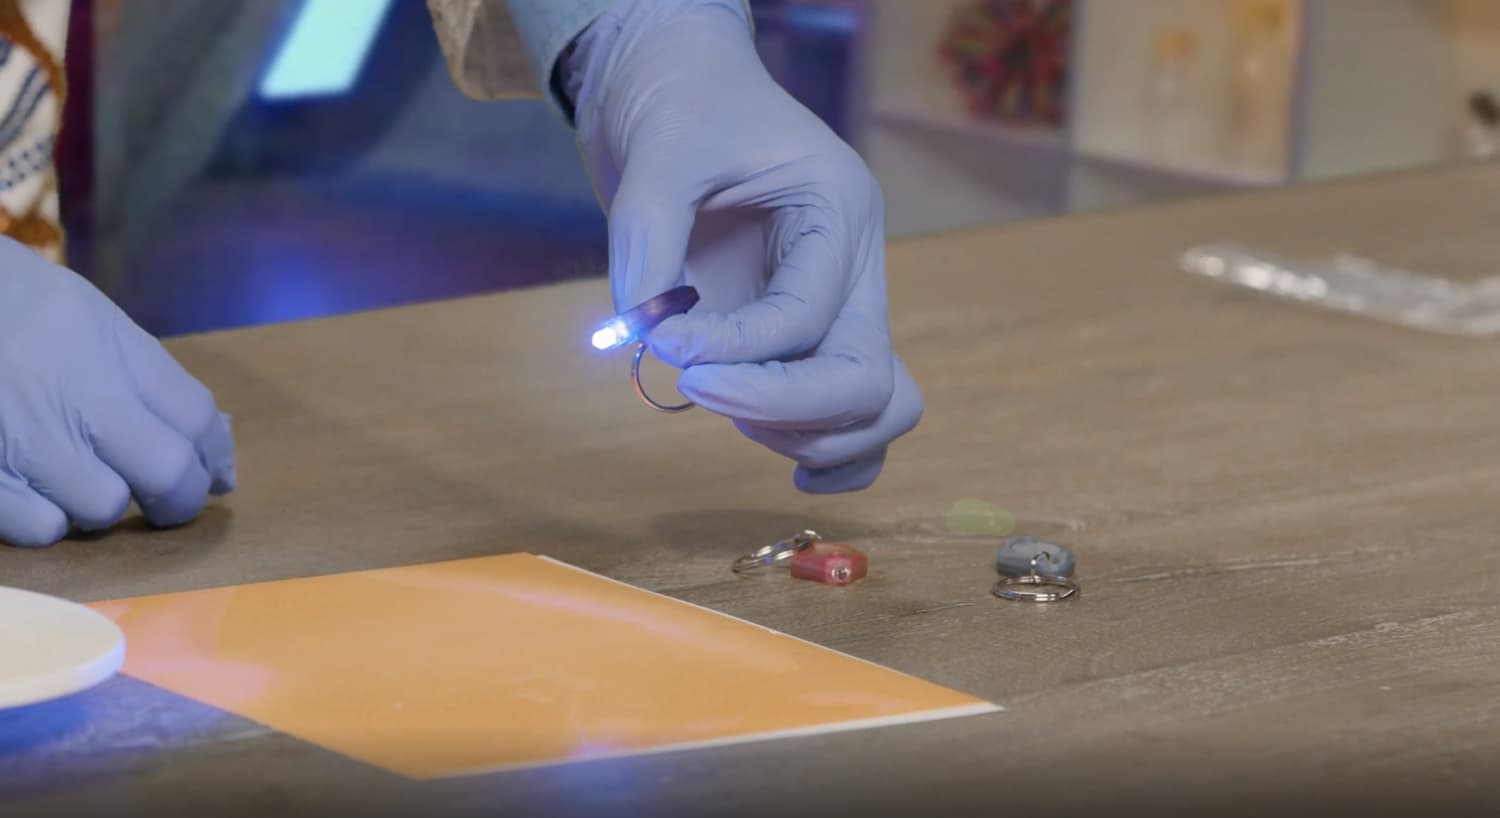
Grab the purple light which emits an ultraviolet (UV) light. To turn it on, simply squeeze both sides at the same time.
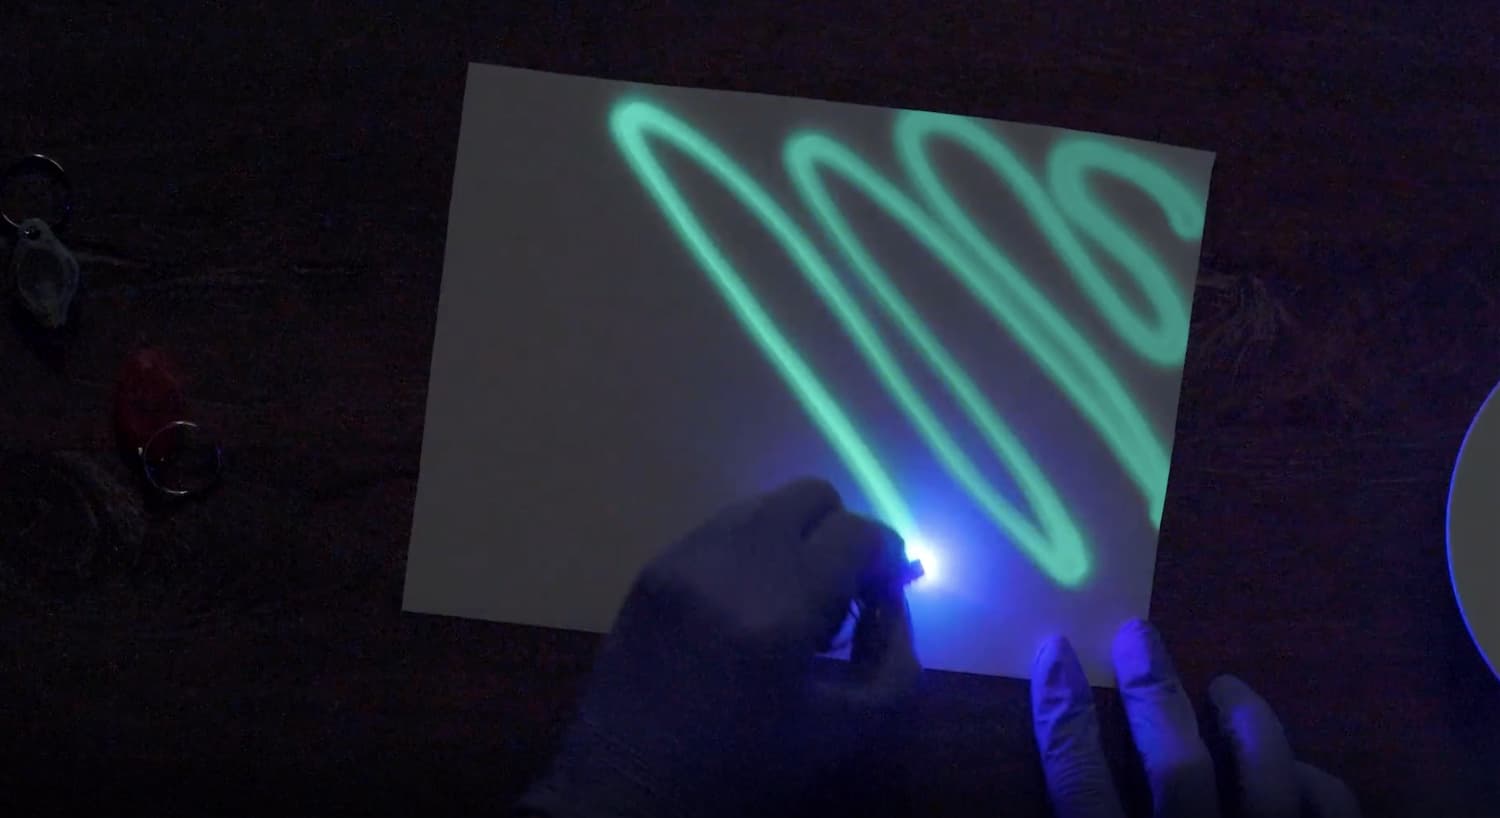
Grab the white sheet of special paper and dim the lights! Squeeze both sides of the purple UV light to turn it on and just touch it to the paper to draw a picture. Try drawing back and forth in a zigzag motion.
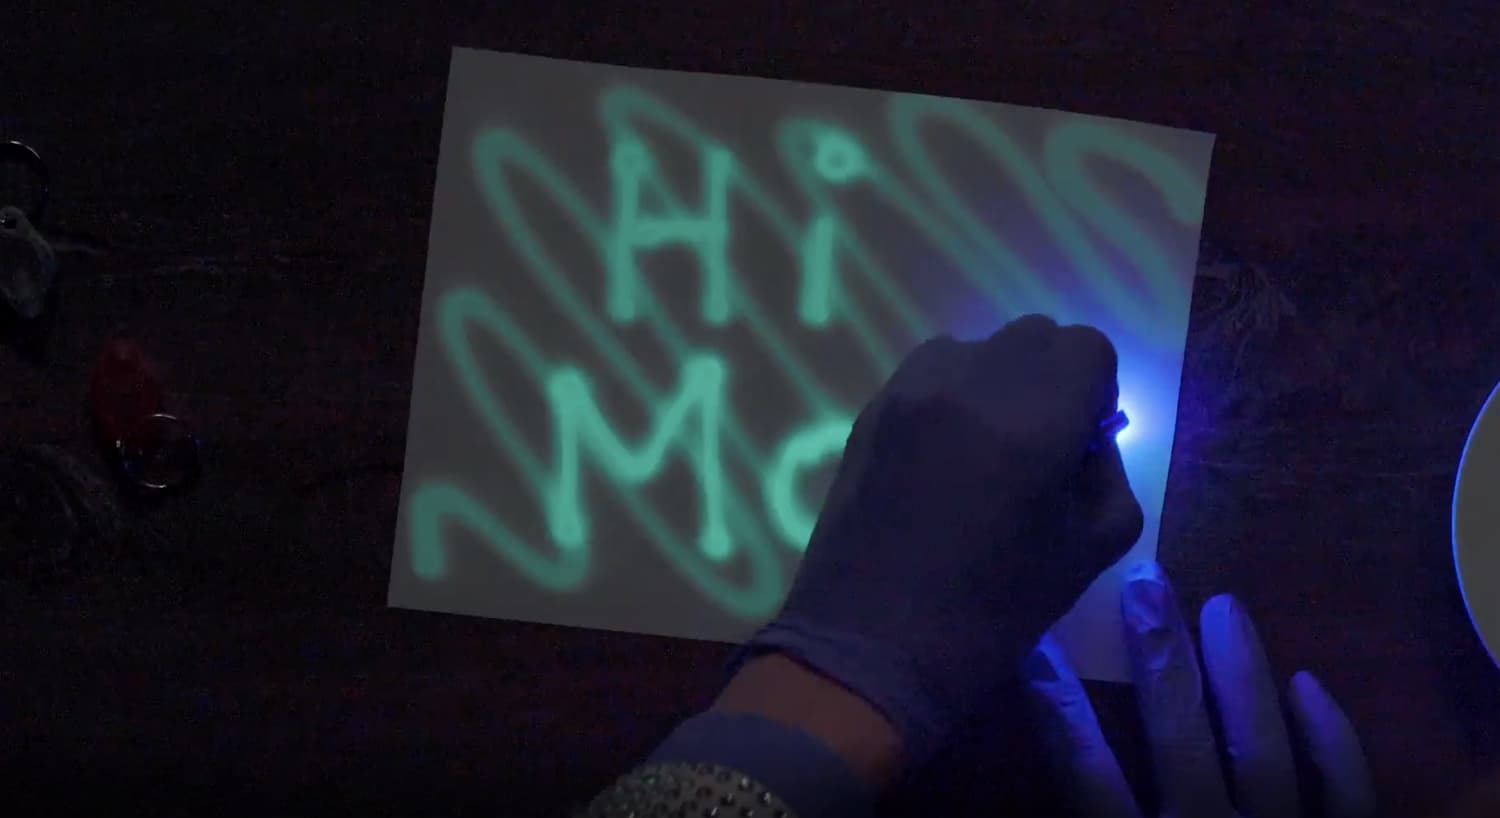
There’s still so much more you can do. You can draw words right on top of your picture. Try writing a special message.
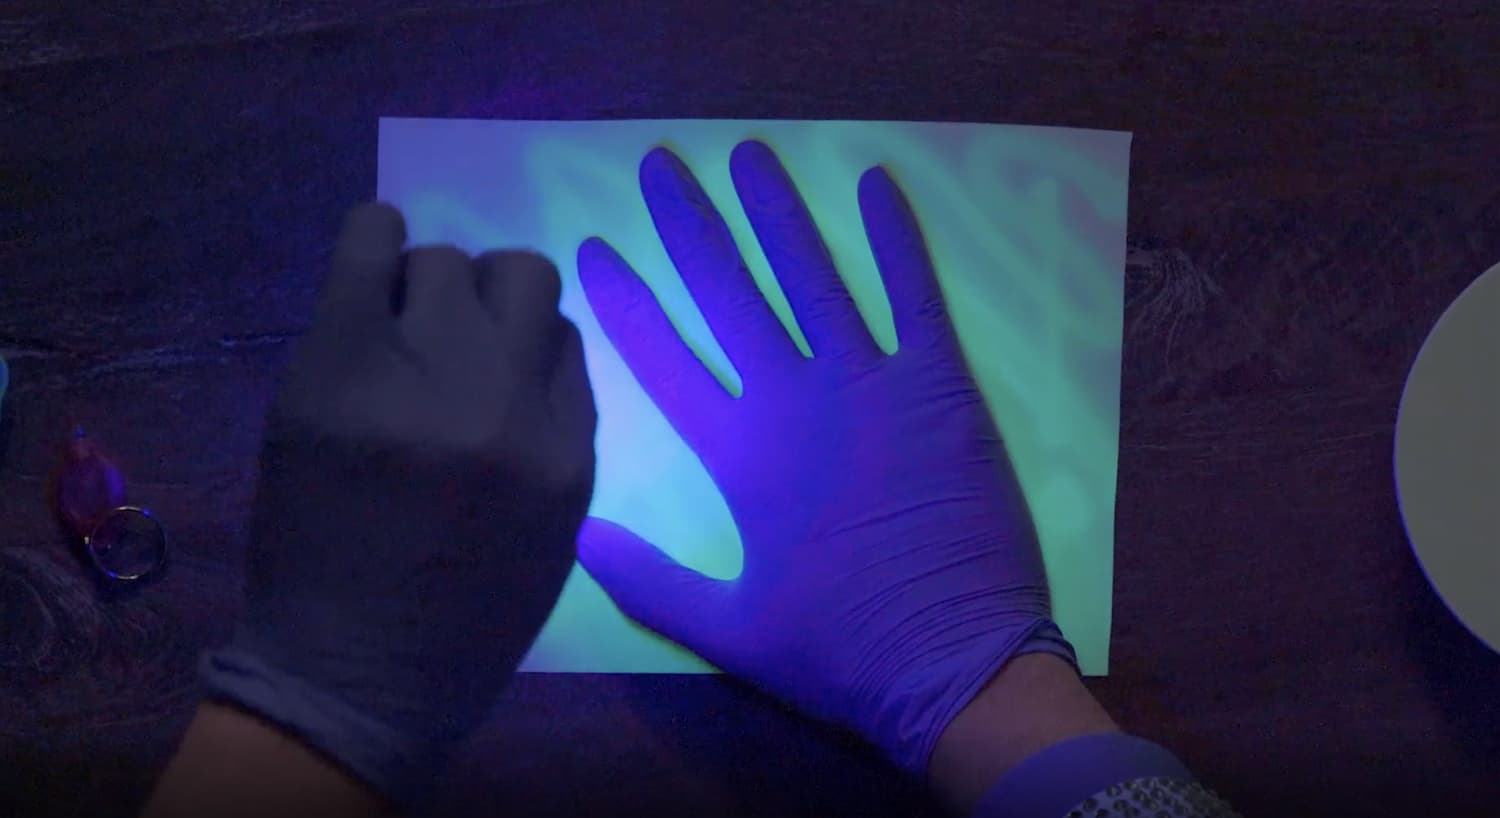
Now try this! Place your hand on the paper and hold the light higher up to illuminate a bigger area. Shine the light around your hand a few times then turn off the light, and move it away to see the outline!
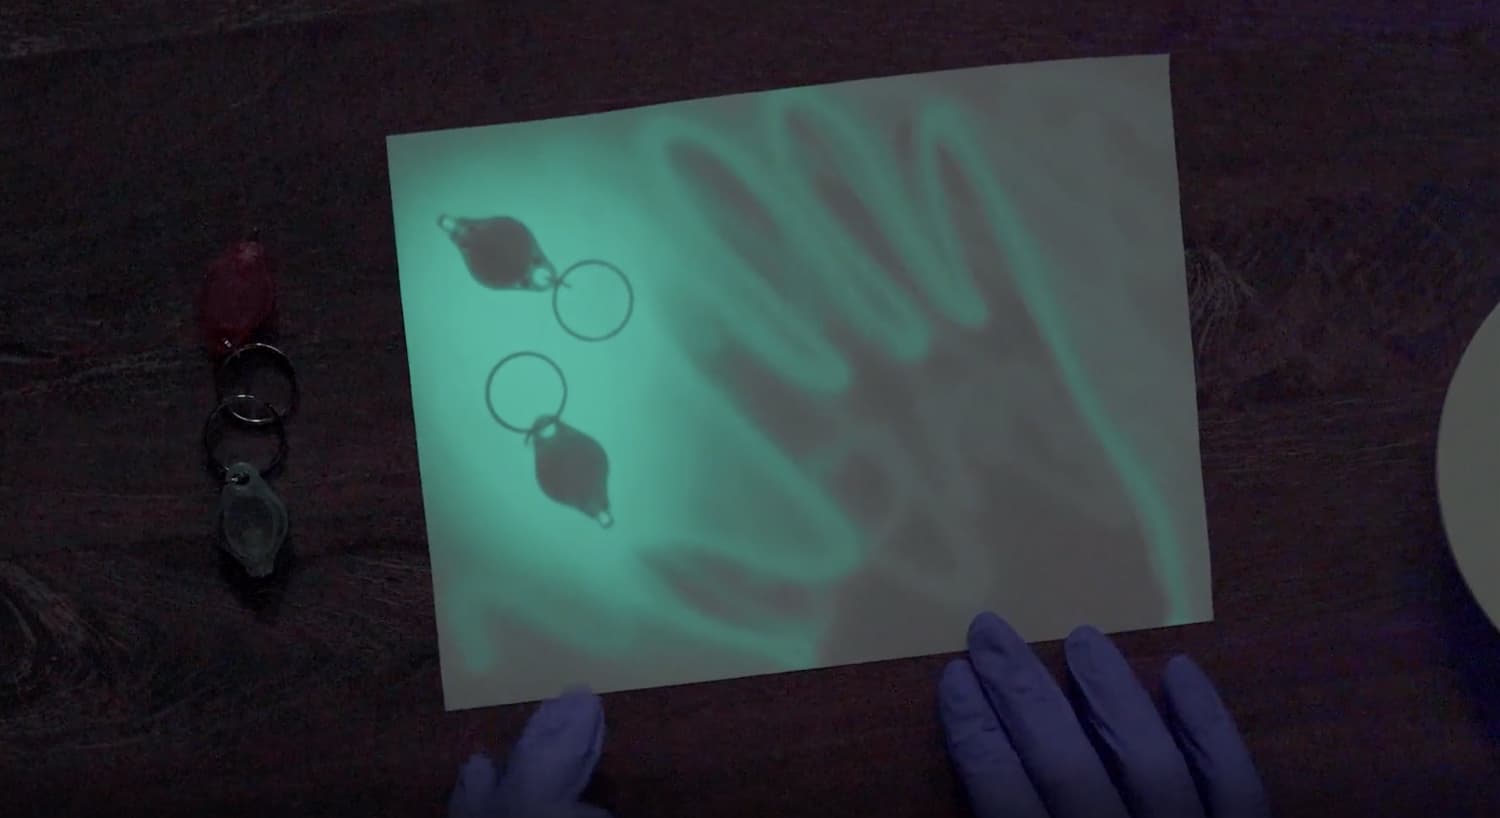
You can keep doing this over and over again since this material doesn’t get used up. Try using some other interesting stencils like the remaining lights from your bag, or even try some of your own ideas.

What happens when we use the other colored lights? Try drawing with the red light and then try drawing with the green light. Does it have to be UV light?
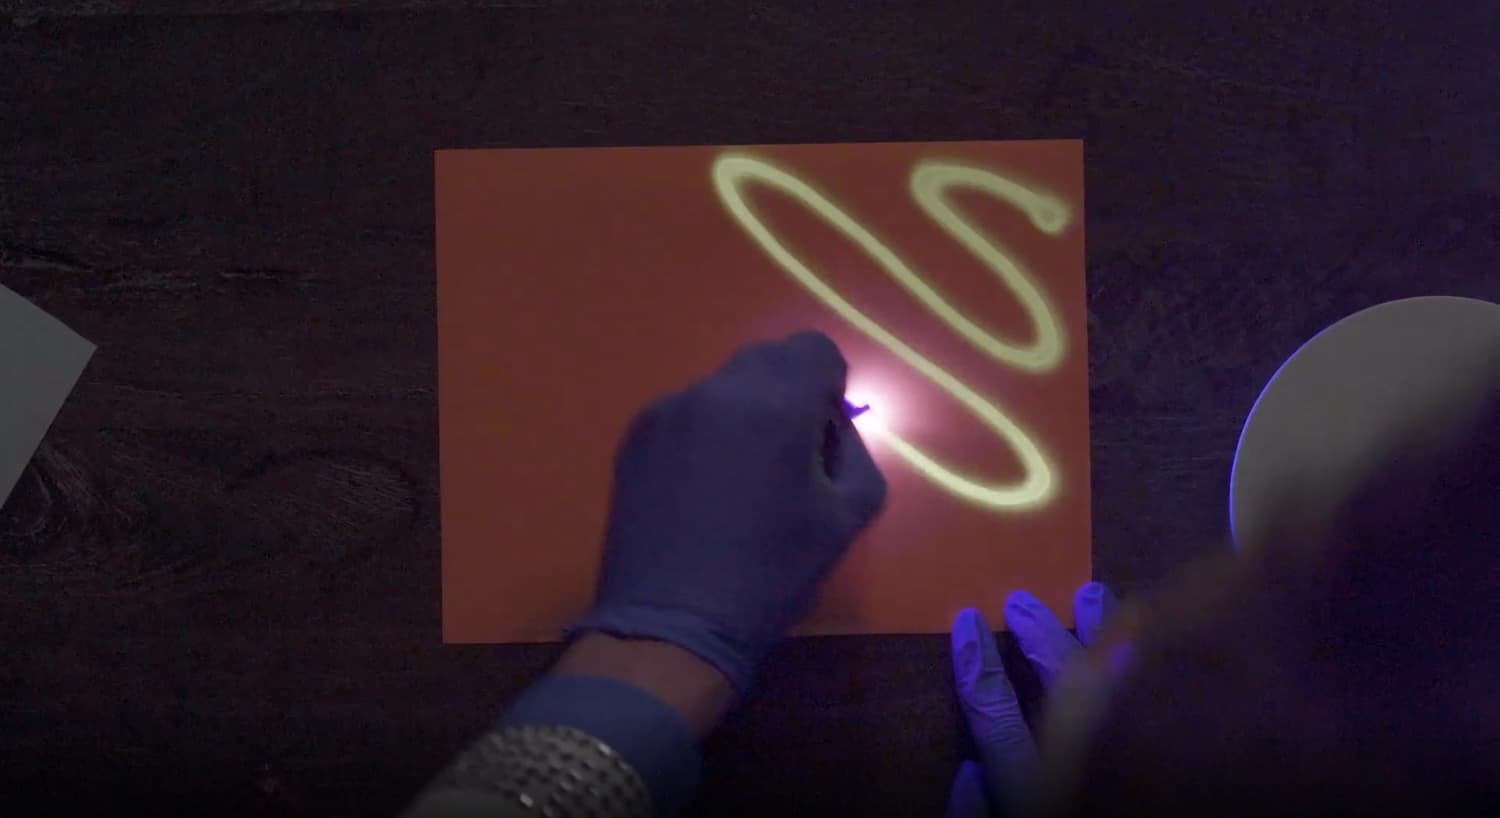
Next, put the white paper aside. Grab the orange paper and the purple UV light, and go ahead and draw another picture. Did you notice it glows a different color?
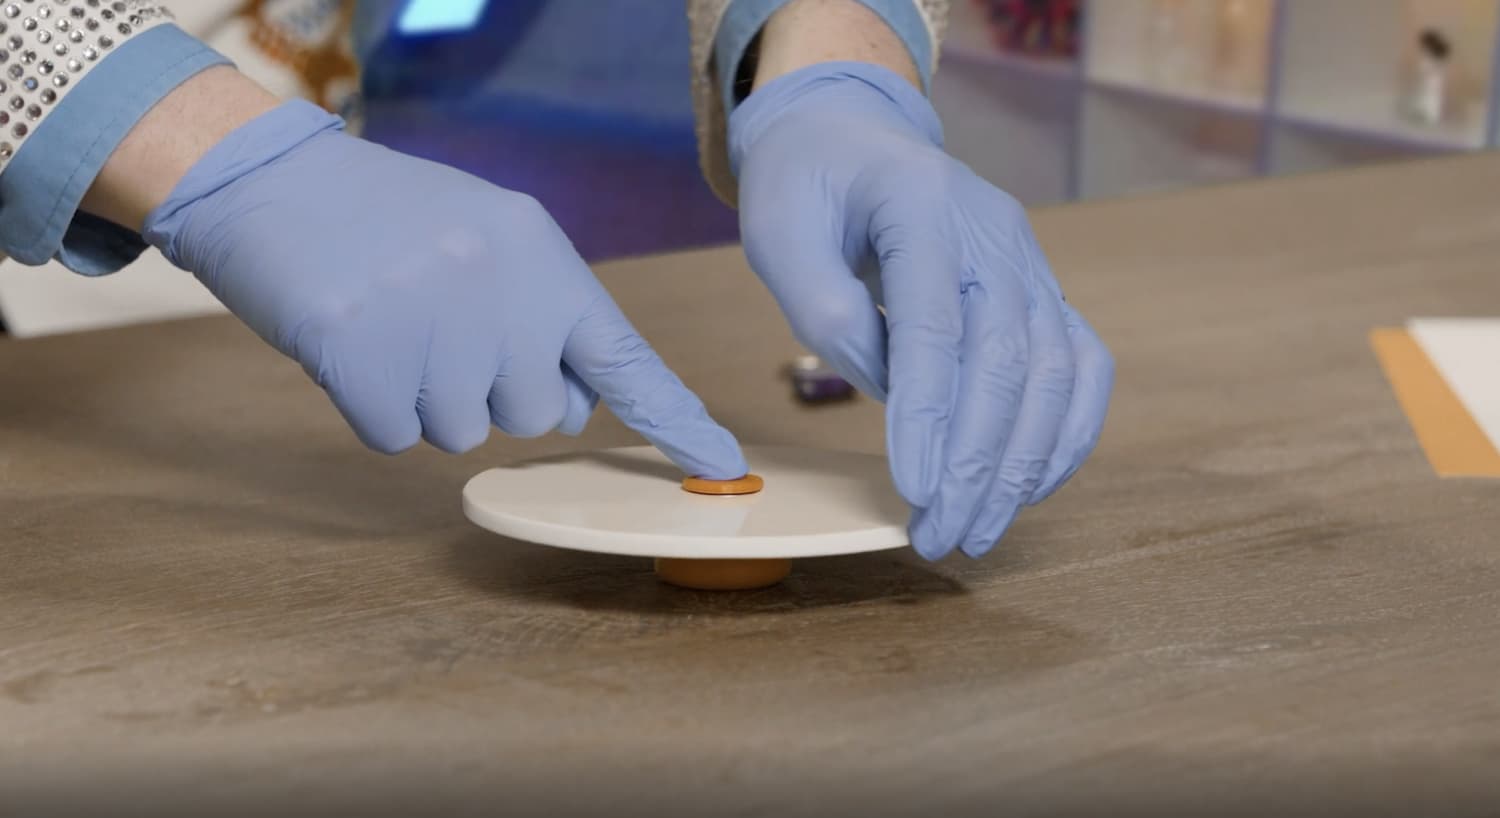
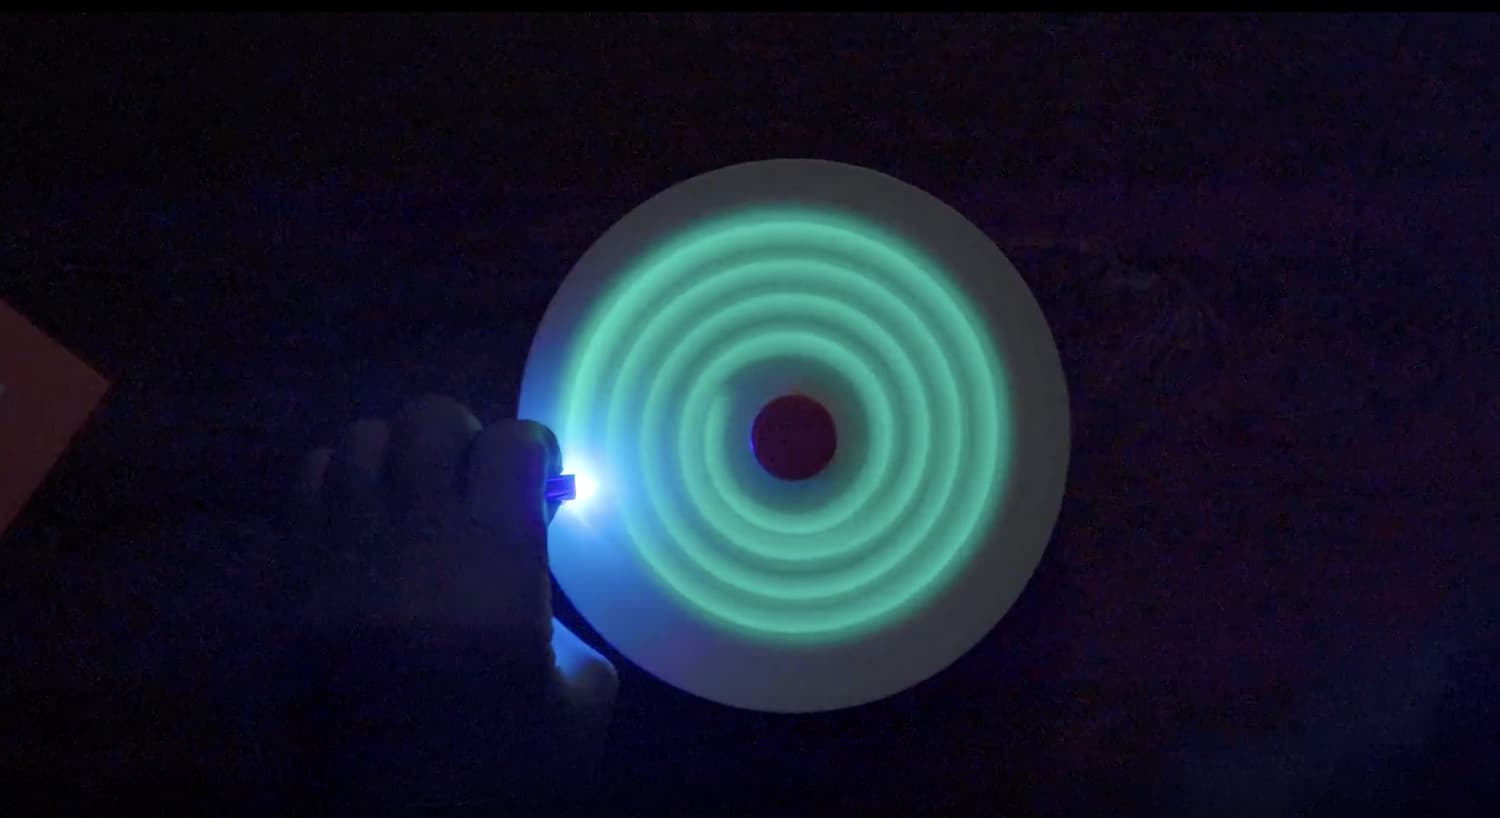
Now, let’s grab the special spinning wheel. Place one finger on top to hold it in place, and spin the wheel with your other hand. Try practicing a few times, you can spin it fast or slow, whatever you like!

While it’s spinning, lightly touch your UV light in a few places to create glowing spiral designs. Try touching the wheel once near the center, then again in the middle, and once on the outside to create 3 circles.
How It Works
When we used other colored lights like red and green, it didn’t work. That’s because this experiment needs a powerful kind of light shining on it, like ultraviolet. Red is the weakest of all the colors, green is a little stronger, but not as strong as ultraviolet light.
Did you know? The biggest source of ultraviolet light comes from the sun.
Skip, I will use a 3 day free trial
Enjoy your free 30 days trial

